
Happy NYE!!!!
I am in the throes of cleaning the house to make sure we go into the new year with clean baseboards and the like so I won’t be linking up until tomorrow after I get all of the nail polish wrecking activities closed out.
To keep it relevant I am reposting a post I did awhile back on how to make your manicure indestructible.
So by now you should not be surprised about my love for nail polish. I have tons of it. I hear a lot of women, especially moms say they don’t have time or choose not to paint their nails because their manicures never last. I normally paint my nails at least twice a week. I rarely get them professionally done, because I don’t have the money to waste. But something as simple as taking the time to paint my nails makes me feel good.
Through trial and error I have discovered some tried and true tricks for making your manicure last longer. As the holidays approach, do something to pep yourself up. Something just as simple as a shiny red nail will do just that. You’ll be surprised at how soothing it is to look at shiny nails typing on a keyboard. It’s just me? Oh…..
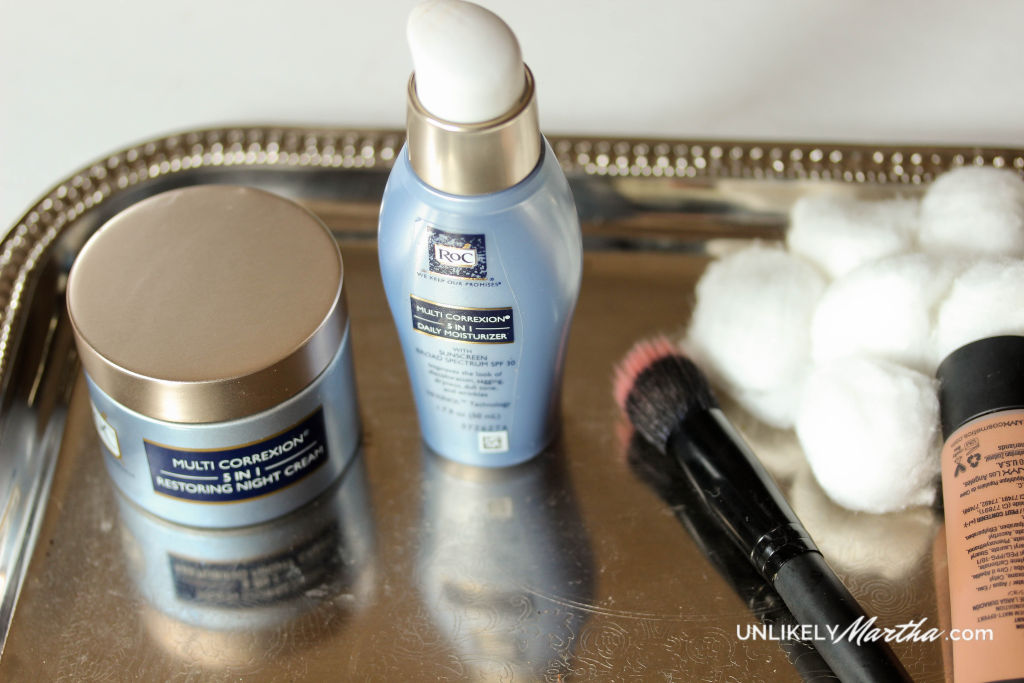
1.) Get your supplies. Nail file, clipper, cuticle stick and cuticle softener. Most of my supplies I get from Dollar Tree and every now and then you can find good brands of polish in there for a $1. I use the nail file that has the different surfaces for filing and sanding off the rough edges. For my raggedy cuticles I use E.L.F. cuticle pen. It’s a $1 and works miracles. You can even stick it in your purse. You can find it at Target, or online.
2.)Get yourself a good base coat. I love Orly bonder. It smells like rubber cement and it is a little pricey at $10. But a bottle will last you a looooooooong time. You can find this at Sally’s, Ulta etc.
3.) No matter what people say, I have found that the cheap cost effective nail polish brands work just as well if you take your time. I have a mash up of brands. However, one of my favorites is the NYC In a New York Color Minute brand. They sell it at Walmart at around $1.79 a bottle. It dries fast (great for moms) and comes in a ton of shades.
4.) It is very important to put on 1 to 2 very thin layers to prevent cracking and chipping. Here is a tutorial I found on Pinterest that I used to learn to polish my nails neatly.

Source: pink-bones.tumblr.com via Corie on Pinterest
5. You need a good top coat. All of the polish blogs I read swear by Seche Vite. I have never tried it. It’s expensive. I use Sally Hansen Clear Acrylic Top Coat. It sells at all your drugstores. Do 1 thin layer, let dry. Then do another thin layer just on your nail tip and then another thin layer that runs the entire length of the nail ( hope that made sense). Basically you will do 2 1/2 layers…got it? Please make sure its thin, otherwise you will find little bubbles.
6.) Smudged? No problem. I learned this trick from one of the besties Kelli. Lick your finger, and gently rub it over the smudged area until it blends in. Once dry, add a very thin layer of topcoat.
7.) If possible sit still for 30 min. to allow everything to dry well. If you are in a hurry after 5 minutes dip fingers in a bowl of cold water to set…but still be a little careful.
8.) Get you a good pair of rubber gloves for cleaning and doing dishes, and reapply a thin topcoat every other day or so.
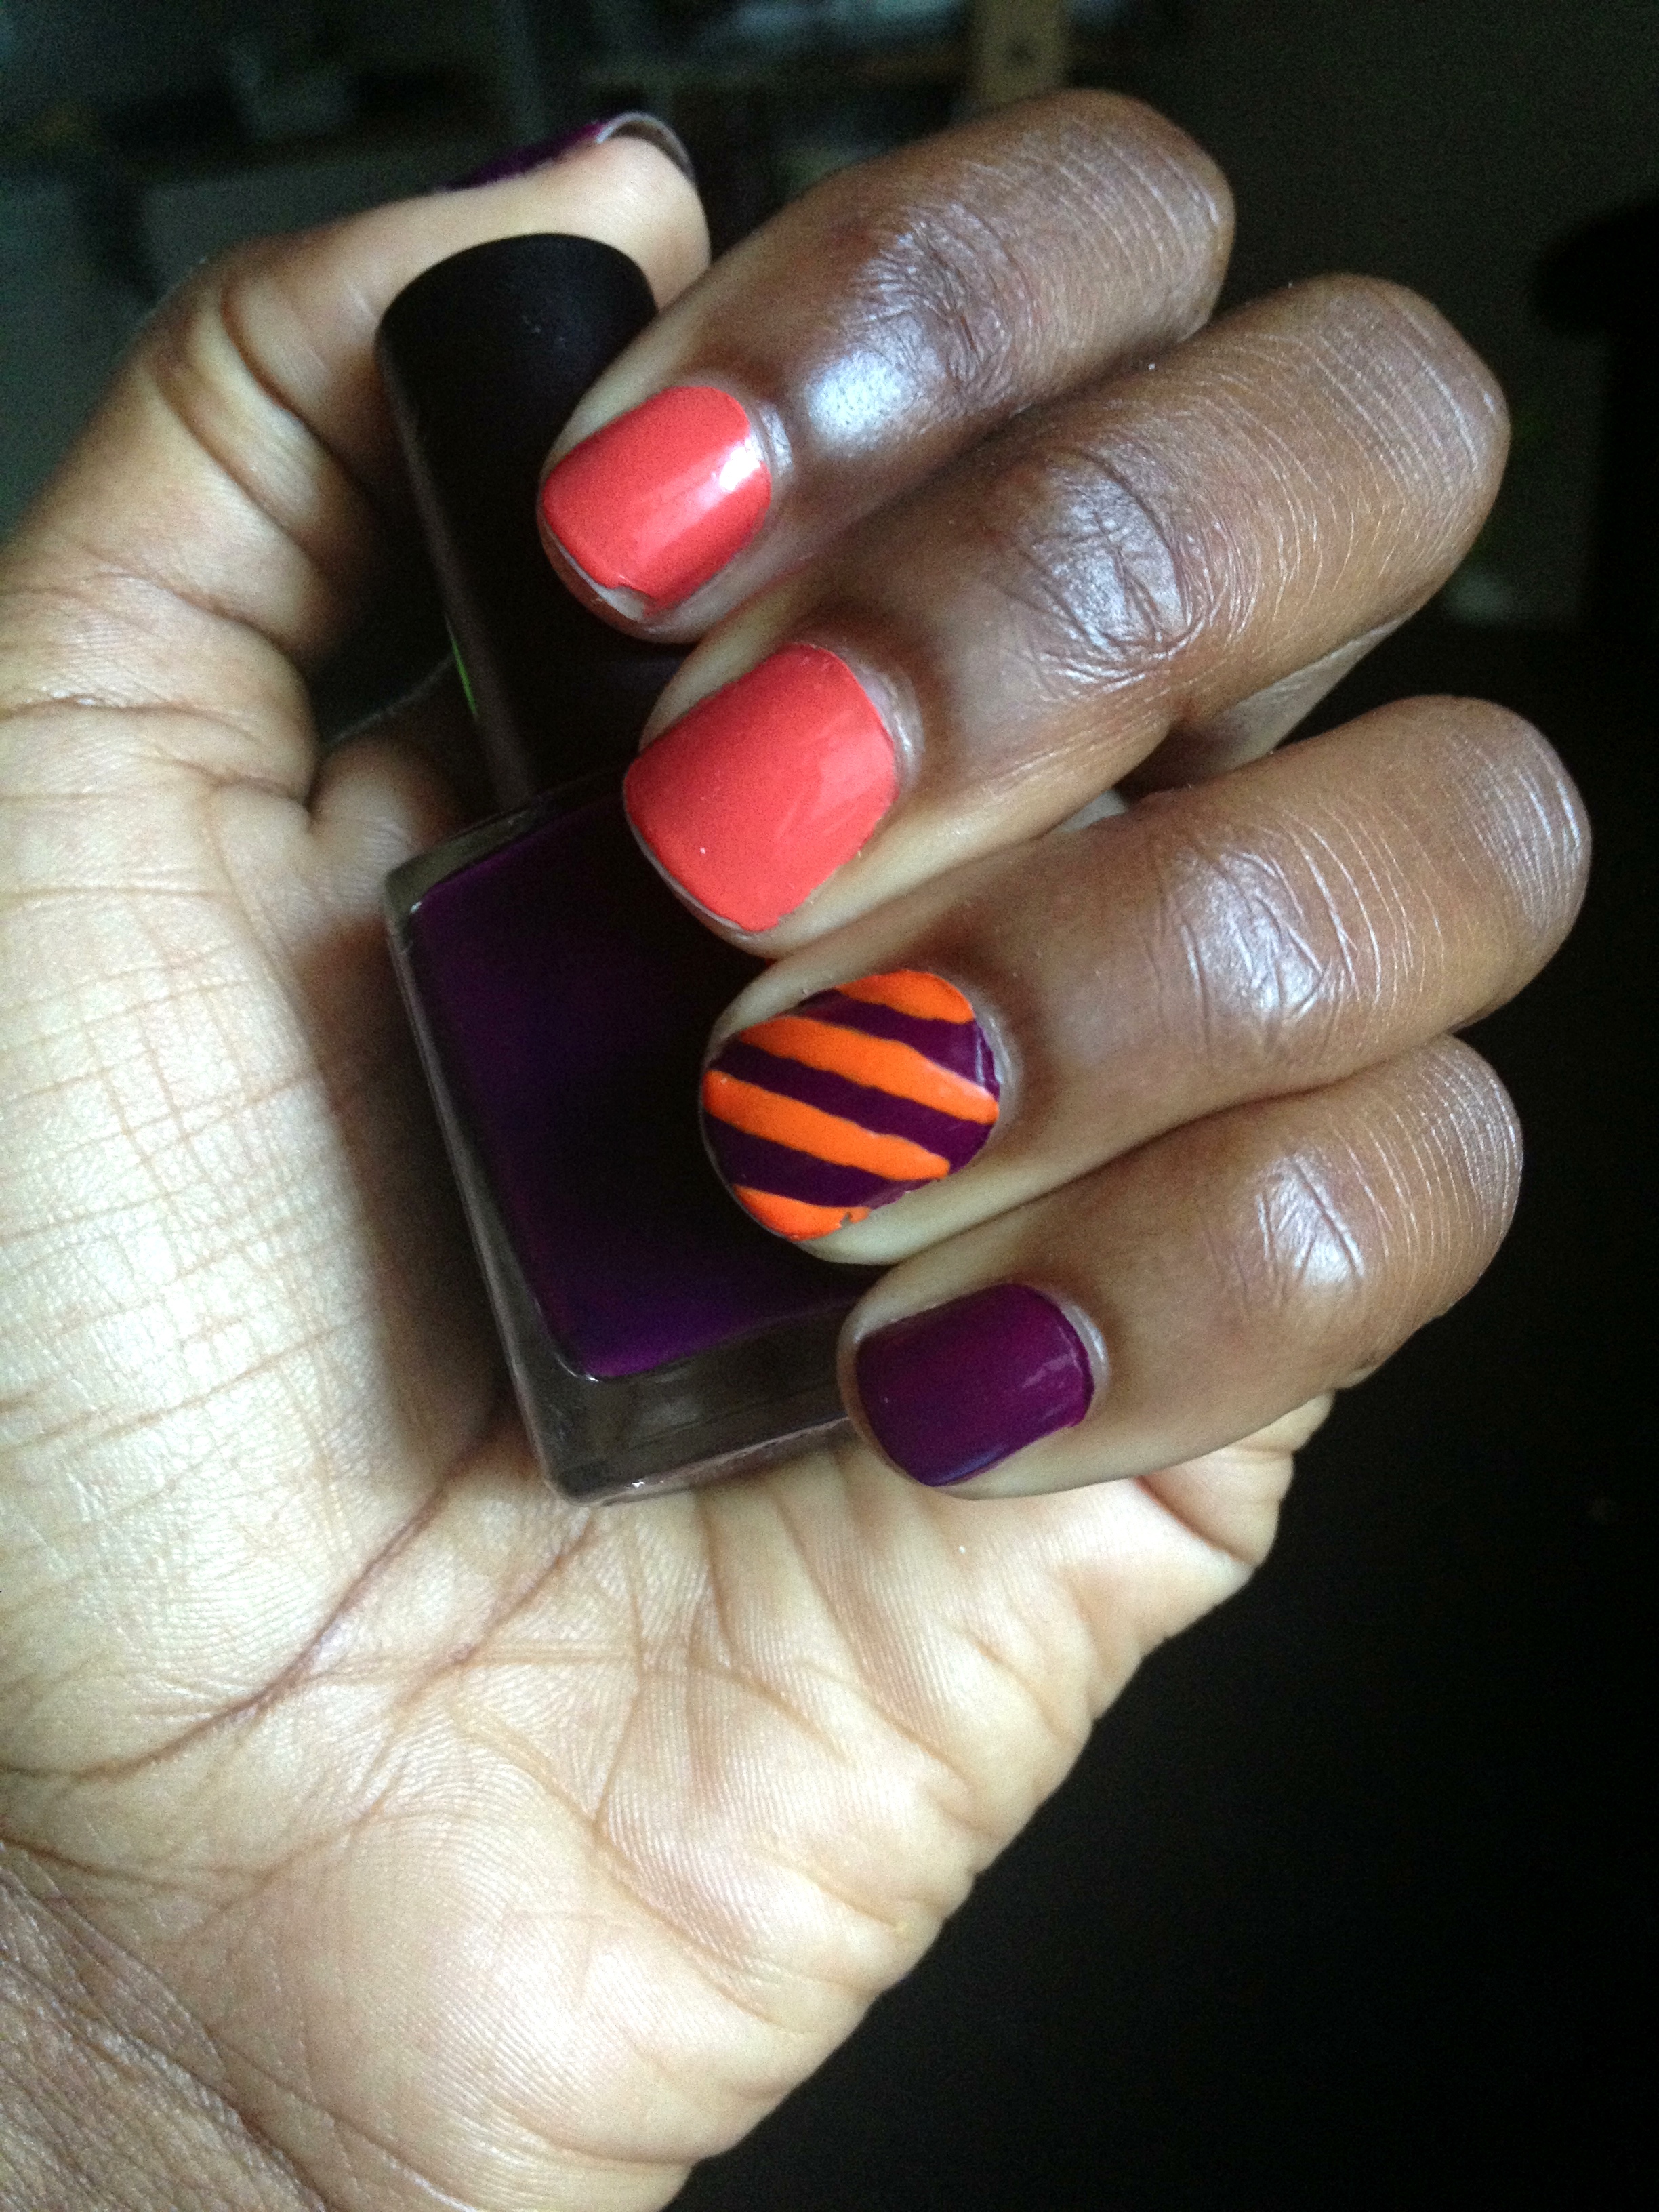
9.) Have fun. Try different combinations. Paint nails different colors. Express yourself!
Can’t wait to see what you girls come up with!

10 Comments
Laila (@OnlyLaila)
December 31, 2012 at 11:16 amIt’s truly on my list to learn how to pain my nails properly. I can do my toes with no problem, my hands not so much. I just give up and head to the salon. Thanks for the tips! Happy 2013, hope to see you in the new year!
Mimi
January 1, 2013 at 3:07 amIt does take practice. Also some of the better polishes the brush makes it much easier to stay in the lines. Go ahead and learn so you can come and link up!
Alisha
December 31, 2012 at 11:59 amLove the tips! I need to start including the oil I use that helps my nails dry fast and moisturizes the cuticles. My mani this week was super Lazy… I mean easy! Have a happy new year!!!
Mimi
January 1, 2013 at 3:08 amI always forget about my cuticles. Pretty nails and ratchet cuticles. I need to do better…especially in the winter!
Tori
December 31, 2012 at 1:30 pmDoing nails take patience…that most people don’t have! lol These tips are spot on.
Raijean
December 31, 2012 at 1:42 pmI love doing my nails! I swear by Seche Vita and OPIi Drip Dry!
Mimi
January 1, 2013 at 3:08 amSomething about a shiny nail makes all better in the world! I have yet to invest in Seche Vite. I keep hearing good things but I’m cheap and don’t want to pay for it!!
Lynn
December 31, 2012 at 3:35 pmHmmm… I never follow the rules when painting my nails! This is a good tutorial though cause it definetly take time and patience. Cause you surely can’t be in a HURRY trying to do your nails and BEST to have let dry too.
~Cheers to a HAPPY NEW YEARS!!!!
Amber
January 1, 2013 at 9:01 pmThanks to you, I got more into painting my nails last year. Instead of going to the nail salon once a month, I can save that $25-$30 bucks! I did go recently to treat myself and have my cuticles pampered a bit. Other than that, it’s home jobs from now on! LOL
Amanda
January 2, 2013 at 1:01 pmI have that same love for nail polish as well. I have a hard time with drying, i can’t sit still that long…lol. I will try the polishing method to achieve better results. Thanks for the tips…….It does feel good when you are typing and see those beautiful colored nails.