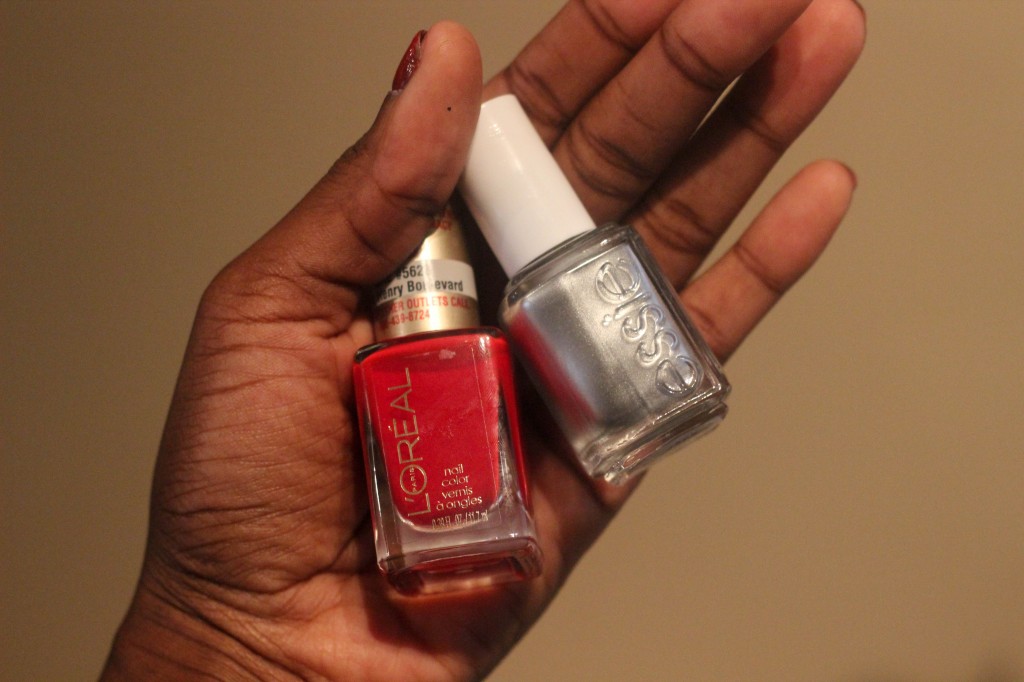
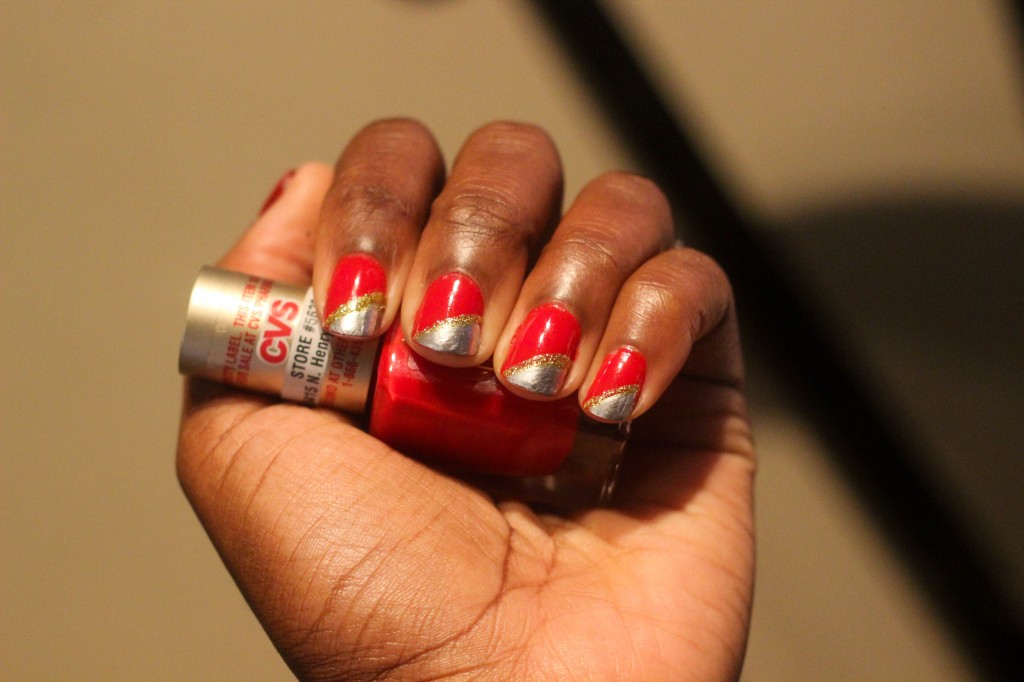
Happy NYE!!!!
I am in the throes of cleaning the house to make sure we go into the new year with clean baseboards and the like so I won’t be linking up until tomorrow after I get all of the nail polish wrecking activities closed out.
To keep it relevant I am reposting a post I did awhile back on how to make your manicure indestructible.
So by now you should not be surprised about my love for nail polish. I have tons of it. I hear a lot of women, especially moms say they don’t have time or choose not to paint their nails because their manicures never last. I normally paint my nails at least twice a week. I rarely get them professionally done, because I don’t have the money to waste. But something as simple as taking the time to paint my nails makes me feel good.
Through trial and error I have discovered some tried and true tricks for making your manicure last longer. As the holidays approach, do something to pep yourself up. Something just as simple as a shiny red nail will do just that. You’ll be surprised at how soothing it is to look at shiny nails typing on a keyboard. It’s just me? Oh…..
1.) Get your supplies. Nail file, clipper, cuticle stick and cuticle softener. Most of my supplies I get from Dollar Tree and every now and then you can find good brands of polish in there for a $1. I use the nail file that has the different surfaces for filing and sanding off the rough edges. For my raggedy cuticles I use E.L.F. cuticle pen. It’s a $1 and works miracles. You can even stick it in your purse. You can find it at Target, or online.
2.)Get yourself a good base coat. I love Orly bonder. It smells like rubber cement and it is a little pricey at $10. But a bottle will last you a looooooooong time. You can find this at Sally’s, Ulta etc.
3.) No matter what people say, I have found that the cheap cost effective nail polish brands work just as well if you take your time. I have a mash up of brands. However, one of my favorites is the NYC In a New York Color Minute brand. They sell it at Walmart at around $1.79 a bottle. It dries fast (great for moms) and comes in a ton of shades.
4.) It is very important to put on 1 to 2 very thin layers to prevent cracking and chipping. Here is a tutorial I found on Pinterest that I used to learn to polish my nails neatly.

Source: pink-bones.tumblr.com via Corie on Pinterest
5. You need a good top coat. All of the polish blogs I read swear by Seche Vite. I have never tried it. It’s expensive. I use Sally Hansen Clear Acrylic Top Coat. It sells at all your drugstores. Do 1 thin layer, let dry. Then do another thin layer just on your nail tip and then another thin layer that runs the entire length of the nail ( hope that made sense). Basically you will do 2 1/2 layers…got it? Please make sure its thin, otherwise you will find little bubbles.
6.) Smudged? No problem. I learned this trick from one of the besties Kelli. Lick your finger, and gently rub it over the smudged area until it blends in. Once dry, add a very thin layer of topcoat.
7.) If possible sit still for 30 min. to allow everything to dry well. If you are in a hurry after 5 minutes dip fingers in a bowl of cold water to set…but still be a little careful.
8.) Get you a good pair of rubber gloves for cleaning and doing dishes, and reapply a thin topcoat every other day or so.
9.) Have fun. Try different combinations. Paint nails different colors. Express yourself!
Can’t wait to see what you girls come up with!
