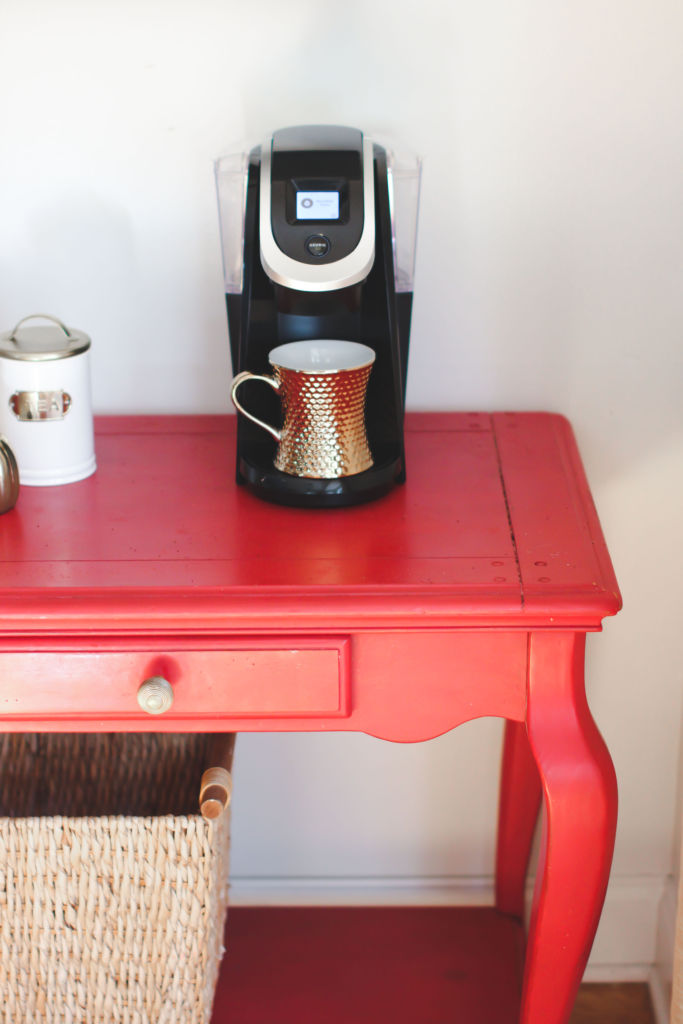
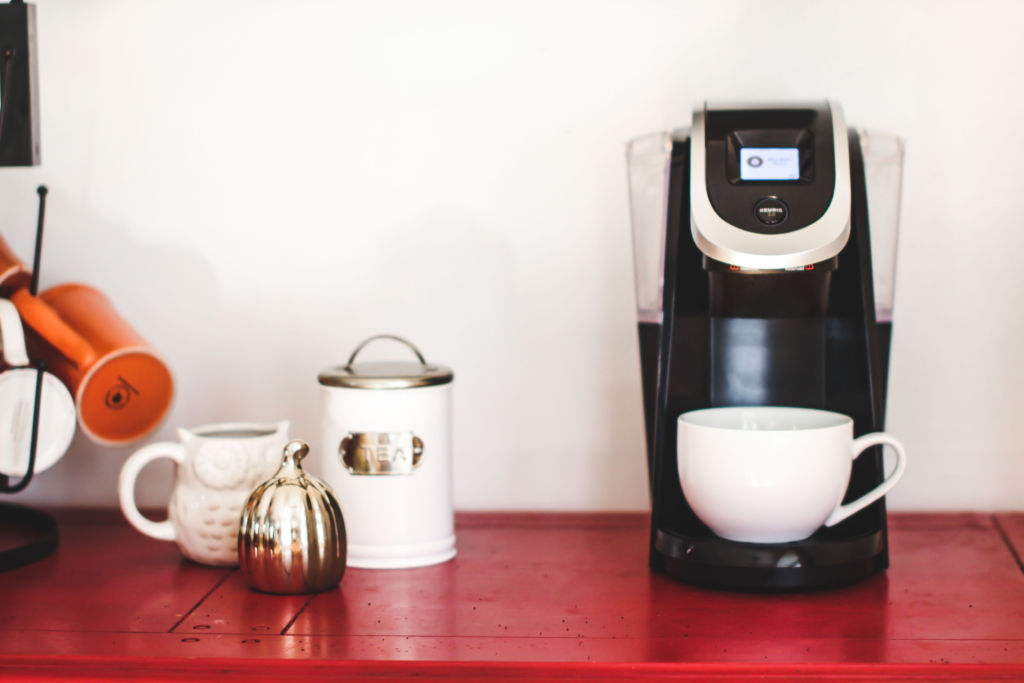
I drink coffee daily. It’s like a reflex, fix breakfast, pack lunchbox, put child on school bus, make coffee.
Then do the things.
I’ve mentioned before I use the zone cleaning method to keep my house clean, and weekly I take care to wipe down the Keurig and the coffee station when I’m in the kitchen zone. Recently I couldn’t recall the last time I broke down the Keurig for a deep clean.
I’m talking take it apart and descale clean.
While a little cumbersome and time intensive, cleaning your Keurig is something you need to put on your monthly cleaning list. Calcium backup, rogue coffee grinds and sitting water is just a recipe for disgusting gook and nasty coffee.
Nobody has time for nasty coffee, literally and figuratively.
Can’t remember the last time, if ever you bothered to deep clean your Keurig? I got you.
Here’s how.

YOU WILL NEED:
| Descaling solution or white vinegar
| Soapy water
| Cleaning cloth, preferably a lint free microfiber one
| Water filter if needed
STEPS:
(note there are are many different Keurig models. These steps are generic but if you find you need more specific info I would encourage you to google your model for more info)
| Start with lifting the arm and pulling out the actual housing where you place the k-cup ( be careful, there is a needle inside this casing that punctures the k-cup)
| Remove water reservoir, drip pan and grate. Be sure to remove the water filter from the reservoir
| Once these parts are removed soak and wash them in warm soapy water
| With the reservoir, casing and drip pan parts soaking, take a soapy cloth and wash the inside of the area where the casing is housed, as well as the outside of the machine.

| Once the machine and components are cleaned, put the machine back together, replacing or putting in a new water filter and turn it on.
| Once the reservoir and water filter are back in place, if using Keurig descaling solution follow the directions on the bottle for your model. Mine required me to pour the whole bottle in and add a full bottle of water to it. If using white vinegar, fill to the max water level line.
| Turn the Keurig on and run multiple cycles until you need to replace the water. (you will see all kinds of coffee grounds in the water, as you continue to run the cycles the water will become clear)
| Once the first set of cycles are done, add another full reservoir of water and continue to run cleansing cycles until more water is needed.
| All done!
Here’s a little video if you need a little visual reinforcement. Please be sure to follow my Youtube channel for all of my video content!
Do you drink coffee? Do you prefer to make it on your own or grab it on the go?


10 Comments
LaShawn
November 2, 2017 at 5:56 amI just descaled mine last week. I was overdue!
Aaronica
November 2, 2017 at 10:36 amSooooo I’m like the only one who hasn’t done this huh?
Mimi
November 4, 2017 at 12:14 amDo I need to come do this for you? No dirty coffee Sis!
april brumm
November 2, 2017 at 10:39 amperfectly done!!!
Mimi
November 4, 2017 at 12:15 amThanks neighbor!
Anitra
November 2, 2017 at 9:00 pmI don’t even drink coffee and I’m ready to go buy a Keurig just to clean it. LOL am buying my mom one for Christmas and will be sure to shate this with her.
Mimi
November 4, 2017 at 12:16 amYou had me up in Aldi trying to get a braiser and they were all sold out! I got the dutch oven last year
Brittany
November 3, 2017 at 6:16 amThis makes so much sense and it might explain how even though I run hot water TWICE, my tea still tastes like coffee. Looks like we need to clean ours. Thanks for the great post and video!
Mimi
November 4, 2017 at 12:16 amYes, give it a good clean!
Anton
November 20, 2017 at 2:20 pmPerfect guide on how to clean a Keurig coffee maker. I really like the fact that you created a video for this, making it extremely easy to follow.