All Posts By

Food Recipes

Cranberry Lemon Pound Cake

Frankly speaking, my cranberry of choice comes out of a can, lines and all. Save your fresh cranberries on Thanksgiving and Christmas, I’ll take mine out of the can. Thanks.

I think there is something about the lemon, sugar and buttermilk, that takes some of the tartness out of the cranberries and makes it blend so perfectly in the morning with a cup of coffee….and yes I eat cake for breakfast.

Cranberry Lemon Pound Cake


Cranberry Lemon Pound Cake

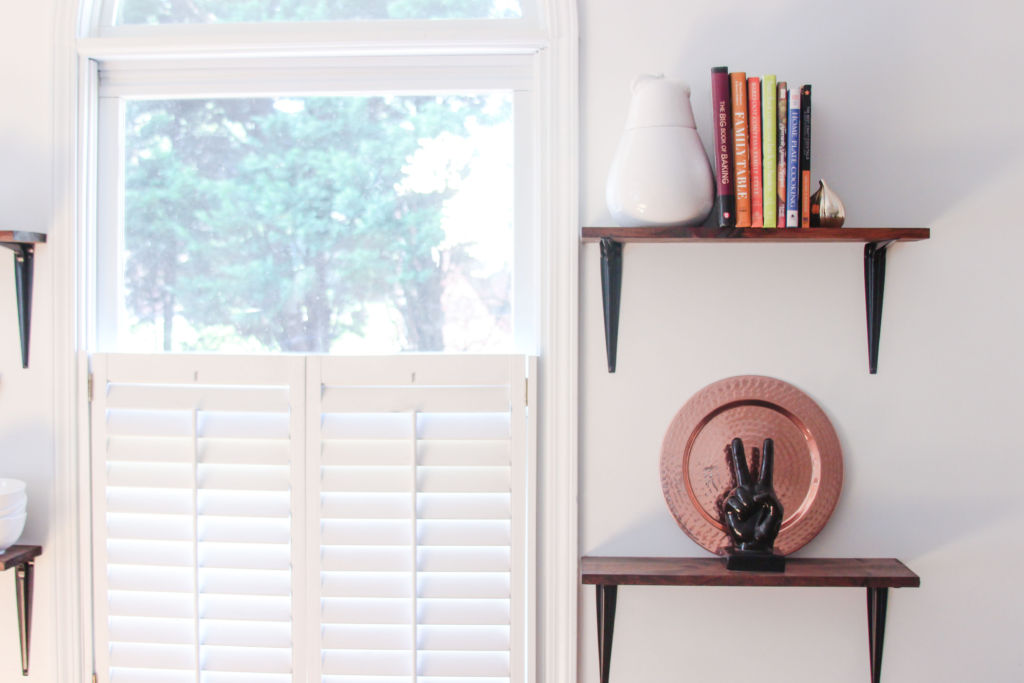
As we move away from pumpkin everything and toward cranberry and other seasonal tastes I thought it would be a good time to share this recipe with you.

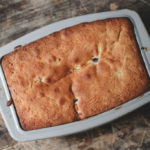
So, here goes a true story. I made a mistake and added baking soda instead of baking powder, then I decided to not make two pans and tried to get a way with one and the cake crumbled.

I tried this silicone pan in place of my good ole trusty bread pans that I usually flour but didn’t, cause silicone. The cake stuck.

So sorry I don’t have a Pinterest worthy image to insert here.

Don’t be like me. Make two cakes out of the mixture and flour your cake pans. It is so rich that it will do better in two batches unless you love ugly crumbled cake. In that case go for it.

It’ll still taste good.

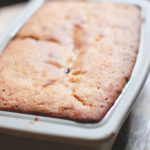
{ Please note, I captured these photos before the middle of the cake sunk in}
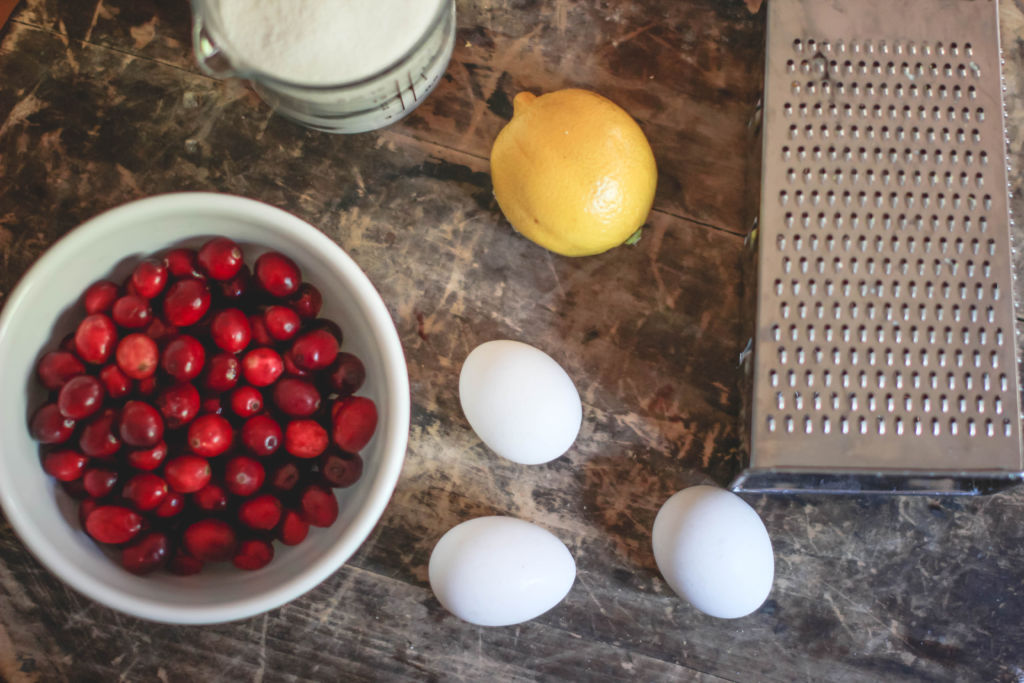
Cranberry Lemon Pound Cake
Prep time:
Cook time:
Total time:
Ingredients
  • 3 Eggs
  • 2 Cups of Fresh Cranberries
  • 1 Tbsp of Lemon Zest
  • 2Tbsp of Lemon Juice
  • 2 tsp Baking Powder
  • 21/2 Cups of Flour
  • 1 tsp of Salt
  • 1 3/4 Cups of Sugar
  • 1 tsp of Vanilla
  • 1 Cup of Butter
  • 3/4 Cup of Buttermilk
Instructions
  1. Preheat oven to 325
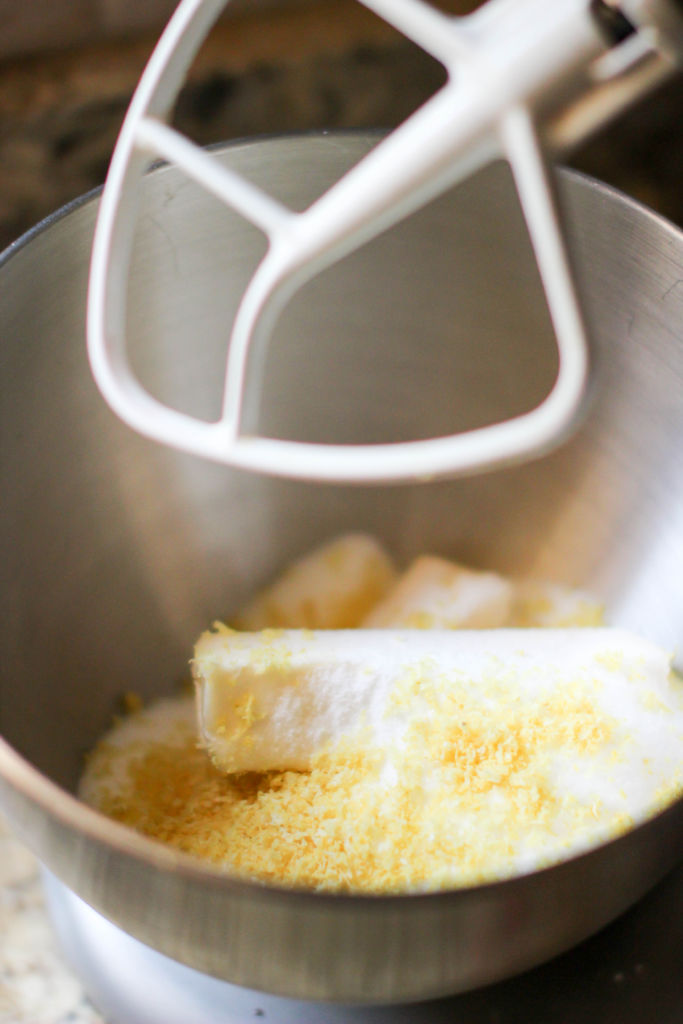
  2. Mix the butter, sugar and lemon zest together
  3. Add in eggs one at a time. Make sure one is fully mixed in before you add the others
  4. Add in vanilla and lemon juice
  5. In a separate bowl mix together the flour, salt and baking powder
  6. Alternate adding in the dry mix with the buttermilk ( so a little dry mix, a little buttermilk…….)
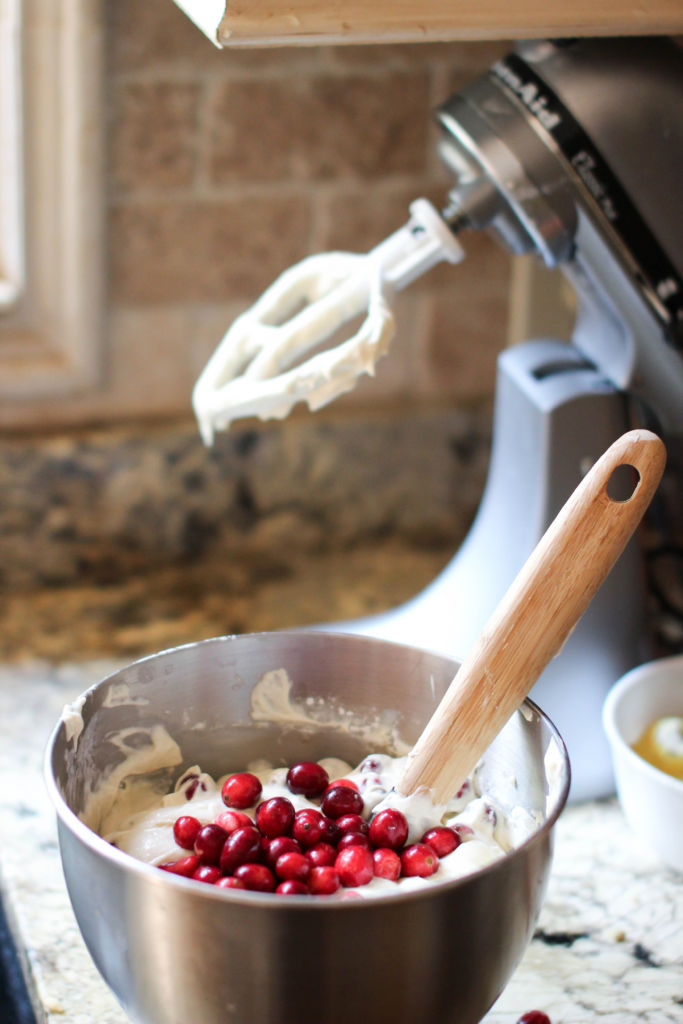
  7. Gently fold the cranberries into the mixture
  8. Bake for about 50 minutes


Oh before you go, Would you mind giving your girl a little votey vote for the Domino Magazine Design Blog of the Year Award? Go HERE, scroll down to the section that says ” A Little bit of Everything….” and vote Unlikely Martha.

Thanks friend.

SaveSave

SaveSave

SaveSaveSaveSave

SaveSave

SaveSaveSaveSave

SaveSave

Fall kitchen decor
DIY Home

DIY Open Shelves

It’s the weekend, and you do know weekends are the perfect time to tackle those pesky little projects that you’ve been walking past month after month vowing to get to. I know that struggle of having every intention to spruce this up or primp that there and then life and Netflix binge watching sessions and then…..a year passes and those things still aren’t done.

Apprehension for tackling some of those things I’m sure comes from thinking about the cost and time involved but I’m here to tell you taking the time and spending the money to make things a little bit prettier, and  a little more organized in your home pays for itself a million times over.

I can’t stress enough, we are less stressed when our digs are calming and easy on the eyes.

If you are looking for a quick weekend DIY these open shelves cost less than $40 and take about 5 hours to complete.

N E C E S S I T I E S

Plywood board

Look at your space and pick the size and type of wood you want based on the look you are going after. My board was either 16 or 20 inches. I knew I wanted four shelves so I went with a measurement that was divisible by 4. I then had three cuts done at the store. Home Depot does at least 2 cuts for free, I wasn’t charged for 3rd cut. Be sure to ask at your local store. Lastly, I think my board was about $15.

Wood Stain

A quart was all I needed and I had plenty left over.

Wall Brackets

When picking these, consider how much weight you need them to hold up and purchase accordingly. Also be sure to get brackets that have holes at the top  so you can screw the shelf onto the bracket. I used these

Screws

Level


T H E  W O R K

The hardest part about this project was measuring. I had to do a little finger counting, side head leaning, and unscrewing but I finally got it. I recommend you screw into the studs for support.

Once you have measured out where you want the shelves to hang and located the studs, screw in one bracket and use your level to help you place the second one.

After your brackets are hung it’s smooth sailing. Grab your stain and an old cloth and wipe on the stain as heavy or light as you want.

If you wish, add a clear sealant, I didn’t want mine shiny so I skipped this step.

Once the stain was dry to the touch, I attached them to the brackets. I did let them dry overnight before placing anything on them.


white kitchen


how to hang a gallery wall


Fall kitchen decor


Fall kitchen decor


Soooooo have I inspired you to tackle a tiny weekend DIY project or nah?!

Oh, before you go. Remember the Domino Magazine Award I’m up for? Well voting has been extended until Tuesday. I would love it if you gave me a vote everyday until then. Once on the page scroll down to the section titled “A Little Bit of Everything and vote for Unlikely Martha! VOTE HERE 

Have a great weekend friends.


SaveSave

SaveSave

How to Clean A Keurig
Home Video

How to Clean and Descale Your Keurig + Video

I drink coffee daily. It’s like a reflex, fix breakfast, pack lunchbox, put child on school bus, make coffee.

Then do the things.

I’ve mentioned before I use the zone cleaning method to keep my house clean, and weekly I take care to wipe down the Keurig and the coffee station when I’m in the kitchen zone. Recently I couldn’t recall the last time I broke down the Keurig for a deep clean.

I’m talking take it apart and descale clean.

While a little cumbersome and time intensive, cleaning your Keurig is something you need to put on your monthly cleaning list. Calcium backup, rogue coffee grinds and sitting water is just a recipe for disgusting gook and nasty coffee.

Nobody has time for nasty coffee, literally and figuratively.

Can’t remember the last time, if ever you bothered to deep clean your Keurig? I got you.

Here’s how.

How to Clean A Keurig


YOU WILL NEED:

| Descaling solution or white vinegar

| Soapy water

| Cleaning cloth, preferably a lint free microfiber one

| Water filter if needed

STEPS:

(note there are are many different Keurig models. These steps are generic but if you find you need more specific info I would encourage you to google your model for more info)

Start with lifting the arm and pulling out the actual housing where you place the k-cup ( be careful, there is a needle inside this casing that punctures the k-cup)

| Remove water reservoir, drip pan and grate. Be sure to remove the water filter from the reservoir

| Once these parts are removed soak and wash them in warm soapy water

| With the reservoir, casing and drip pan parts soaking, take a soapy cloth and wash the inside of the area where the casing is housed, as well as the outside of the machine.

How to clean a Keurig

| Once the machine and components are cleaned, put the machine back together, replacing or putting in a new water filter and turn it on.

| Once the reservoir and water filter are back in place, if using Keurig descaling solution follow the directions on the bottle for your model. Mine required me to pour the whole bottle in and add a full bottle of water to it. If using white vinegar, fill to the max water level line.

| Turn the Keurig on and run multiple cycles until you need to replace the water. (you will see all kinds of coffee grounds in the water, as you continue to run the cycles the water will become clear)

| Once the first set of cycles are done, add another full reservoir of water and continue to run cleansing cycles until more water is needed.

| All done!

Here’s a little video if you need a little visual reinforcement. Please be sure to follow my Youtube channel for all of my video content!


Do you drink coffee? Do you prefer to make it on your own or grab it on the go?

Athleta Girl
Health Life

Steps Mothers & Daughters Can Take to Reduce Breast Cancer Risk

 This is a sponsored post in partnership with Breast Cancer and the Environment Research Program.

October may be over but discussions around breast cancer awareness must and need to continue.

Discussions between mothers and daughters, and girlfriends need to continue. As women we need to be encouraging one another to be diligent about being in tune with our bodies and stopping to take care of ourselves before helping every one else.

Breast cancer has been and is currently  too close for comfort. Prevention and awareness education is just one small step that can have an enormous impact in regards to early detection and possible prevention.

Scientists, physicians, and community partners in the Breast Cancer and the Environment Research Program (BCERP), which is supported by the National Institutes of Health (NIH), study the effects of environmental exposures on breast cancer risk later in life. One of their initiatives involves encouraging mothers to start talking to and  educating their daughters on behaviors that may decrease the risks of breast cancer.

While my Addison is not quite of the age where I can have a serious talk with her about breast cancer, as her mother I can start with setting healthy habits and standards for her at an early age. Simple things like removing BPA products from our home and eating out of glass containers. There are so many factors that can’t be pinpointed as environmental risk factors for breast cancer but the changes are so minimal and overall healthy for our bodies that making these changes shouldn’t be very difficult in relation to the possible overall benefits.

This mother daughter toolkit has some great information on small changes you can make to possibly reduce the chances of developing breast cancer. The image below outlines a few  important steps that we can take in possibly reducing the risk of breast cancer.

Breast cancer research is so important. The Breast Cancer and the Environment Research Program needs our help in furthering their studies. Please take a few minutes to fill out this survey. The information you provide just may go towards finding a cure. You can find the survey HERE.


SaveSave