
It’s the weekend, and you do know weekends are the perfect time to tackle those pesky little projects that you’ve been walking past month after month vowing to get to. I know that struggle of having every intention to spruce this up or primp that there and then life and Netflix binge watching sessions and then…..a year passes and those things still aren’t done.
Apprehension for tackling some of those things I’m sure comes from thinking about the cost and time involved but I’m here to tell you taking the time and spending the money to make things a little bit prettier, and a little more organized in your home pays for itself a million times over.
I can’t stress enough, we are less stressed when our digs are calming and easy on the eyes.
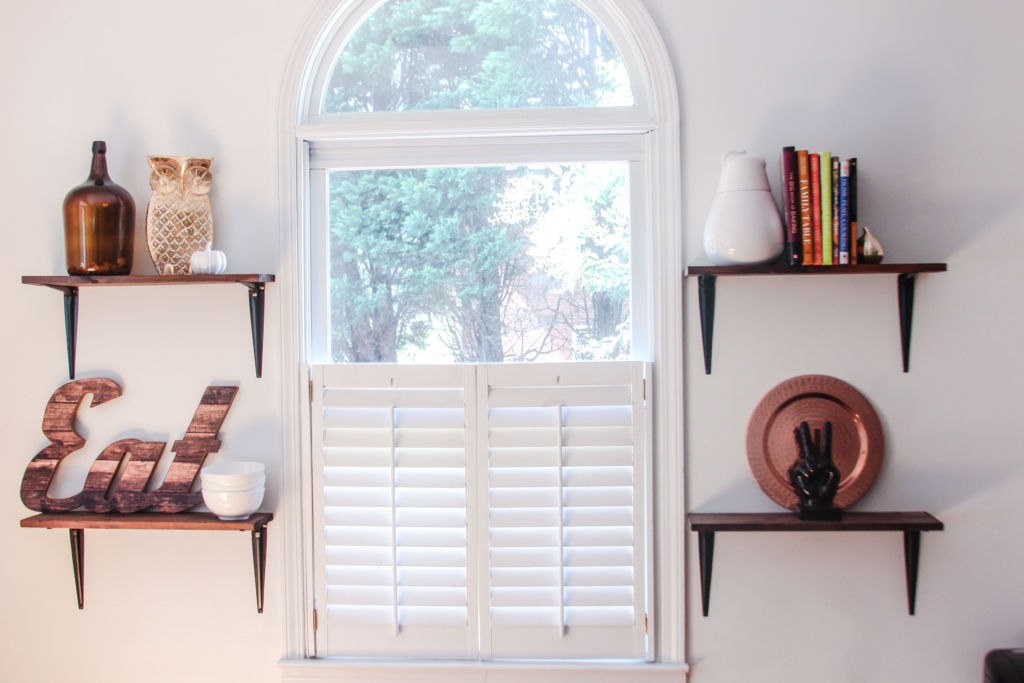
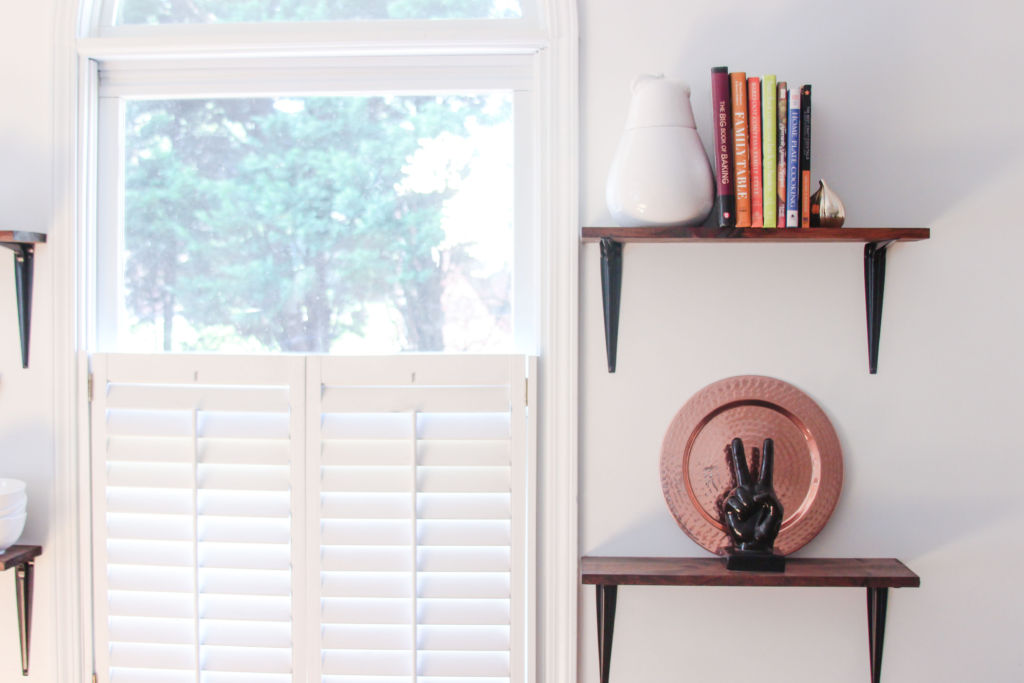
If you are looking for a quick weekend DIY these open shelves cost less than $40 and take about 5 hours to complete.
N E C E S S I T I E S
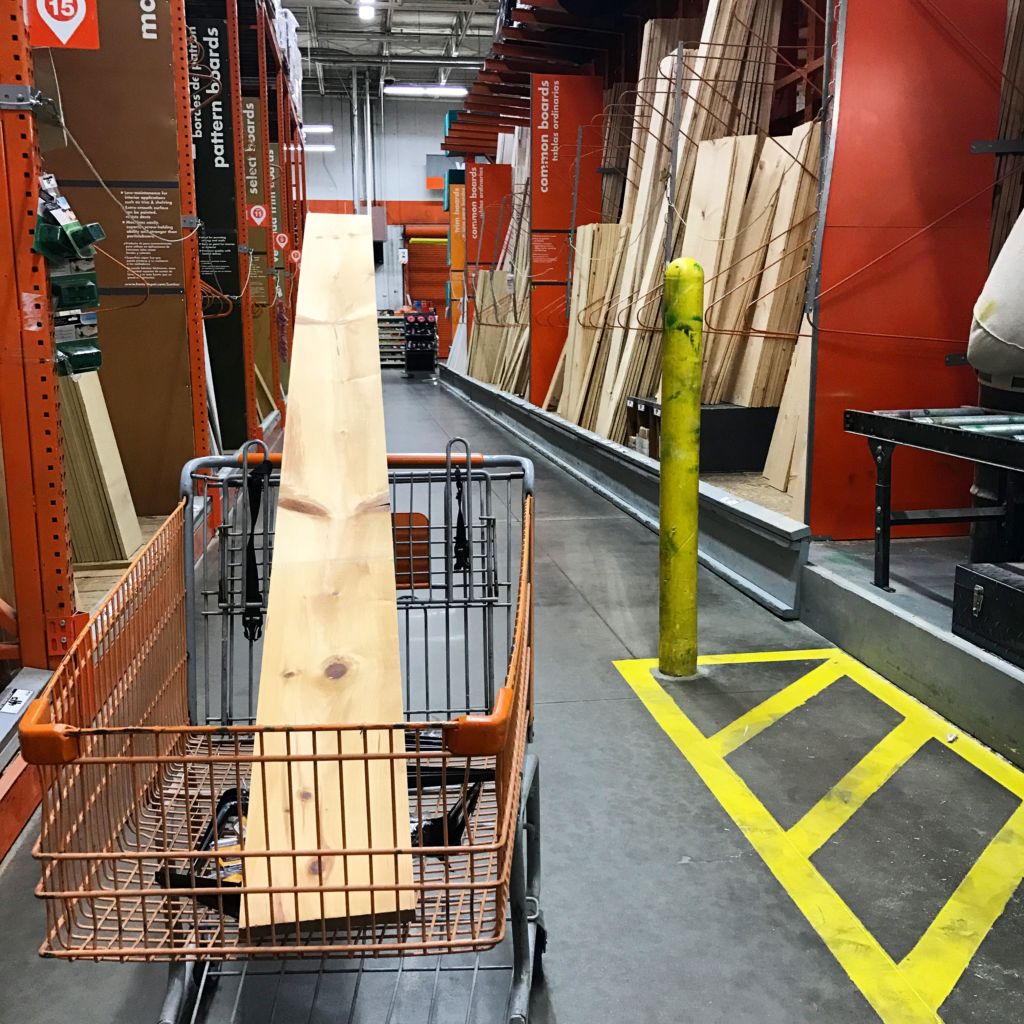
Plywood board
Look at your space and pick the size and type of wood you want based on the look you are going after. My board was either 16 or 20 inches. I knew I wanted four shelves so I went with a measurement that was divisible by 4. I then had three cuts done at the store. Home Depot does at least 2 cuts for free, I wasn’t charged for 3rd cut. Be sure to ask at your local store. Lastly, I think my board was about $15.
Wood Stain
A quart was all I needed and I had plenty left over.
Wall Brackets
When picking these, consider how much weight you need them to hold up and purchase accordingly. Also be sure to get brackets that have holes at the top so you can screw the shelf onto the bracket. I used these
Screws
Level
T H E W O R K
The hardest part about this project was measuring. I had to do a little finger counting, side head leaning, and unscrewing but I finally got it. I recommend you screw into the studs for support.
Once you have measured out where you want the shelves to hang and located the studs, screw in one bracket and use your level to help you place the second one.
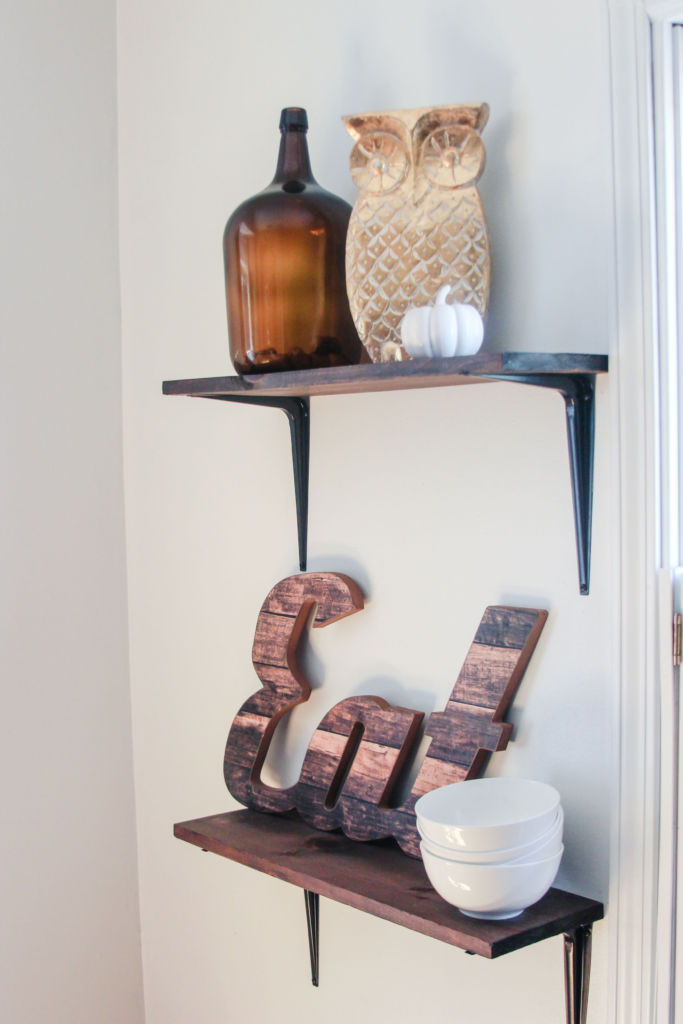
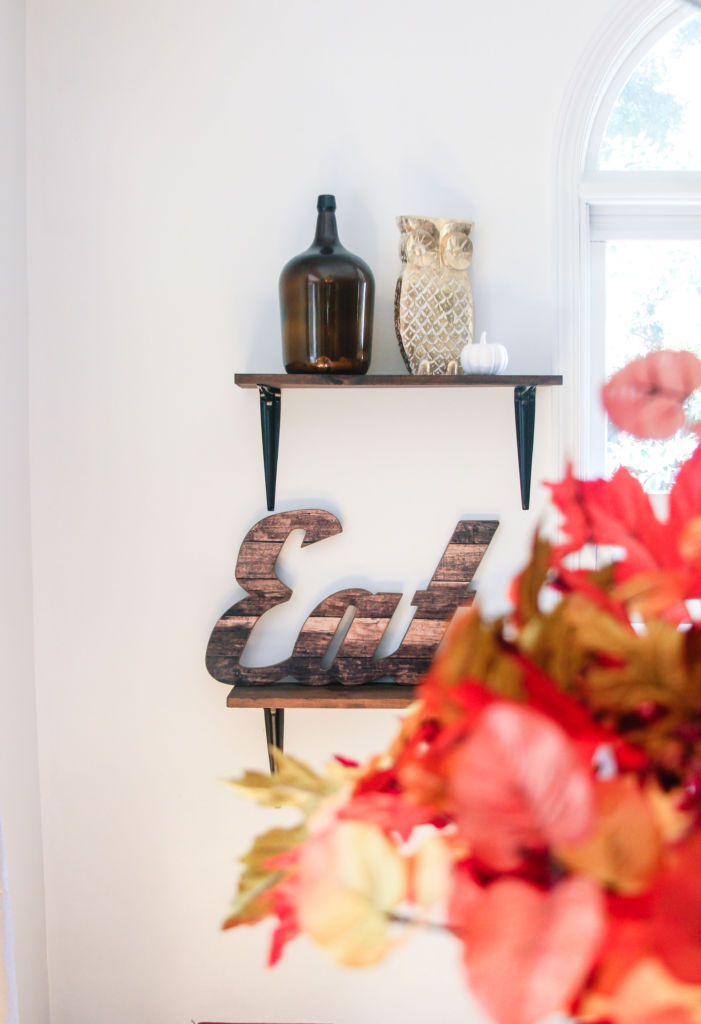
After your brackets are hung it’s smooth sailing. Grab your stain and an old cloth and wipe on the stain as heavy or light as you want.
If you wish, add a clear sealant, I didn’t want mine shiny so I skipped this step.
Once the stain was dry to the touch, I attached them to the brackets. I did let them dry overnight before placing anything on them.
Soooooo have I inspired you to tackle a tiny weekend DIY project or nah?!
Oh, before you go. Remember the Domino Magazine Award I’m up for? Well voting has been extended until Tuesday. I would love it if you gave me a vote everyday until then. Once on the page scroll down to the section titled “A Little Bit of Everything and vote for Unlikely Martha! VOTE HERE
Have a great weekend friends.

3 Comments
MJ
November 3, 2017 at 8:22 pmThese are super cute. I would do these in the kids rooms. Truly I want to knock down all the cupboards in our kitchen and do a mixture of open shelving and well organized closets.
Mimi
November 4, 2017 at 12:17 amEventually I think I am going to take out the ones across from the island. I don’t really use those so I don’t think they will be missed. When I win the lottery for sure!
7 Easy Tips for Keeping Houseplants Alive - Unlikely Martha
February 28, 2018 at 7:59 am[…] The open shelves in my kitchen needed a little love for the spring and what better way than with houseplants. I’m proud to say I rescued some from a dry death that was the clearance rack at Walmart. With a little water, some light and love they came right back. The others came from Lowes and Home Depot. […]