Seeing someone with a high powered camera can do something to our psyche. One of which may cause you to tuck your little seemingly unimportant point and shoot into your pocket or purse out of frustration, and maybe even envy.
Fret not.
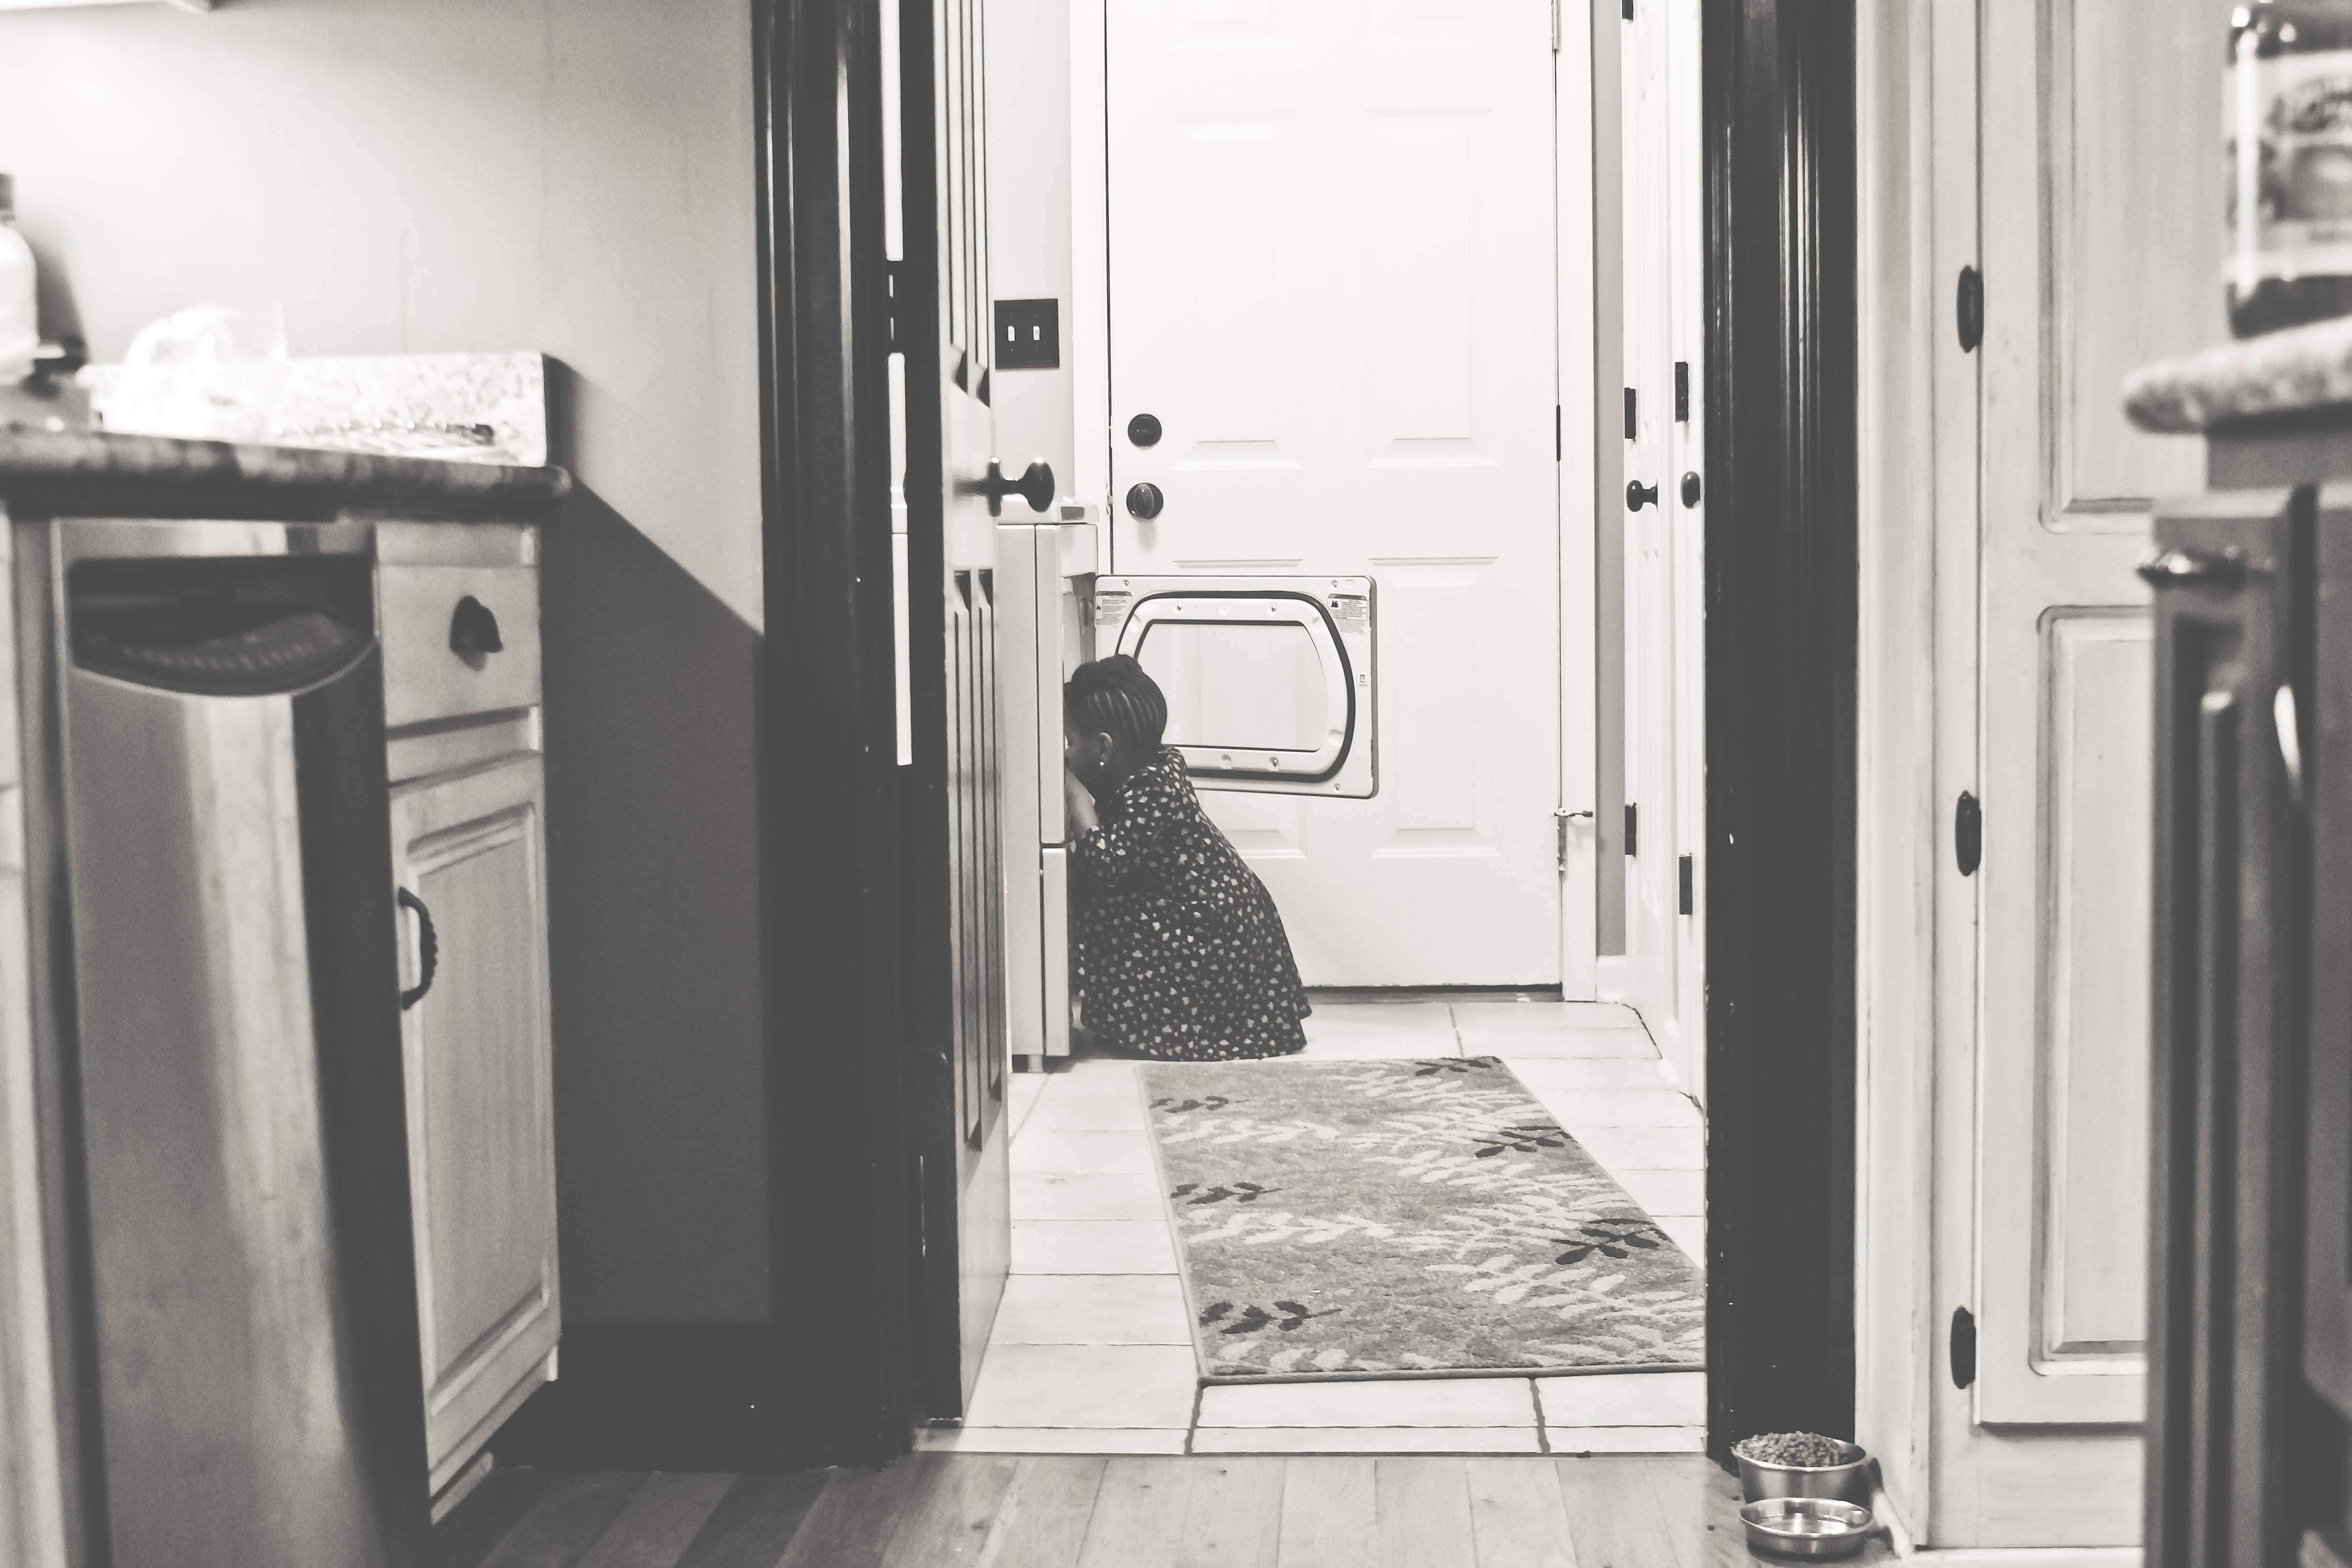
Today I am going to give you some tips on how to get a good photo with your point and shoot. To further prove my point all photos in this post were taken with my Samsung, under $200 point and shoot that I reviewed here.
LIGHT: Lights. Camera. Action. Come to the liiiiiiiiiiiiiight. Just give me the light. All of that.
Photography exists because of light. Without it you have bad pictures. This is one of the major aspects that put DSLRs on a pedestal. They offer you the ability to control the Photography Triangle, allowing you to take better photos in low light. We won’t be getting into that today. This is all about the point and shoot and your creativity.
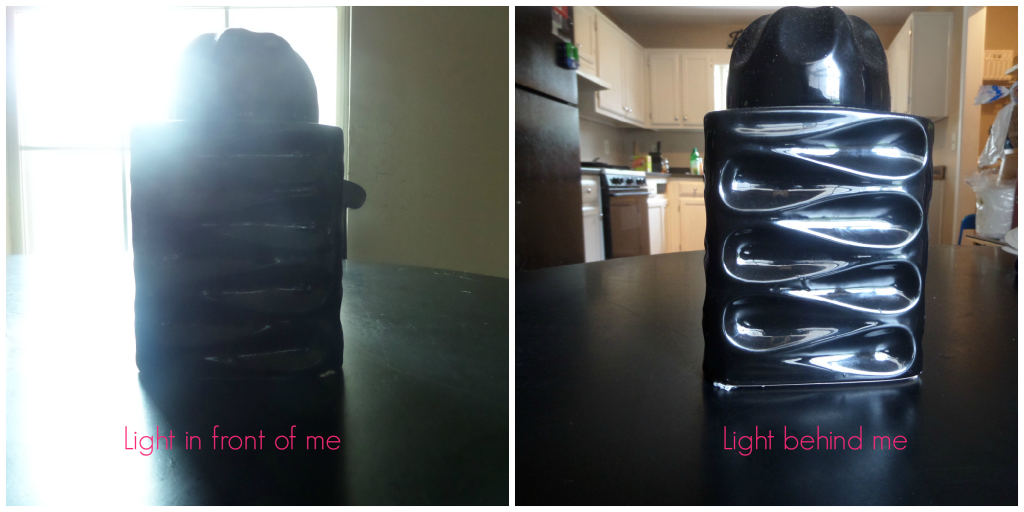
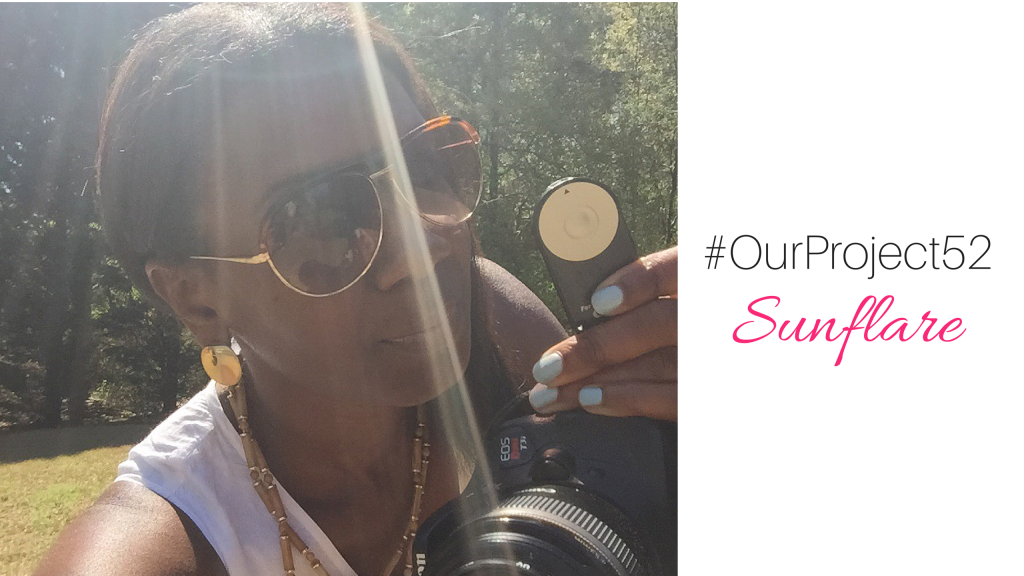
Find your light. It can be a window, a lamp, a cell phone…hey it’s all light. When you find the light, assess the situation. At times you will find it is better to put the light behind you so that it is shining on your subject. This can get tricky with sunlight because you may get a squint if its a person but its better than facing the sun and having shadows. When photographing products you may find it better to shine the light down. Being aware of the light and its effects on your subject can help create an amazing image when you learn what works. Play around and see what works best based on what you are photographing.
COMPOSITION: Point and shoot…This is to be taken figuratively, not literally.
It is by habit that we find something we want to photograph, focus and click. Today that stops. Amazing photos are eye catching for a reason. The photographer took a step back to compose the photo in a way that would be flattering. It is human nature to want to put our subject in the middle of the shot but at times that is the worst place. Take out the the time to compose your shot.
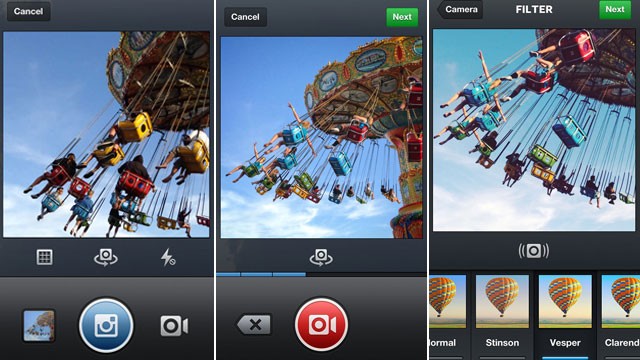
The rule of thirds is an important and fairly easy concept to grasp when composing a shot. Ever seen that little grid show up in your camera or phone? Use it. The idea is that you want your subject to fall where the vertical and horizontal lines intersect.
Source
By doing so you are creating an image that is visually appealing. While this is not always possible, when you see the opportunity run with it. Trust me.
POSITION: Positioning is important in our personal lives and I’m here to tell you it is just as important in photography, especially with a point and shoot.
Your average point and shoot has the option to zoom but with that you may find the photo getting a little grainy or losing it’s quality. This is the point where you *gasp* use your legs. Get close, bend down, get on the floor. Get the shot. If your baby is on the floor why are you standing? I’ll wait.
With a P&S it is normal to want to stand a normal distance away, when in reality just taking a few steps closer to the subject will make a difference. I get that there is a standard level of personal space but I say that doesn’t exist in photography. Get as close as you can so that you don’t lose any of your subject while COMPOSING the shot. Cause we are no longer just pointing and shooting..remember?!
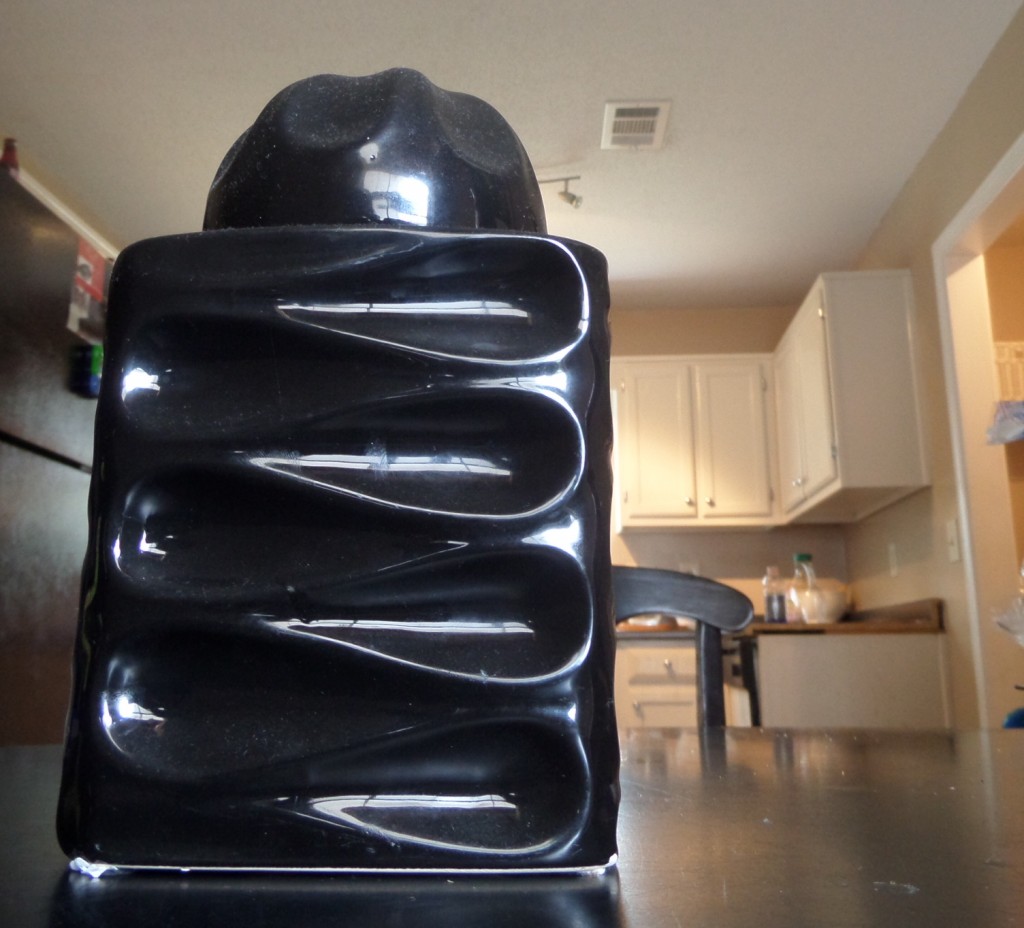
If the baby is on the floor get on the floor. Get eye level with the toy they are grabbing, this adds perspective and depth. The photo below isn’t the greatest but it shows the small difference that can be made by composing a shot and playing with the angles. I shot this with the camera looking slightly upward at the vase instead of straight on.
BE PATIENT: Waaaiiiiiiiiiiiit for it!
If you are not trying to just grab a snap shot of the homies during girls night out or catch your child accepting their perfect attendance award, be patient.
Again, those words Point and Shoot get taken literally. Sometimes it should be more like point…..focus….wait…………………..shoot. During this time you may find yourself slightly pressing the shutter to refocus but I urge you to wait on those moments, especially when photographing children. If it looks like they are about to jump, get low, hold your finger on the shutter and at that perfect time hit the shutter button. I’m not saying you will get it right the first time but with practice you will learn how to time those moments. I love action shots so my finger lives on my shutter, I get lots of bad sometimes but when I get the good. Hallelujah!
I hope some of these tips help. On the next installment we’ll talk in depth about using free photo editors to adjust the white balance, crop, etc. Just because it can’t be done in the camera doesn’t mean it can’t be done!



23 Comments
Kita
June 19, 2013 at 2:44 pm*secretly writes this down for references* Great tips not that I am into photography or anything like that…………
Mimi
June 20, 2013 at 3:14 pmRiiiiiiiiiiiiiiiiiiiiiiiiiiiiiiiiiiiiiiiiiiiiiiiiiiiiiiiiiiiiiiiiiight!
Preshus Me
June 19, 2013 at 3:03 pmGreat tips! I want to get back into taking better pictures, this helps!
Mimi
June 20, 2013 at 3:15 pmThank you for stopping by! I hope they help. These are the basics but without the basis there is nothing.
Prototype Mama
June 19, 2013 at 3:04 pmReally great tips– so glad you decided to share some of your skills– I’m getting better with my Nikon but I’m still a work in progress— it’s my summer goal
Mimi
June 20, 2013 at 3:16 pmI’ll get around to the DSLR. That is going to take some time because there are really so many components. Just put your camera in Auto and play with the basics, and finding your “eye”. The rest is pretty technical but if you have the basics that part should be a breeze.
uniquelybrandid
June 19, 2013 at 3:08 pmI love this. I was so sure I needed to get a DSLR to take better pictures. Then I thought “, If I don’t know anything about cameras or taking pictures, how is a bigger more expensive more manually operated camera going to help me?” So I started palying around with my point and shoot. Now I know how to get at least decent shots with my little P&S. And yes! Definitely MOVE. Those wonderful photos people capture are rarely gotten standing still 50 feet away.
Mimi
June 20, 2013 at 3:18 pmRight! We think the DSLR makes the photos when indeed its the technical capabilities of it that make the photos. We own the creativity part. Getting that part down first will help.
Aracely
June 19, 2013 at 3:18 pmThanks for the great tips! I’m still working on the lighting but I’m getting better! 🙂
Mimi
June 20, 2013 at 3:18 pmLighting is a never ending battle. I still have problems with that but sometimes something as simple as putting the light behind you makes all the difference.
Candace (NYStateofMom)
June 20, 2013 at 12:38 amThank You. Thank You. Thank You! Especially about lining up the subject. My big boy will be here tomorrow and I’m too happy about it 😉
Mimi
June 20, 2013 at 3:20 pmYou took that leap!! I say start with it in auto and read a few tutorials. I’ll start a series in a bit. Try to get the composition and angles down first. Those are the things that make great pictures.
Michelle
June 20, 2013 at 9:42 amThese are great tips! I just googled this exact thing last night so this is on time for me!
Mimi
June 20, 2013 at 3:20 pmThanks! I think deep down inside everyone wants to take nice photos. Hope this sets you on your way. Thank you for stopping by!
Mrs. Delightful
June 21, 2013 at 6:05 amGreat tips! I love playing with my DSLR
Carla
June 21, 2013 at 8:43 amI think my point and shoot takes nice photos, but I still want a DSLR. I only got this because they were out of the canon’s for the black friday sale! LOL!
And I agree with you — it’s more “point.. focus.. wait.. then shoot.”
Mimi
June 23, 2013 at 11:53 pmI don’t blame you. I did an easy pay on mine. These things are expensive. You better get there earlier for this year’s sale!
Baby Shopaholic
June 21, 2013 at 11:43 amGreat post! The light behind you make a huge difference!
deidra
June 22, 2013 at 12:40 amGreat tips! Whether point and shoot, or DSLR, I think one of the best things is the “delete” feature. 🙂 I love that I don’t have to buy and waste film, hoping to get one good shot for every roll of film. I have a (sort of) fancy camera, but lately, I’ve found myself using my camera phone more and more.
I’m glad I found you here. Now, I’m off to follow you on instagram.
Mimi
June 23, 2013 at 11:59 pmHi Deidra!
Yes! I’m not sure what I would have done in the days of film. I know the argument is that the photographers back then were more skilled than today. I beg to differ, my dad was a photographer for National Geographic and poor thing can’t get a fairly decent photo out of his DSLR! Camera phones really rock and are easy.
Thanks for stopping by! I quietly have been reading your blog for sometime ie. lurking! Good to connect.
BlitzAndGlam
June 23, 2013 at 5:56 pmGreat post, Mimi! You should definitely continue with a series of photography posts. I see blurry photos on Instagram all the time where I think, “they couldn’t just wait for it to focus before snapping the pic?” And it won’t even be anything that was in motion. It will be a blurry picture of their nails.
Mimi
June 24, 2013 at 12:01 amThanks! That and the folks that refuse to clean the lens over their camera phone. Just smudgy and nasty looking. Surely those few extra seconds wouldn’t have hurt anything.
Lynn
June 25, 2013 at 8:02 pmHangs head low… Great tips though! Thanks for sharing!