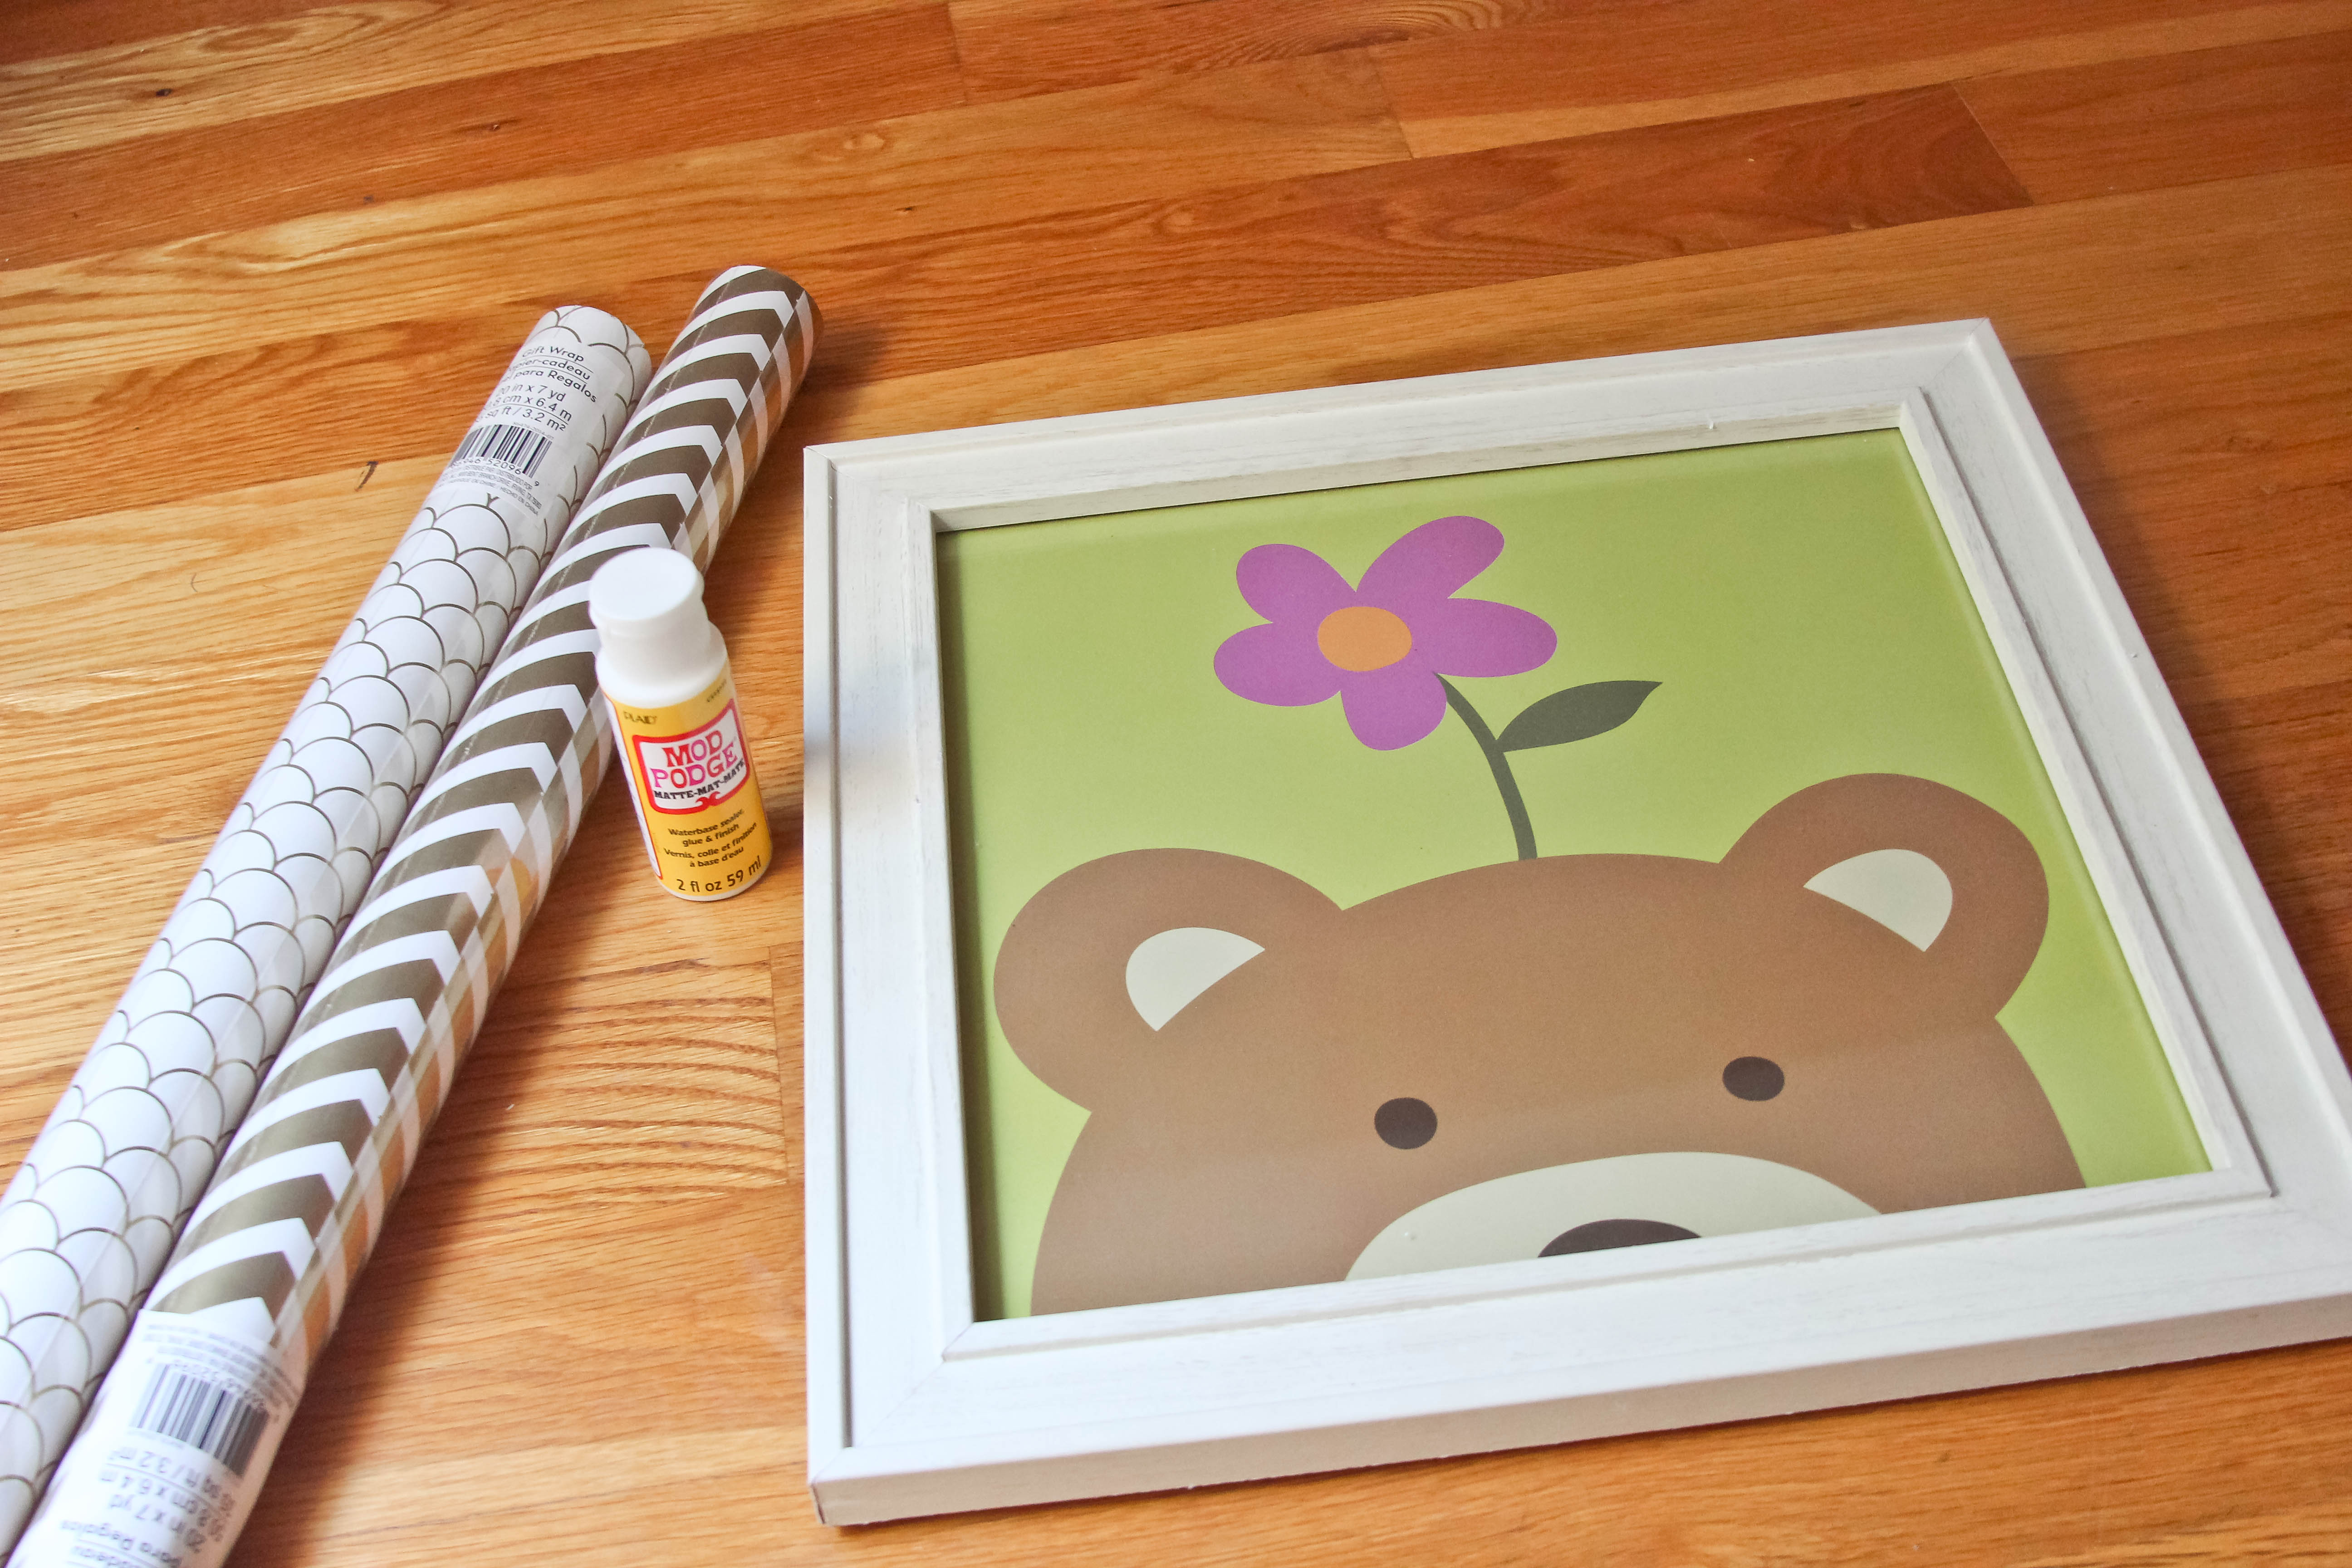
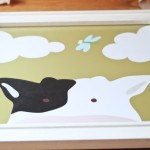
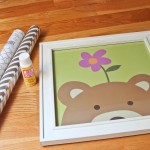
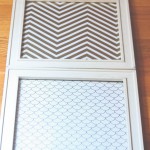
A few years ago I was gifted some pictures from one of my mother’s friends that is really more like family. The pictures hung in the nursery of the furnished model home that she purchased. Since she had no need for the nursery she gifted us some of the furniture and these pictures. When Addison was a baby they fit perfectly but now that she is 4 going on 40 I figured there was no need for these $40 Z. Gallerie frames to go to waste.
Evidently they spare no expense on these model homes.
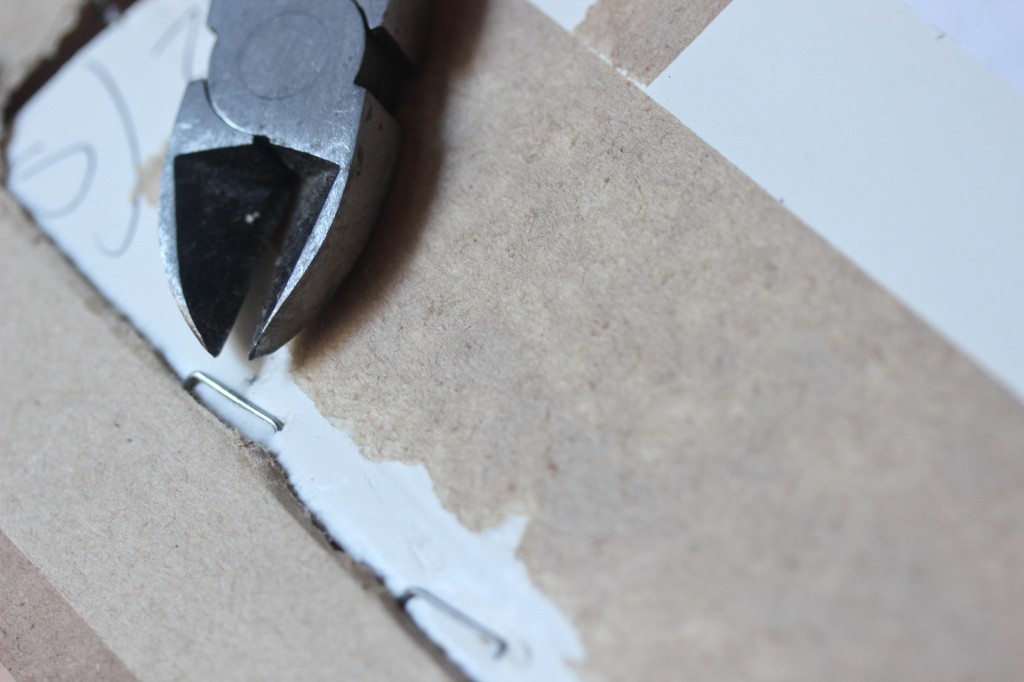
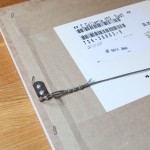
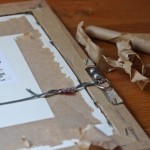
The back of the frames gave me a little issue, especially trying to remove the staples.
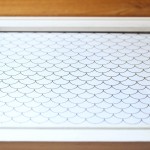
Once I got the staples off, I was able to slide the existing photo under the wire and wrap with these pretty gold and white wrapping paper designs that I picked up from Michael’s for $2 total…. Original price $2 each. I had two 50% off coupons, I did two transactions, in the event you were wondering.
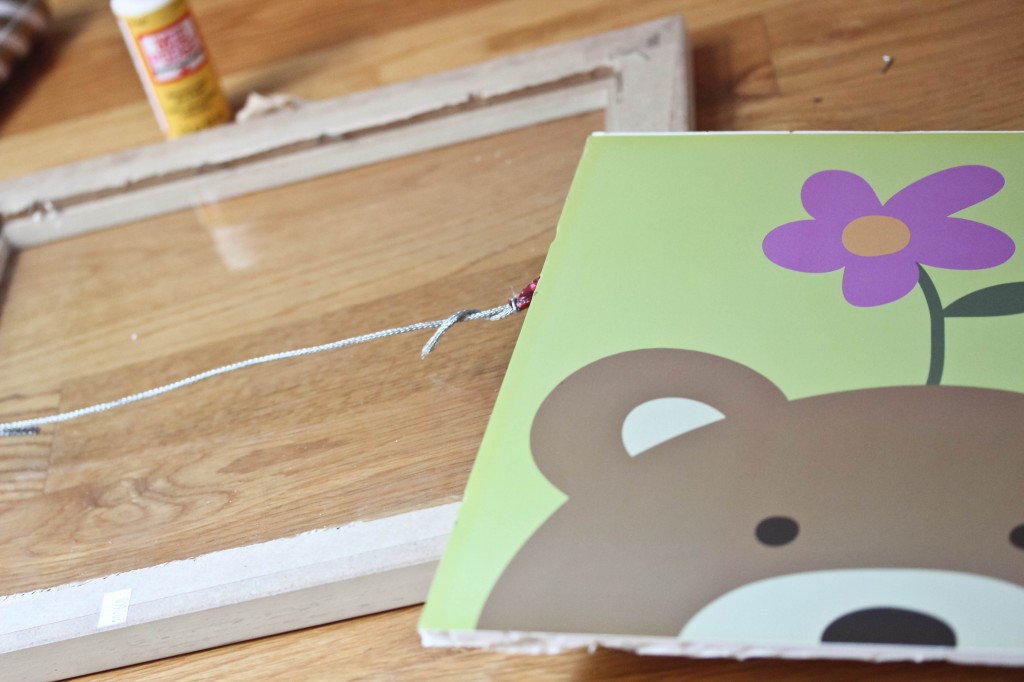
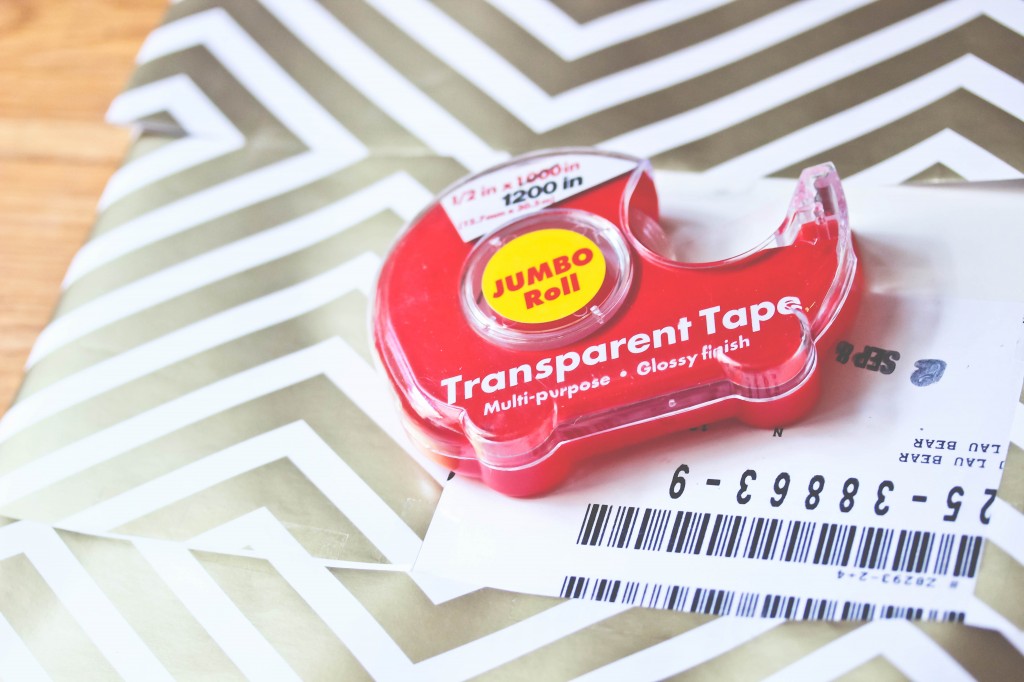
I had originally planned to use Mod Podge then when I started I just decided to use some of that good ‘ole Dollar Tree tape.
There was originally three frames but my son accidentally stepped on one and broke the glass. His foot is fine by the way.
I think the project took me about 45 minutes to complete. I’ll show you where I decided to put them in Addi’s room once I do another DIY this weekend that will accompany the frames.
UPDATE: These frames found a home HERE!
Like? DIYed anything lately?


13 Comments
Amber
November 3, 2014 at 10:25 pmlove it! I’ve been working on my DIY’s for my gallery wall in my office and you just reminded me I have some wrapping paper I want to use!
Mimi
November 3, 2014 at 11:19 pmI love it because you can switch it out when you get ready. I’m a commitment phobe when it comes to certain things. This worked out perfect. Wait until the finished product!
Mrs. Delightful
November 4, 2014 at 6:15 amLove the wrapping paper you used. I also love how versatile wrapping paper is. I purchased this really pretty print that I thought about using as a backdrop for my YouTube videos.
Pascha
November 4, 2014 at 7:35 amVery nice. I made a reed diffuser with my favorite essential oils.
Mrs.AOK
November 4, 2014 at 2:37 pmNice update 🙂
When I put my house on the market back in Illinois, I had to depersonalize, I did the same thing, but I used a World Market bag. 😀
My frames were no where near as fancy as yours, though.
XOXO
Tamika Christopher
November 4, 2014 at 5:52 pmI love it. Asia and I will have to try this DIY!
BritneyDearest
November 5, 2014 at 2:10 pmCute! Great choice of paper!
Michellette "Mimi" Green
November 5, 2014 at 10:27 pmI love this idea, I need to borrow this for my living room. The walls are naked.
Spray Paint DIY Project Before and AfterLipgloss & Binky
November 20, 2014 at 4:59 pm[…] my framed wallpaper DIY project I knew the perfect small wall spot where I would hang them, and then decided this wall would also […]
Roni
November 4, 2015 at 12:08 pmThis is such a cute idea and a great way to recycle old frames! I’ll definitely be on the look out for some cute wrapping paper this season!
Toia Barry
April 2, 2016 at 5:08 pmI’m going through your site for ideas for my baby boy’s room and this is an idea I’ve been thinking about incorporating. Looks beautiful! We’ve got a teal w/ gray and white chevron thing going. Think I’ll head over to Michael’s or The Container Store to find chevron paper I need.
Mimi
April 4, 2016 at 6:01 pmAlso try Homegoods, Marshalls etc. I’ve found some paper with a linen feel that is amazing. I used it to line the back of my pantry. I think that would be nice framed as well!
Toia Barry
April 4, 2016 at 7:01 pmOh, I’m always in Home Goods & Marshall’s, great idea. Thanks!