Browsing Category

Beauty

tiktok face mask
Beauty

I Tried the Viral TikTok Mask | A Review

Shiny forehead is what I call “glass skin” and I’m quite obsessed with it. After seeing a lady of my certain age review it on TikTok with a shiny forehead I might add  I was sold. I ordered it on the TikTok shop and received it quickly.

This Korean skincare mask has vegan ingredients that are supposed to lift, tone and brighten your skin after one use, which it did. A few days after using the mask, my skin continued to look lifted and bright. The product is powered by plant ingredients, you can view the full description of the ingredients here as well as purchase. If you know anything about Korean skincare it’s all the rage among young adults so I was interested to see it’s effect on aging skin as you rarely see older women review.

It’s recommended to apply the mask 2-3 times a week. I’m going to stick with once a week. My skin is already in good condition and runs a little on the dry side so until the weather gets warmer I’ll just do it once a week or as needed. If you have sensitive skin, I do recommend you do a patch test first, it did seem like it could be irritating to someone with sensitive skin.

In terms of application, the consistency was like aloe, it went on easily and as it dried it tightened on my face and honestly it was a little uncomfortable, but not unbearable.  I could literally feel it tightening, and when I thought it couldn’t get any tighter, it did. It got so tight that my eyes looked like they were bulging.  One of my major pros is there was a lot of product in the packet. I feel comfortable saying if your skin is already in a good place, you can easily get two uses out of one packet by applying a thin layer to your face and neck.

Speaking of neck, my husband was stuck on making sure I used it on my neck as evidenced by this review video!

I’m sold on this mask, with my aging skin I’m all about toning and brightening and this did both. I’m happy to add this to my existing skincare routine. You can purchase on Amazon (affiliate link). If you try it, come back and tell me about it!

Skincare routine products
Beauty

My (Simple) Skincare Routine

Consumerism is a real thing. Not that I didn’t know but as I watched an influencer the other day do a night routine with no less than seven products that she all linked  while telling someone when they asked that she absolutely needed each of those products every night I started to think am I not doing enough with my skincare.

That’s where they get you! You look at these things (and there’s nothing wrong with that) but subconsciously it starts to make you think that maybe you aren’t doing enough. At this big age, I quickly self corrected and reminded myself that my skincare routine, as rudimentary as it is works FOR ME.

A few have asked about my routine so I’m dishing, but don’t expect much as you continue to read. I feel like we don’t always get the background before we buy the things that we think will get us to “goals” status  so I’m going to be as transparent as much as I know how on what I do to care for my skin.

Eventually I would like to move to all “clean/non-toxic products”. I’ll keep you posted on that process as I continue my research, but for now here you go.

 

Skin Background

My skin is not sensitive, it borders on combination/dry and I’m not prone to acne.

Historically I have not had an issue with hyperpigmentation except around my mouth

I do not wear makeup very much. Every now and then I’ll throw on concealer, or a tinted moisturizer, but foundation, powder and all of the other things I do minimally, at best a few times a year. Lipstick always.

I do not use a retinol, or eye cream ( I probably should)

I rarely use a toner, it’s just a part of the routine that I often forget

I do not get any type of botox or any kind of medical grade enhancements. I don’t think there is anything wrong with them, it’s just not for me. I feel strongly about the gift of aging and what comes with that, I don’t feel like any of these things will ever enter my regimen.

My Proactive Rituals

For the past two years, EVERY SINGLE MONTH  I get a facial. I’ll repeat, I get a facial EVERY month. That in itself IS the game changer.

I drink at minimum 120 oz of water a day at least 5 days a week. Another game changer

I am consistent. I do a morning and night routine every day. I can count on my hands how many times in the past year I have not done at least one daily.

To even my skin tone, once or twice a week I put a small amount of self tanner for dark/deep tones on my face at night

I wear sunscreen EVERY day.

Products  (these are affiliate links, most from Amazon. I do earn a small commission if you purchase)

Historically I have had no loyalty to cleansers, again I am not acne prone or sensitive so whatever looked decent on the beauty aisle at Marshalls or TJ Maxx is what I rolled with. My aesthetician just told me to stick with a gel cleanser. I’m using one right now by Lacura, it is a little drying for the winter so I’ll be moving to a Boscia cleanser that I grabbed a few months ago, fell in love with, couldn’t find it again no matter how many Marshalls/TJ Maxx stores I visited. I am now going to break down and pay full price for it. It was that good.

The red lipstick combo that I wear doesn’t budge. ( Maybelline Matte Ink Dancer layered with Fenty Uncensored). I have to use a cleansing makeup balm to get it off cause otherwise it won’t come off! I use this Neutrogena Makeup Melting Cleansing Balm

The Boscia Purifying Gel cleanser I plan to add as an old faithful to my regimen.

This is the Advanced MD hyaluronic acid that I use morning and night (Another Marshalls beauty aisle find that I fell in love with)

I swear by this Rose Hip oil from the Ordinary.

I use this Naturium Dew-Glow moisturizer SPF 50 sunscreen. It doesn’t leave a white cast on my dark skin. I love the dewy glow that it leaves, this also doubles as my day time moisturizer.

I use this Ordinary BHA AHA 2% Peeling Solution  when my skin feels scaly and dry. I don’t use this on a schedule, only when I feel like my skin needs it. ( READ the instructions, people either love or hate this)

I use this Dermalogica Daily Microfoliant  twice weekly

I use this Jergens Natural Glow Healthy Complexion (deep tone) self tanner on my face once or twice a week…sometimes less frequently. It has tremendously evened my skin tone

I don’t really use toner, but I do like this Glycolic Toner from the Ordinary

And I smear good ol’ Vaseline.

Now that we have that out of the way, here’s my morning, night, and weekly routines.

Morning:

I do not wash my face with cleanser in the morning. I wet my washcloth (the rough white ones from Walmart, acts like a gentle exfoliant) with hot water and wash my face old school style.

I add a drop of the hyaluronic acid to my forehead and both cheeks. I pat in, let dry down then add my sunscreen.

Night:

I use my cleanser, pat my face dry

I add three drops total of the hyaluronic acid, one to my forehead and one on each cheek, pat in, let dry.

I add three drops of the rose hip oil in the same fashion as above

Smear on vaseline.

Weekly:

I exfoliate my skin twice a week on Sunday and Wednesday with the Dermalogica daily microfoliant. This paired with warm water feels so good to your skin

There are times when my skin feels like it needs a little extra, if it does I use the Ordinary exfoliant, but that is far and few between

That’s it!

 

Beauty

Getting Ready for Spring

This content is sponsored by Bic® razors, all opinions are my own.

I am so happy to see warmer weather on the horizon. The dreary cold weather, had me longing for sunshine, and warm weather. Now that it looks like spring is about to make an appearance, I need to do something I haven’t done in awhile…shave my legs!

Judge me! I don’t shave my legs in the winter, or what I call the “off-season,” in my defense the hair on my legs grows thin and sporadic so I don’t feel the need until it’s time for me to bring out the dresses and shorts!

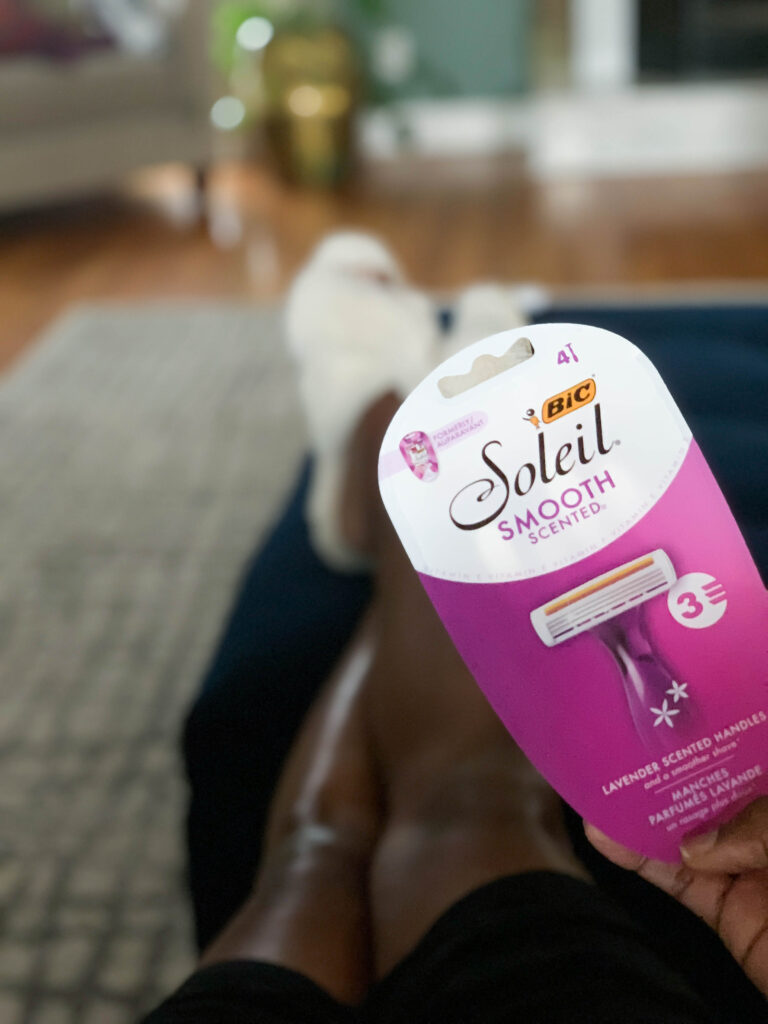
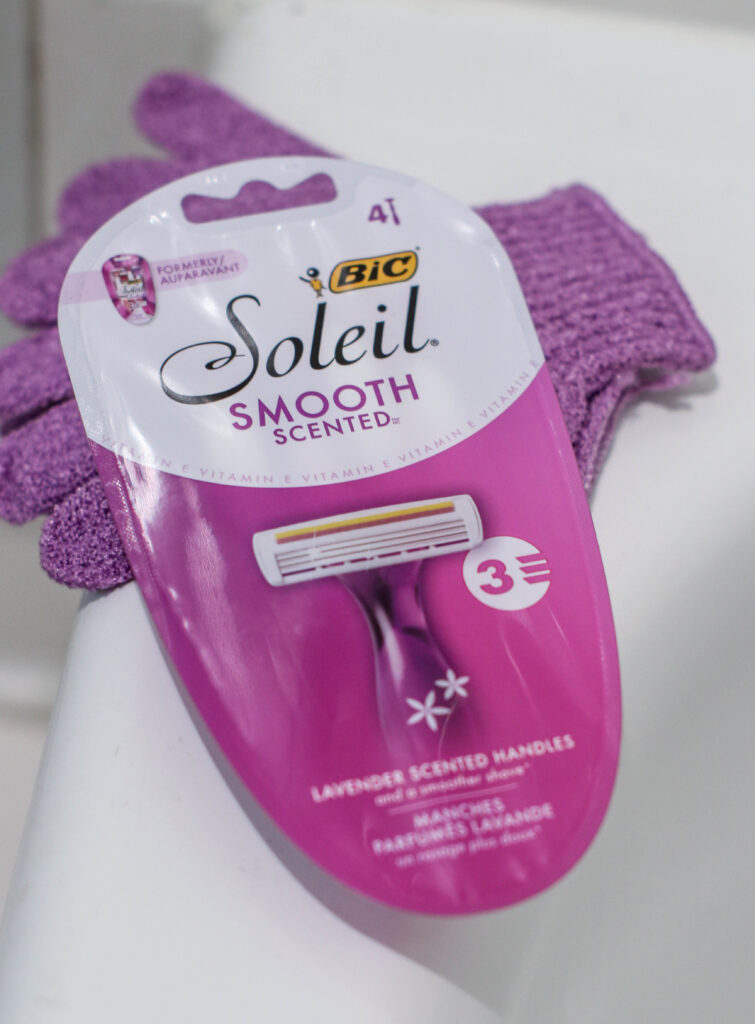
I love high-quality products at a great price and the BIC® SOLEIL® Smooth Scented® 4ct are the absolute best for my needs. I love that the handles smell like lavender, they are a great price and I can find them at Target, my favorite store! 

If you have ever gone to buy a disposable razor you already know there are so many options! These razors are a win-win because they have a comfortable handle and soothing moisture strip® with Vitamin E.

I’m looking forward to once again including shaving my legs as a part of my self-care routine using my BIC® SOLEIL® Smooth Scented 4-ct razors and to make the deal even better for a limited time when you purchase you can get a $5 rebate that enters you into a drawing to win $500 when you redeem it*. Head out to Target and get spring/summer razors. They are available online and in-store! *No Purchase Necessary for sweeps. 50 U.S./D.C., 18+/age of maj. Buy participating BIC Razor, get up to $5 back. Terms/Rules/Prize: https://us.bic.com/en_us/winwin

Beauty Feature

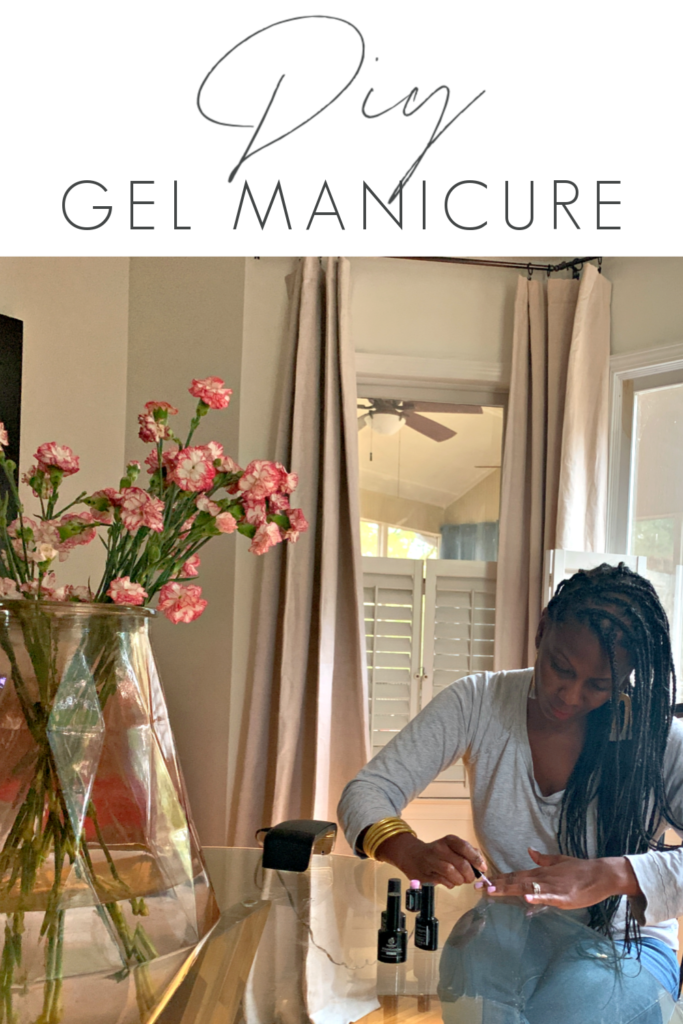
DIY Gel Manicure + How to and What You Need

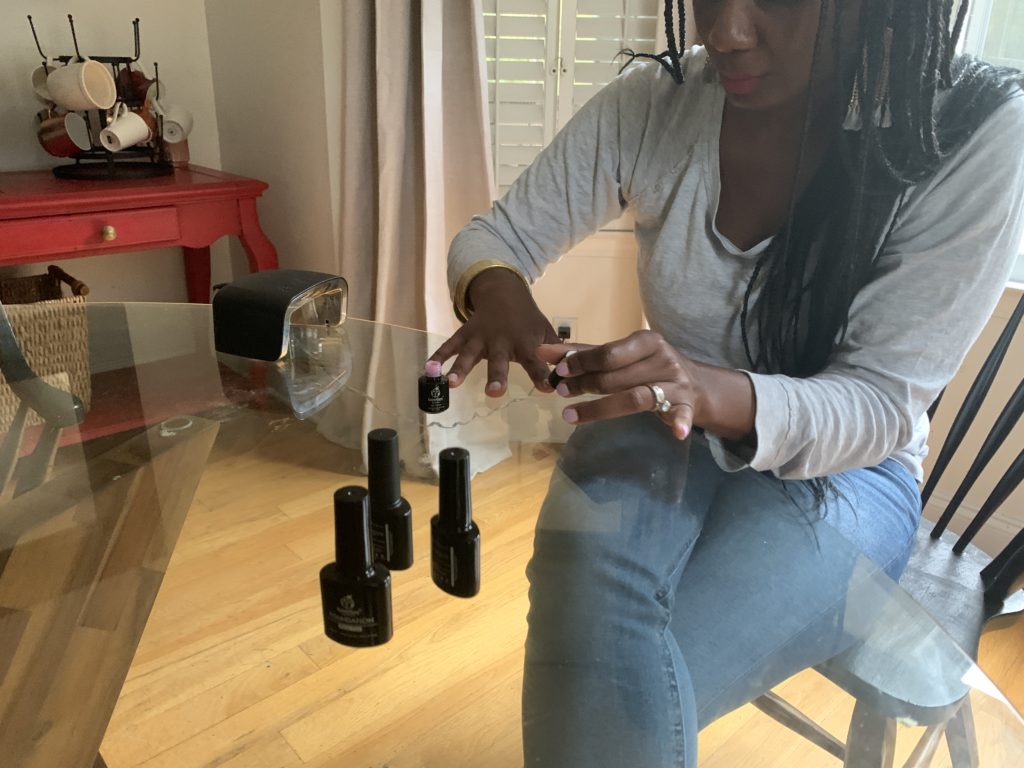
A few months ago, I purchased a gel manicure light from Walmart so that I could start doing my own DIY gel manicure for a variety of reasons. One, I just didn’t have the time to get to my nail tech as often as I needed to, and two, nail appointments can start to get expensive… and now add in social distancing. I’ve been trying to be mindful of my spending, so this was an area that I recognized as one that I could make adjustments in.

Would you believe all of the essentials I needed cost less than one trip to the nail salon. Yes, I got the light, base coat, and top coat for less than one trip to the nail salon.

DIY Gel Manicure

How to Paint Your Nails with Gel Polish

Painting your nails with gel polish is similar to regular nail polish with the exception that you have to make VERY thin coats. When I say thin, I mean thin. If you use too thick of a coat, the polish will chip. It is far better to make four thin coats than two thicker ones when dealing with gel polish.

  1. Start with clean nails.
  2. Soak your cuticles in warm water for about 10 minutes and lightly push back your cuticles. I don’t cut my cuticles I only push them back. Making sure to remove dry cuticles from the edges of your nails will make all the difference so please take time to do this step.
  3. Once your cuticles are in order you will file, lightly buff and shape your nails.
  4. After filing, you will put a very light coat of “base gel” on your nails and cure under the light for 30 seconds.
  5. On top of the base coat, you will start to apply the nail color. Do as many light coats as needed to get the coverage you desire, curing for 60 seconds between coats.
  6. Once you have the coverage you desire, it is time to apply the topcoat. When applying the topcoat, be sure to wipe the tips of your nails as well to help prevent chipping.

DIY Gel Manicure Essentials: (These are affiliate links. If you purchase I will make a little change)

Gel Polish Kit ($21.99): https://amzn.to/3aa5qkS

Base and Top Coats kit (12.99) : https://amzn.to/3afDZX1

Fall color Gel polish kit ($14.99): https://amzn.to/2xgi5US

Gel Light Starter Kit ($24.88) : https://www.walmart.com/ip/Sensationa…

If you learn better via video, I have also created a YouTube video showing my technique. Feel free to watch and make sure to subscribe to my channel!

Let me know if you have any questions. You can find me on Instagram everyday… hit me in my DMs!