Browsing Category

Feature

how to make homemade biscuits
Feature Food Recipes

How to Make Homemade Biscuits without Buttermilk

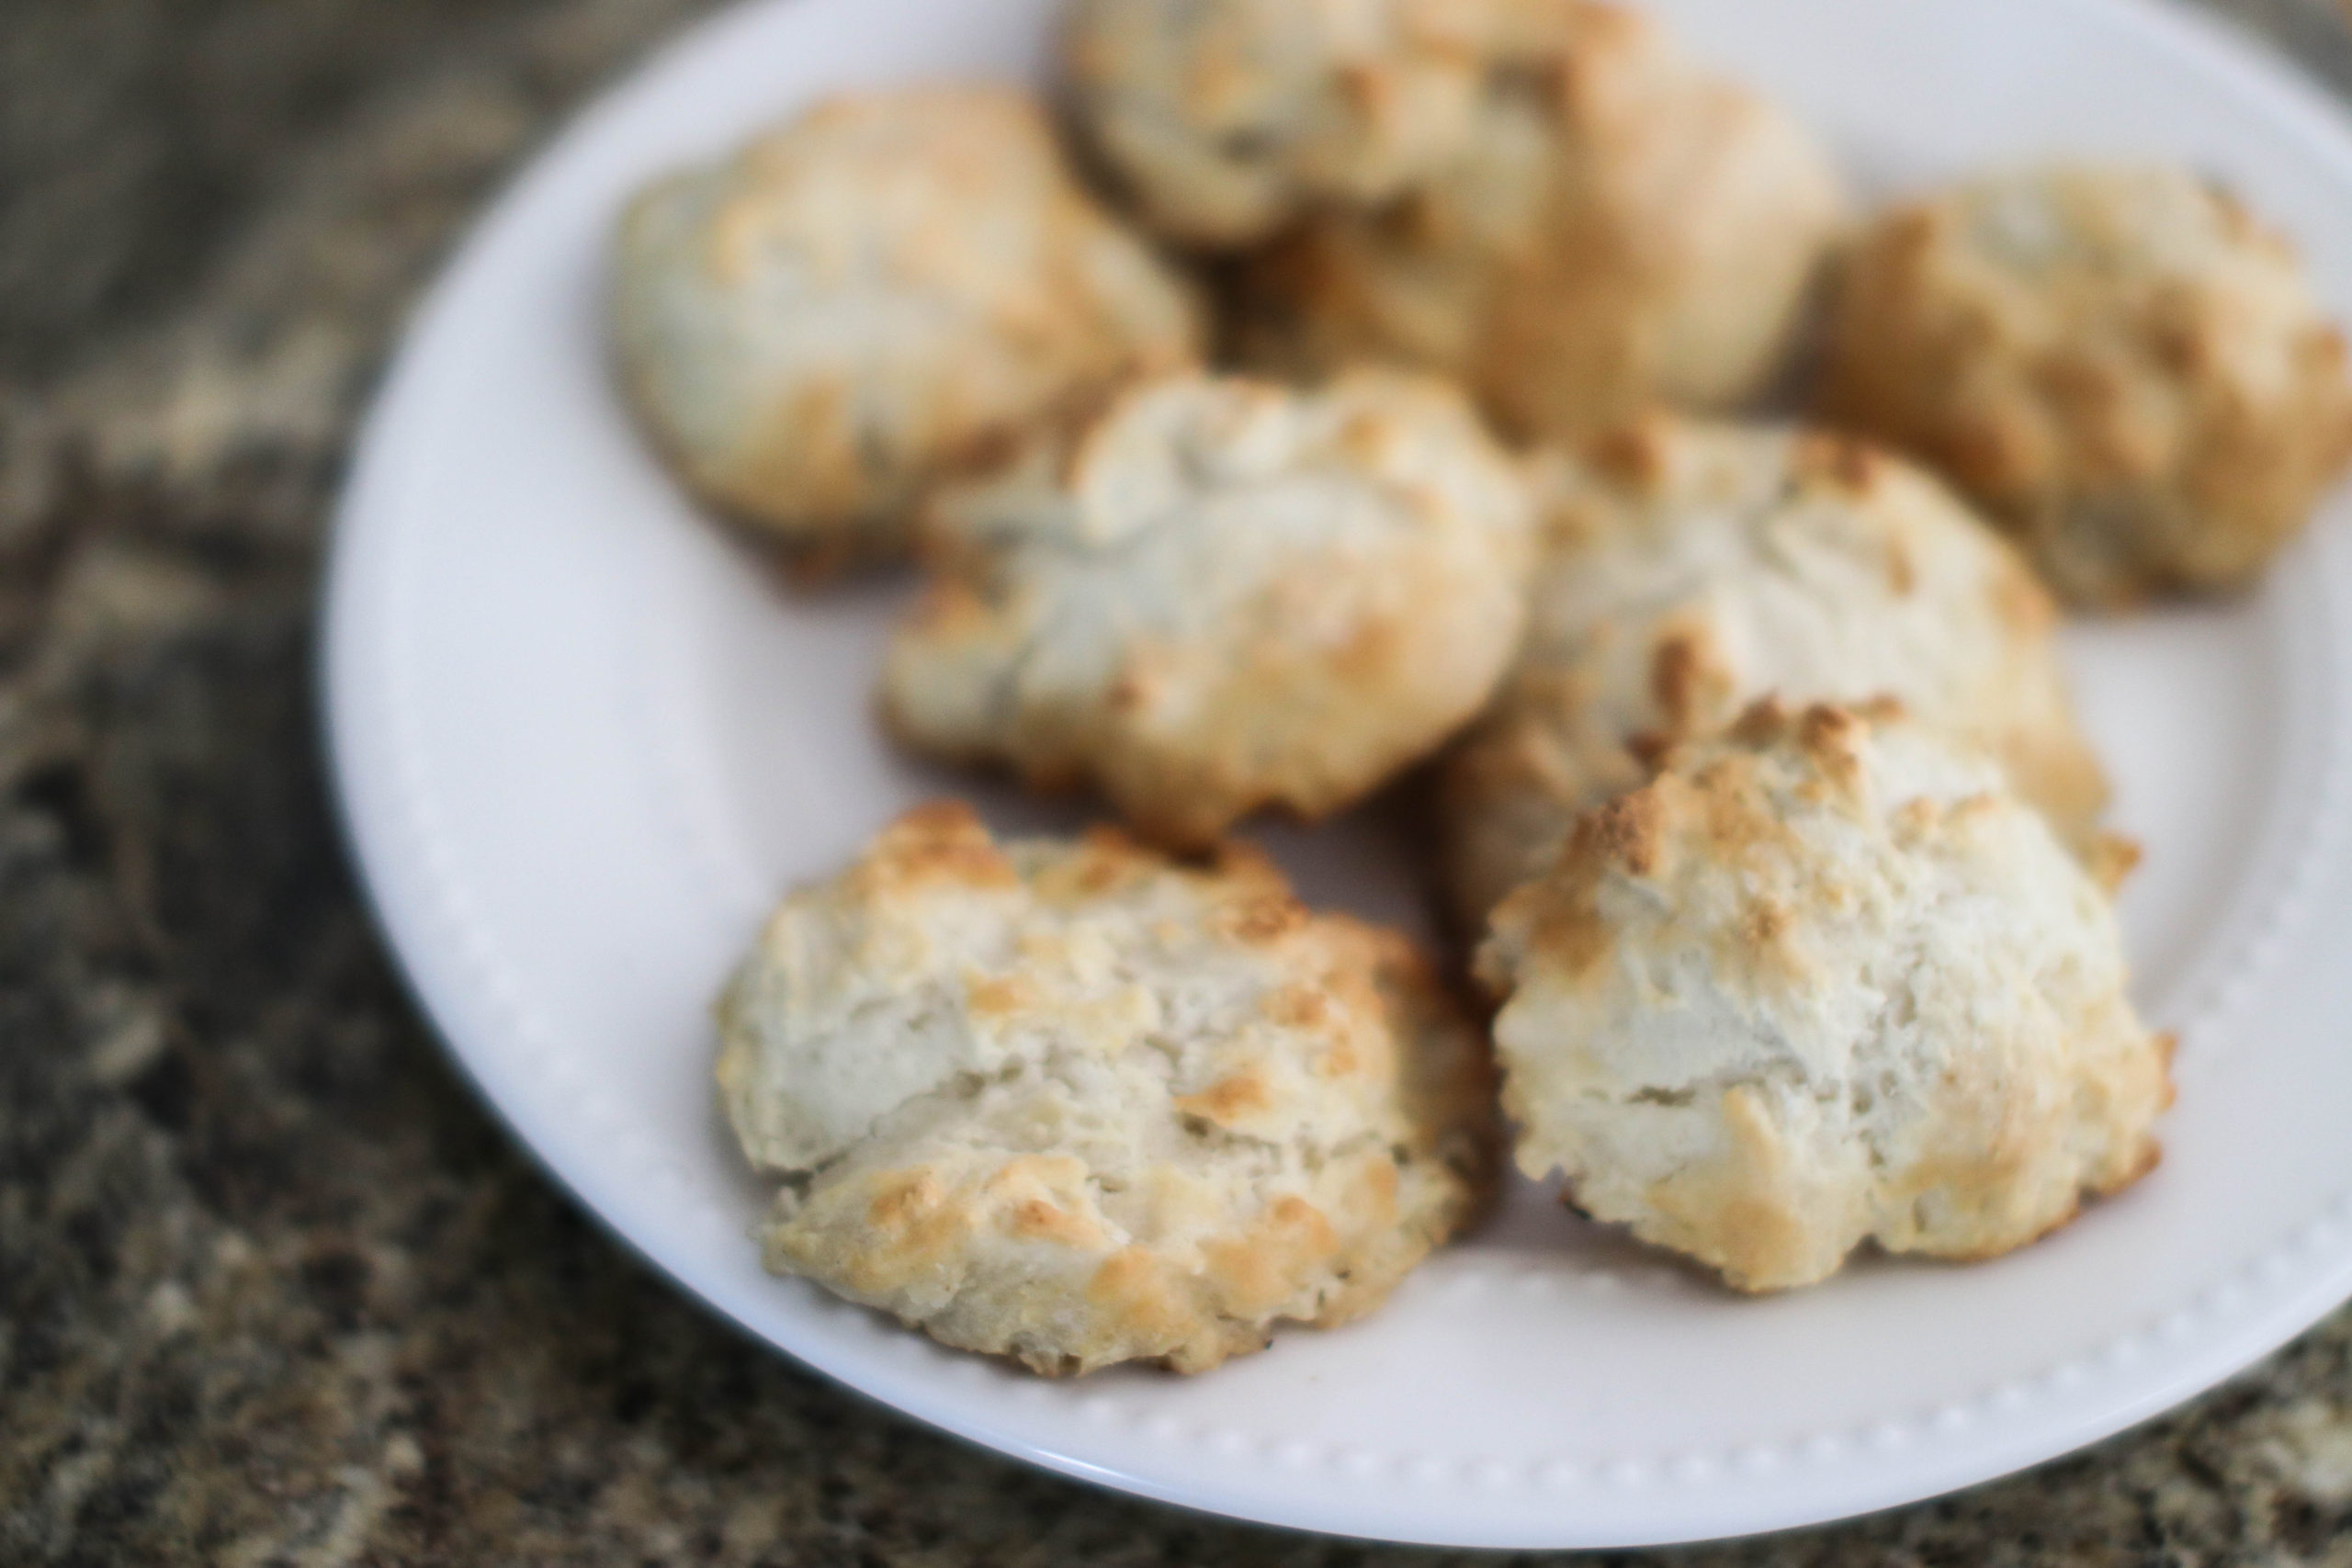
Ain’t nothing like a homemade biscuit. Yes, I said “ain’t.” Some things need improper english for extra emphasis… like homemade biscuits.

I love these biscuits cause you can whip them up with ingredients you likely have right at the house. Things like four, butter, baking powder, sugar, salt.

Don’t let this recipe taint your vision of your mama and grandma toiling away in the kitchen, brows sweating to give you those tasty homemade biscuits that you thought took hours to make but in essence could’ve easily only taken 30 minutes in the event they used this recipe.

how to make homemade biscuits

These homemade biscuits are perfect for Saturday or Sunday morning breakfast/brunch. They would pair perfectly with my homemade potatoes, recipe is here.

These quarantine times make it easy to have a little extra time to whip up something special. I’m so over eating at home, so a homemade biscuit took me to one of my favorite brunch spots… in my head.

Homemade Biscuits without Buttermilk

  • 2 cups all-purpose flour
  • 3/4 cup milk
  • 1 TBSP baking powder
  • 1 TBSP sugar
  • 1 tsp salt
  • 1/3 cup unsalted butter

Preheat oven to 425°

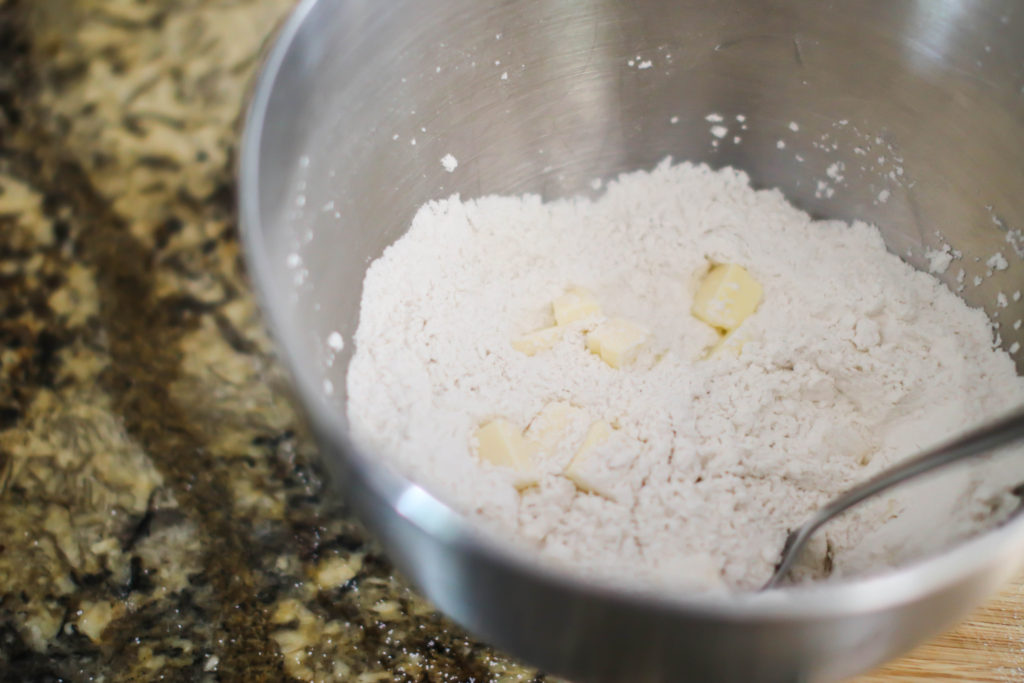
Mix together all of your dry ingredients

Add in cold butter ( I cut mine in tiny cubes and mash them in with a fork, do what works best for you.)

Add in the milk slowly. Mix it in as you go until you get a dough-like consistency

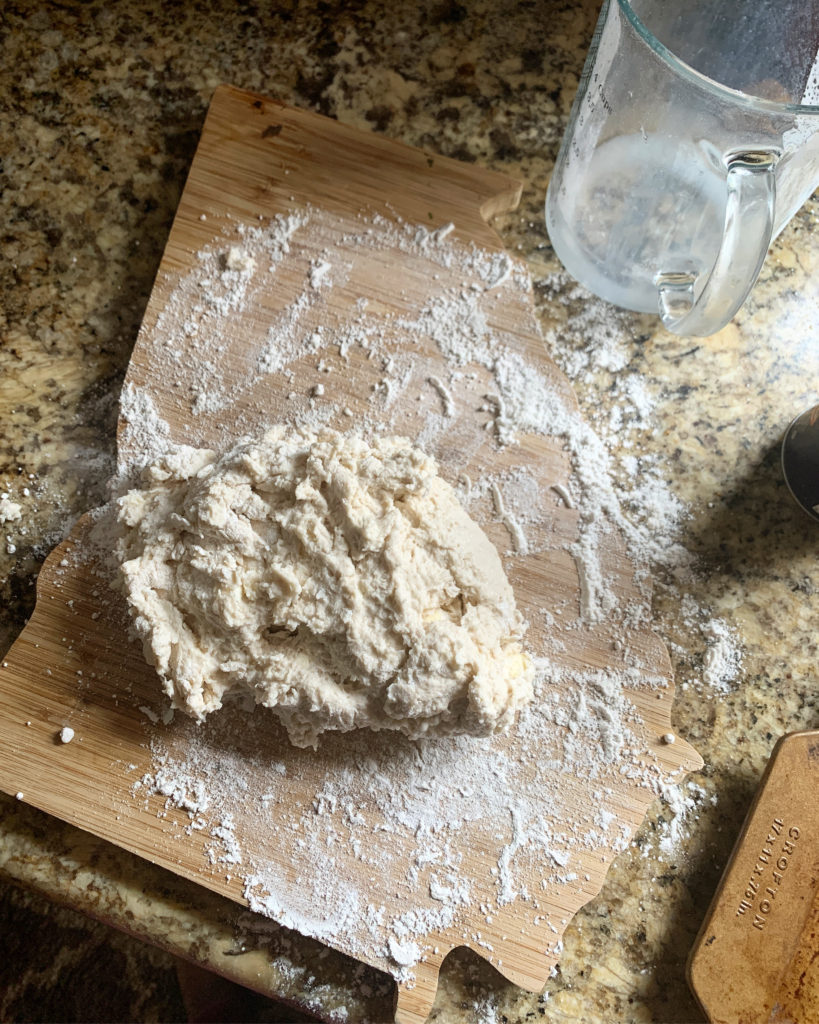
Place the dough onto a floured surface. Then you will knead the dough and flatten it out as you go.

Cut the biscuits using a biscuit cutter, or whatever you have on hand. I find a small drinking glass or measurement cup works fine.

Place in baking pan, or cast iron skillet and bake for 12-15 minutes or until they start to brown.

These are perfect for brunch or breakfast, or whenever. When you’re done make sure to splash a little flour on your face, no one has to know how easy it was to make these biscuits!

If you prefer to watch me make these via video, here you go!

Beauty Feature

DIY Gel Manicure + How to and What You Need

A few months ago, I purchased a gel manicure light from Walmart so that I could start doing my own DIY gel manicure for a variety of reasons. One, I just didn’t have the time to get to my nail tech as often as I needed to, and two, nail appointments can start to get expensive… and now add in social distancing. I’ve been trying to be mindful of my spending, so this was an area that I recognized as one that I could make adjustments in.

Would you believe all of the essentials I needed cost less than one trip to the nail salon. Yes, I got the light, base coat, and top coat for less than one trip to the nail salon.

DIY Gel Manicure

How to Paint Your Nails with Gel Polish

Painting your nails with gel polish is similar to regular nail polish with the exception that you have to make VERY thin coats. When I say thin, I mean thin. If you use too thick of a coat, the polish will chip. It is far better to make four thin coats than two thicker ones when dealing with gel polish.

  1. Start with clean nails.
  2. Soak your cuticles in warm water for about 10 minutes and lightly push back your cuticles. I don’t cut my cuticles I only push them back. Making sure to remove dry cuticles from the edges of your nails will make all the difference so please take time to do this step.
  3. Once your cuticles are in order you will file, lightly buff and shape your nails.
  4. After filing, you will put a very light coat of “base gel” on your nails and cure under the light for 30 seconds.
  5. On top of the base coat, you will start to apply the nail color. Do as many light coats as needed to get the coverage you desire, curing for 60 seconds between coats.
  6. Once you have the coverage you desire, it is time to apply the topcoat. When applying the topcoat, be sure to wipe the tips of your nails as well to help prevent chipping.

DIY Gel Manicure Essentials: (These are affiliate links. If you purchase I will make a little change)

Gel Polish Kit ($21.99): https://amzn.to/3aa5qkS

Base and Top Coats kit (12.99) : https://amzn.to/3afDZX1

Fall color Gel polish kit ($14.99): https://amzn.to/2xgi5US

Gel Light Starter Kit ($24.88) : https://www.walmart.com/ip/Sensationa…

If you learn better via video, I have also created a YouTube video showing my technique. Feel free to watch and make sure to subscribe to my channel!

Let me know if you have any questions. You can find me on Instagram everyday… hit me in my DMs!

cordless shaver
Beauty Feature

Self-Care: How to Pamper Yourself at Home

This is a sponsored post for SheSpeaks/Philips.”

I love a good cliche, they are always so simplistic, yet tell a whole lot of truth. The one we’ll be discussing today is, “It’s the small things.”

As women, as beings who too often take it on ourselves to see that perfection is in place for everyone else, we owe it to ourselves to make the everything day things we use just a tad bit fancy. I mean, it’s just a small way of acknowledging that we too deserve nice things.

I won’t include y’all, I’ll speak for myself. I’m really good for just grabbing the things that will get the job done instead of splurging on them. It will always be, one day I’m going to get me an XYZ.

Spoiler alert: Very often, someday never comes.

Let’s take razors for example. I grab what I see, not taking into account how life changing shaving my underarms and legs with a fancy razor could be… until I got a Philips SatinShave Advanced. The product is in fact fancy AND convenient, you can pick one up at Amazon. If you do, use the promocode SATINSHAVE for 10% off.

self-care tips

Unlike the bootleg razors I was using before, this one didn’t give me any cuts or nicks, the hair was gone with one swipe, and the best part is it just made me feel a little grown-up! I’m telling you, it’s the small things, those small indulgences that we can do from the comfort of our homes that can make all the difference.

Pampering ourselves doesn’t have to be a big deal, it could be taking a weekend day to lay around and do nothing, hang out with a friend, or in my case treating yourself to an at-home day of pampering complete with a little fancy grooming with a Philips SatinShave Advanced razor.

Here are a few other ways you can pamper yourself at home:

  • Read a book
  • Paint your fingernails
  • Take a nap
  • Take a walk
  • Take time to indulge in a craft or hobby that you enjoy

How do you practice self-care at home?

Feature Gardening Living

How to Start a Garden +My 2020 Garden Plans

Hello garden season, it’s good to see you again. It’s time to get back in the garden and I couldn’t be happier to get my hands dirty, and my little piece of heaven cleared of leaves and back in the game. If you are wondering how to start a garden, I may have a little insight for you. I don’t consider myself an expert, but the last 6 years have taught me a little something!

If you remember last year I did a complete overhaul, expanding it from this to this. I am constantly getting messages that my garden is goals, while it may be, it didn’t happen overnight.

I started back in 2015 with a few pots. I knew very little about gardening except I wanted to give it a try. Here are some tips that I gave back then.

how to start a garden

I kept at it, and eventually moved on to 3 small raised beds in 2017, I wanted to make sure I was invested…turns out I was. I was so proud of this space, it took another 2 years of functioning here before last year’s expansion.

how to start a garden

Now that I don’t have anywhere else to go space wise, it’s time to continue adding to my current space in terms of pots and garden decor. I’m so excited for all of the wonderful ideas I have to come to life this season.

Over the years, I’ve shared some valuable information on how to get started gardening whether it be in one pot, or twenty. Here are a few posts to get you started…don’t forget there is also YouTube university!

My 2020 Garden Plans

I’m slowly realizing beautiful gardens are built with layers, and are likely never finished. They are always changing with new inspiration, and a good structure is just the beginning.

Last year I had a huge problem with pollination, I need to add more flowers this year and I’m so excited. I’ve already started many things indoors so I can have a jump start in April.

I’m also adding a potting bench, a new longer and deeper bed, and finishing off the fence that we didn’t get to last year. I’ll be digging out the perimeter area for wildflowers and other cut flowers.

There are also plans for a small greenhouse to be done in the fall.

I. Am. HYPE.

I had a few crops hang around from the fall like these brussel sprouts and a few cabbages. I’ll let them stay until I need the space. At the rate they are going, they will be ready for harvest just in time for their eviction date…read last frost day.

I recently did a video tour of the current space, and talked more in-depth about my plans and intentions for the space. If you aren’t already following me on YouTube, hit that subscribe button…I’ll be doing weekly progress videos that may not always make it to the blog!

Are you into gardening? Can I answer any questions for you?

Be sure to follow me on Instagram for real time updates!