Browsing Category

Home

DIY Home

One Room Challenge Week 3 | Master Closet Makeover

We’re still chugging along with the master closet. I’m currently typing this to the background noise of a jig saw, hammer and air nailer. I’m so happy to start seeing some tangible changes this week.

If you’ve been MIA the past two weeks, we are participating in the One Room Challenge. If  you aren’t familiar with the ORC, it is a six week challenge where designers, and guest participants share the transformation of a room from concept to completion. It’s quite inspiring to see so many people transforming their homes during this six week period. You can follow along by going to the link above or scrolling #OneRoomChallenge on Instagram.

One Room Challenge

If you need to catch up, here is Week 1, and Week 2.

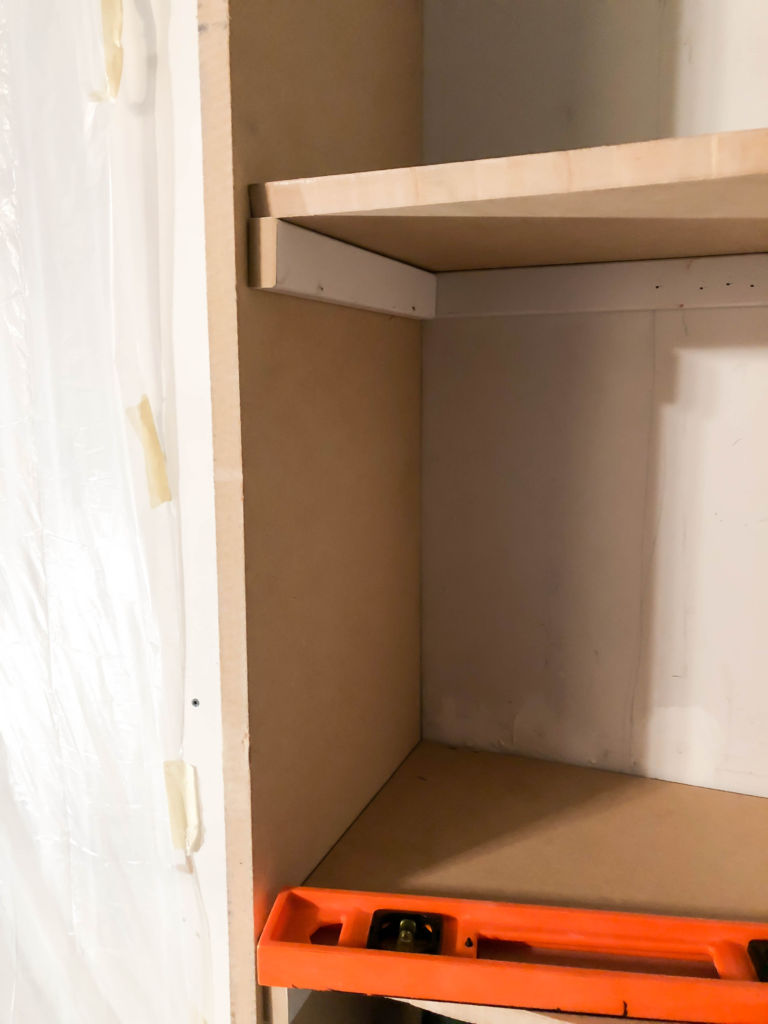
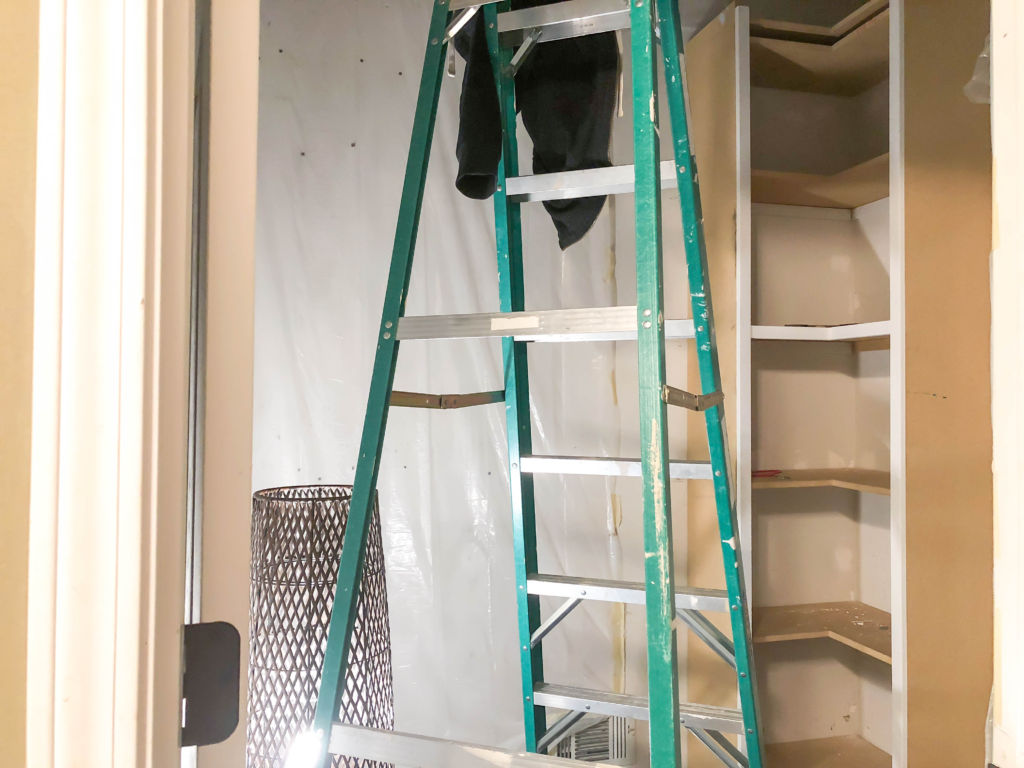
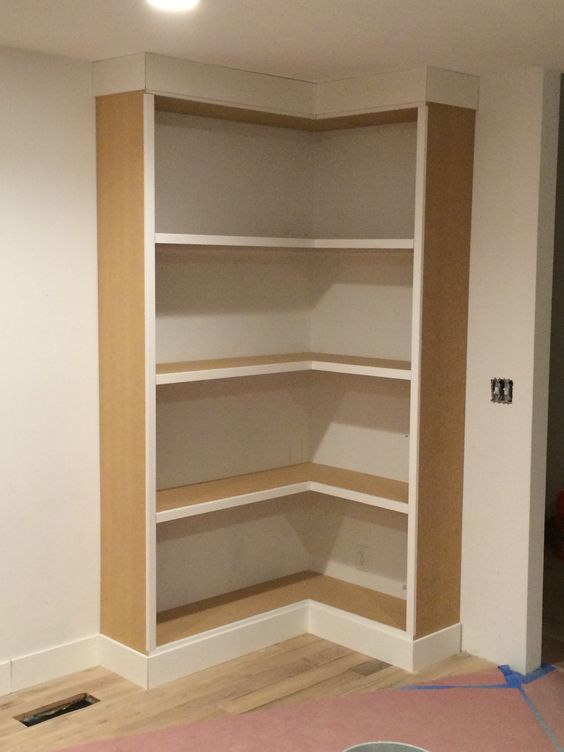
Happy to report we stuck to the script this week and got the shelving built. Again, when I say we, I actually mean he. With an awkward corner we knew we didn’t want the poles from the left and right side of the closet to cross over each other so we needed something to keep that from happening. We came up with the idea to put a small shelving system in that would serve as not only storage but also as something to affix the closet poles to.

I’ll be honest, when I posted the inspiration photo last week, I was a little skeptical that we would get it done.

But would you look at this….
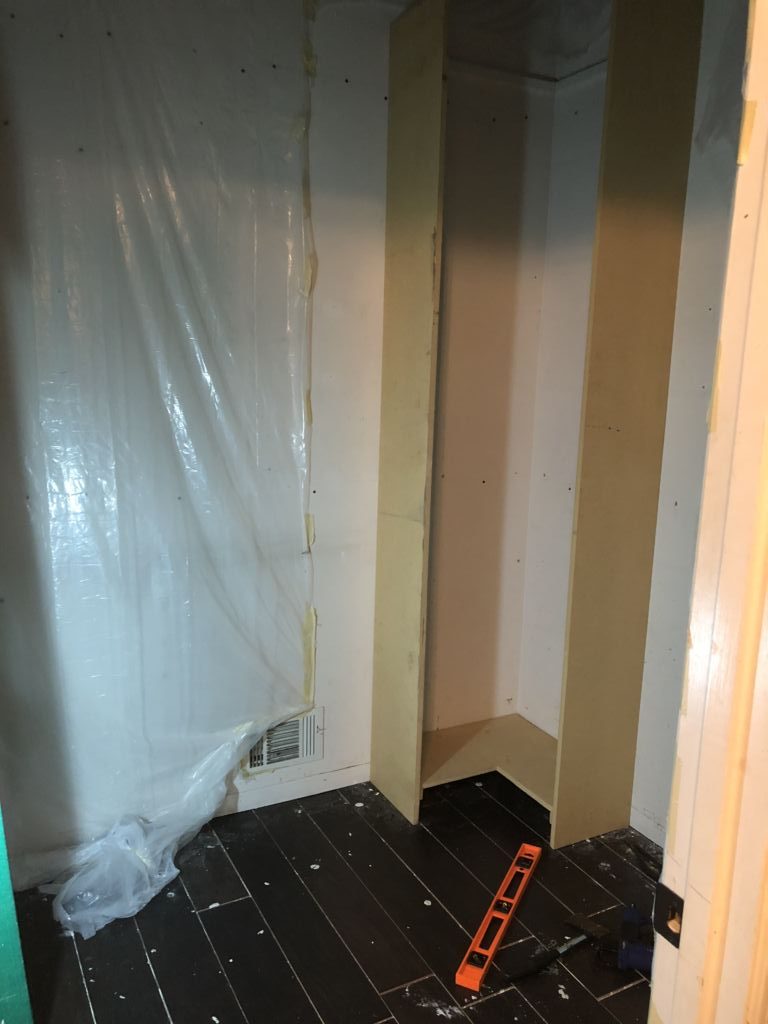
Y’all.
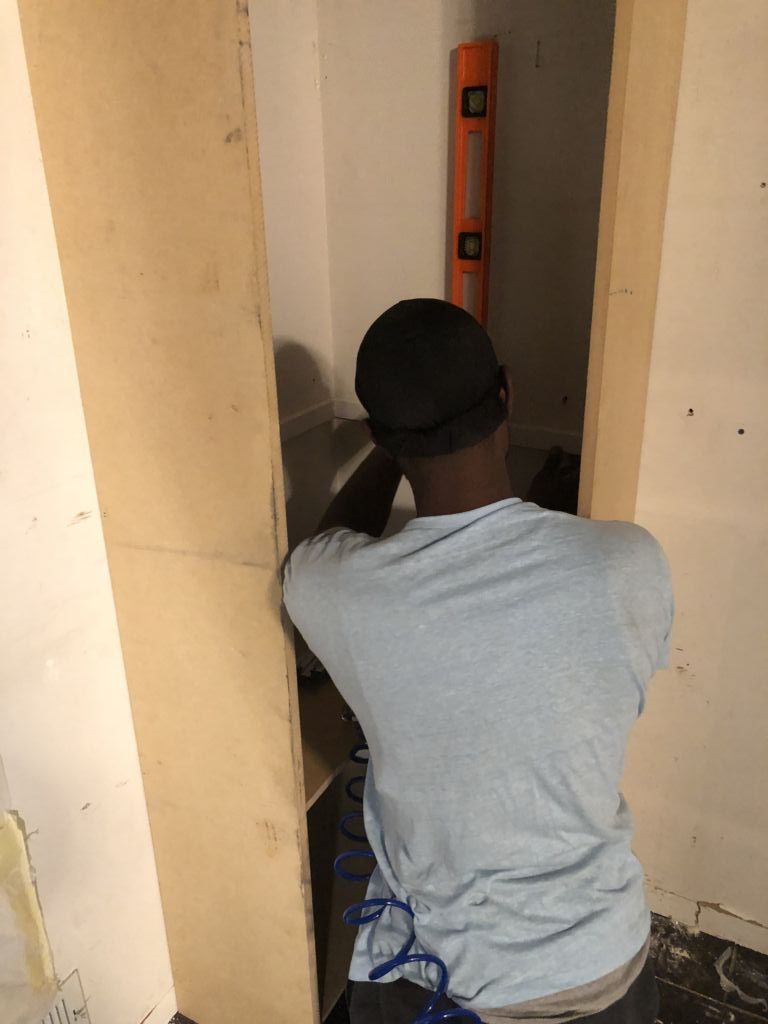
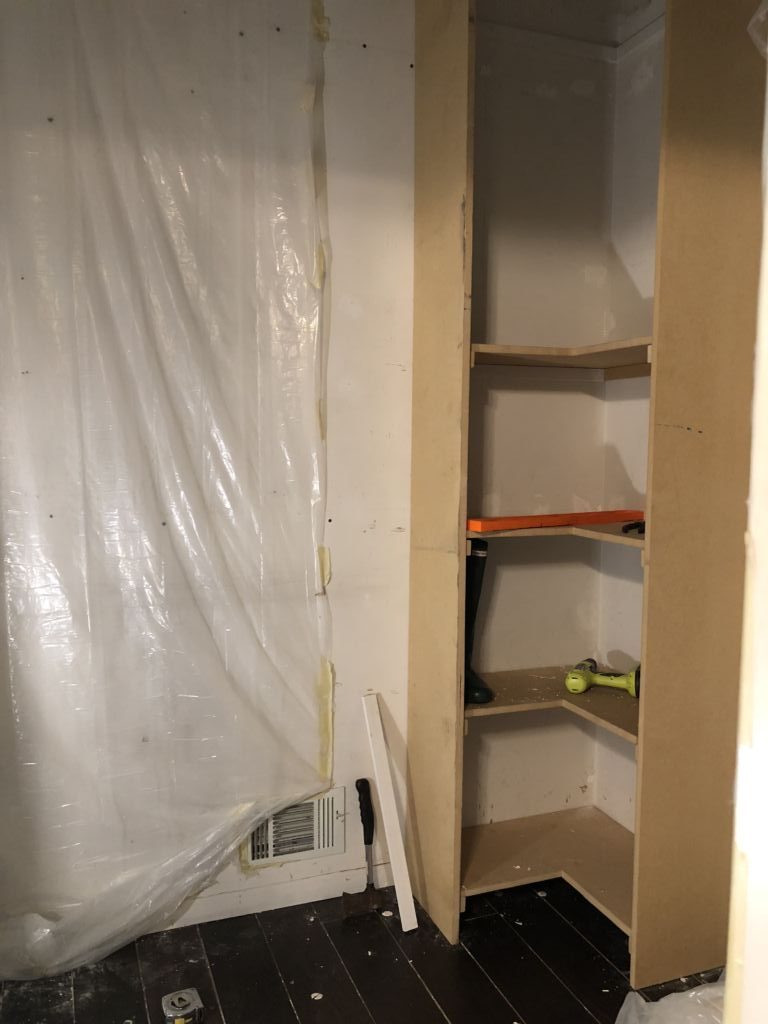
I wasn’t home when he put the original structure together, but I came home to the shell and was overcome with joy! We knew we needed this little piece for function, but originally envisioned it holding baskets for storage. Now that it’s up, it will house my shoes. He even went as far as to ask me to bring my Hunter boots so he could make sure he made the bottom shelf tall enough so they could stand upright.

We are planning to do a low shelf on the right side for the shoes he wears most often, and then a storage solution will be placed up high for the rest of his sneakers. We haven’t quite worked out how that will come together just yet.
So what’s next?

Crown moulding for the ceiling, molding on the shelving, patching the holes in the wall and painting is up for this week. If I decide to stop waiting on that coupon from last week, I suppose the light will go up.

Here’s our updated list of things that have been completed, and things that still need to be done.

Here’s what we need:

  • More hanging space
  • Better shoe storage
  • Shelving (built-ins, shoe shelving, high shelving for storage)
  • Grout existing flooring
  • New lighting
  • Paint (ceiling, walls, built-ins)
  • Drywall repair (ceiling, walls)
  • New hangers
  • Glass closet door
  • Baskets
  • Floor length mirror
  • Install hanging rods
  • Rug


DIY Home

One Room Challenge Week 2 | Master Closet Makeover

We’re at week 2 of our master closet makeover and we might be a smidge behind but I’m more than confident  we will get everything done on time. If you missed last week, we are participating in the One Room Challenge.

If you aren’t familiar with the ORC it is a six week challenge where designers, and guest participants share the transformation of a room from concept to completion.

One Room Challenge

There are so many talented people across the internet that I am looking forward to not only participating, but also following along on other people’s journeys as they transform their spaces. You can follow along as well by visiting the One Room Challenge blog. Every Wednesday for the next six weeks we will be uploading our progress.

If you missed last week, START HERE.

I apologize in advance for the bad photos. The closet is closed off from natural light and we currently don’t have a light fixture installed because I haven’t found one. Well, I have my eye on one, but I’m hoping if it sits in my shopping cart long enough I’ll get one of those magical email offers with a coupon.

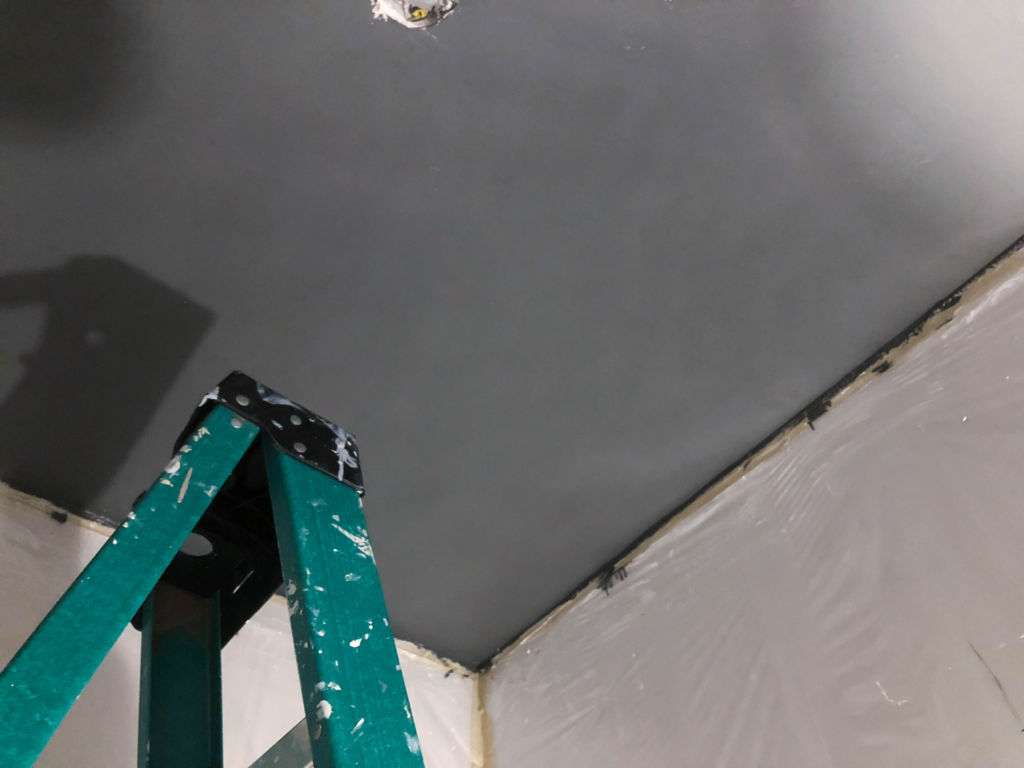
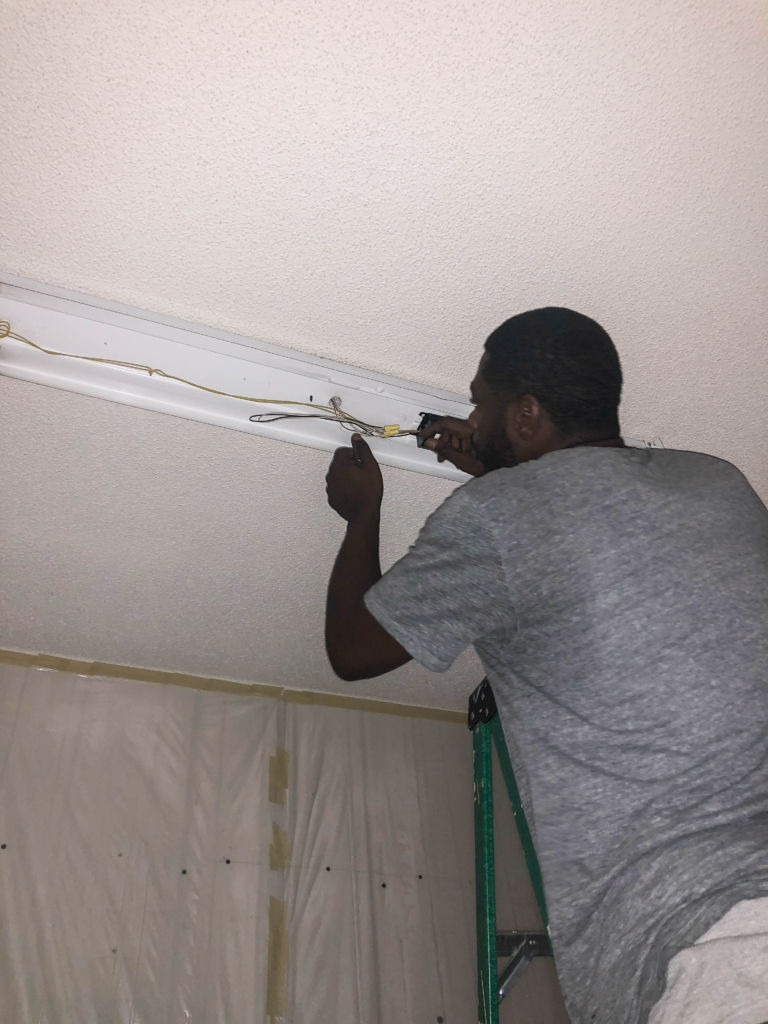
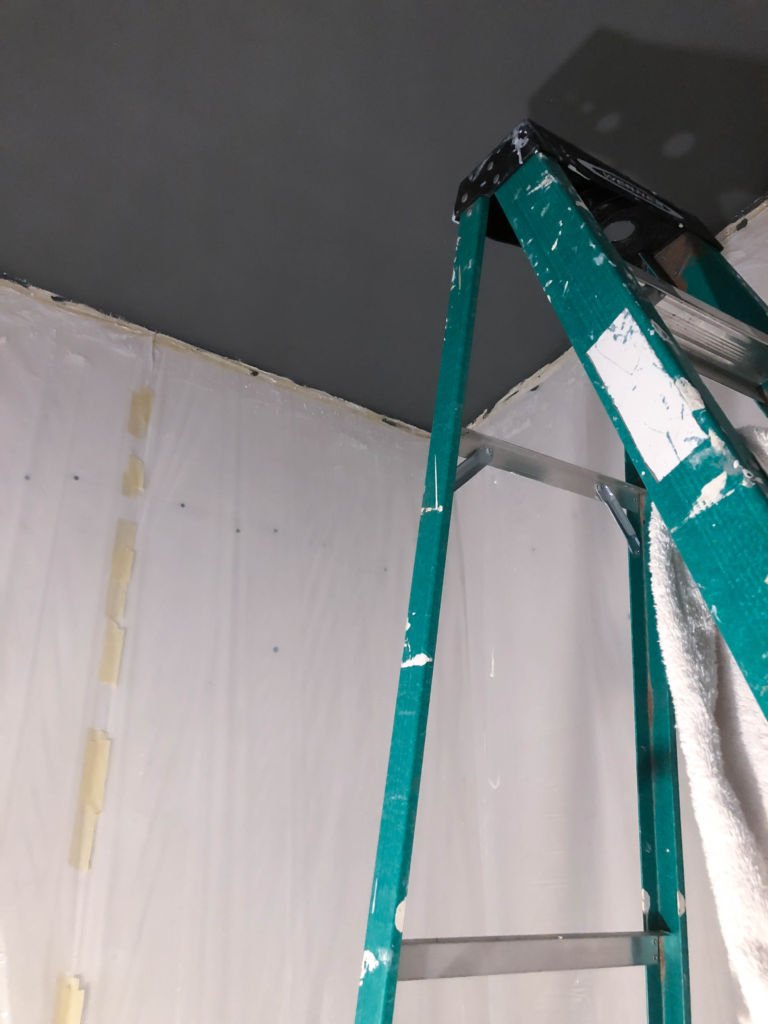
When we were planning our course of action, we decided to work from the top downward. Our first order of action was to attack the ceiling, which involved removing the bar light, scraping the popcorn, patching/skimming the drywall and painting.

We vowed to never, ever (ever, ever)  scrape another ceiling after the living room, but you know how that is. He made light work of getting it scraped, and thanks to a dry-vac loan from his brother the dust was minimal. Then he patched the other two large holes where the ends of the light fixture were attached in the attic.

About that.

master closet makeover

The whole attic process defies words. I captured the process on Instagram Stories for your viewing pleasure.

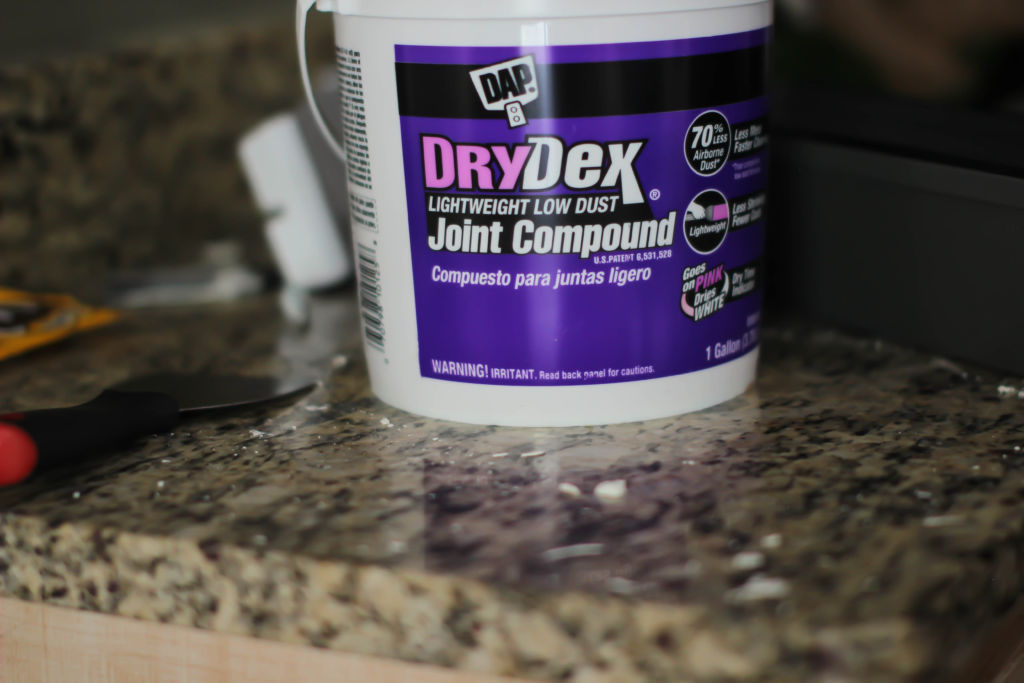
The next process involved him skimming the ceiling with joint compound, sanding, and painting.

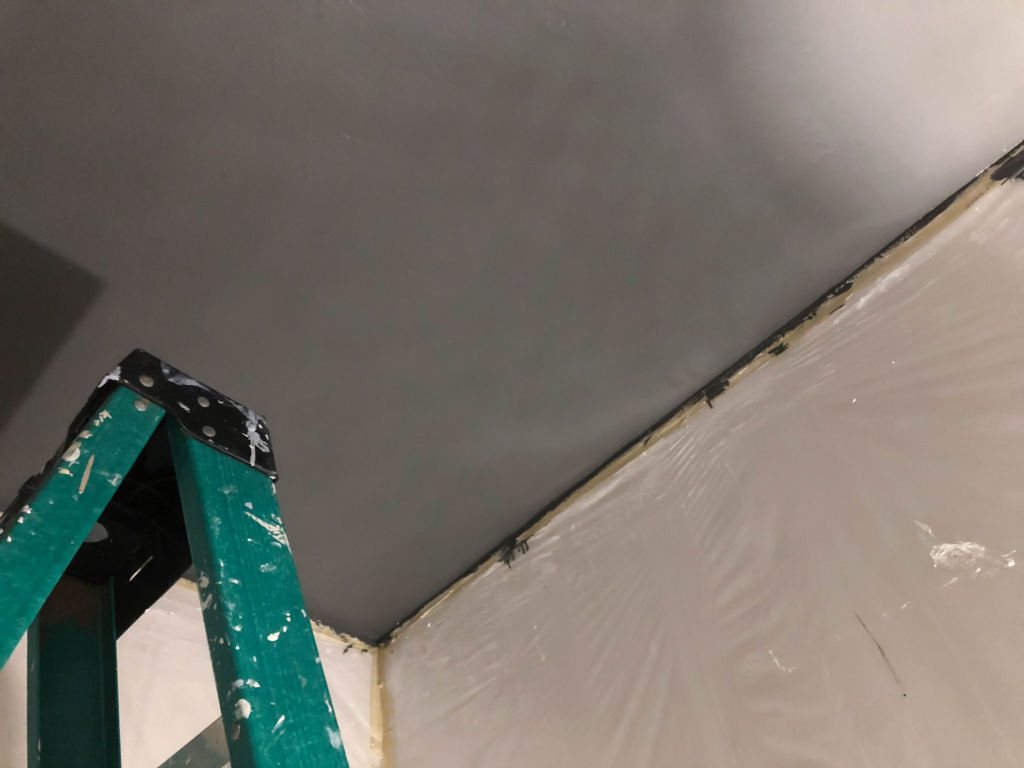
He really got it smooth, if we find some areas that need a little more work after we add in the light we’ll address them. However,  from a poor lighting aspect, things are looking good.

I know the space is small but I wanted to go a little dramatic so I hope this dark color doesn’t come to bite me, but I like it and think my brass light (the one I’m still waiting on a coupon for) will contrast nicely. The color is Portland Twilight by Valspar

Here’s a sneak peek at what’s going down this weekend. (Wish us luck. If you want a front/behind the scenes seat be sure to follow my Instagram Stories, always fun times over there.)

Photo

We’ll be making this and installing, as well as patching the walls to prepare for paint. We’ll be using a paint sprayer instead of  brushes. To make sure everything is seamless we’ll need to get all of our built-ins put in, and have the holes in the walls patched first.

Update: The shelving has been completed!

Here’s our list from last week with a few additions. In other words, this is a working document.

Here’s what we need:

  • More hanging space
  • Better shoe storage
  • Shelving (built-ins, shoe shelving, high shelving for storage)
  • New flooring
  • New lighting
  • Paint (ceiling, walls, built-ins)
  • Drywall repair (ceiling, walls)
  • New hangers
  • Glass closet door
  • Baskets
  • Floor length mirror
Home

One Room Challenge Week 1 | Master Closet Makeover (Before)

For quite a while, please don’t ask for date specifics because I might be forced to lie, but just know for quite a while now our closet has consisted of rolling garment racks placed in the shell of a closet.

We removed the existing system that came with the house, you guessed it… a while ago, and since then we’ve managed to make due with rolling garment racks.

Time’s up. I won’t replace another garment rack because my heavy sweaters weighed too heavily on metal poles that gave way, and landed my clothes on the floor.

I’m joining the One Room Challenge and giving ourselves SIX weeks to transform our shell of a closet into something spectacular.

One Room Challenge

If you aren’t familiar with the ORC it is a six week challenge where designers, and guest participants share the transformation of a room from concept to completion. There are so many talented people across the internet that I am looking forward to not only participating, but also following along on other people’s journeys as they transform their spaces. You can follow along as well by visiting the One Room Challenge blog. Every Wednesday for the next six weeks we will be uploading our progress.

Here’s the vision:

The closet is fairly compact, with high ceiling so the plan is to go up for storage. I don’t like your typical wire closet system, I want something that looks built in for a fraction of the cost so there will be a lot of DIYing and watching YouTube videos to pull this off.

All of the images below contain some sort of element I want in the space.

Master Closet Makeover

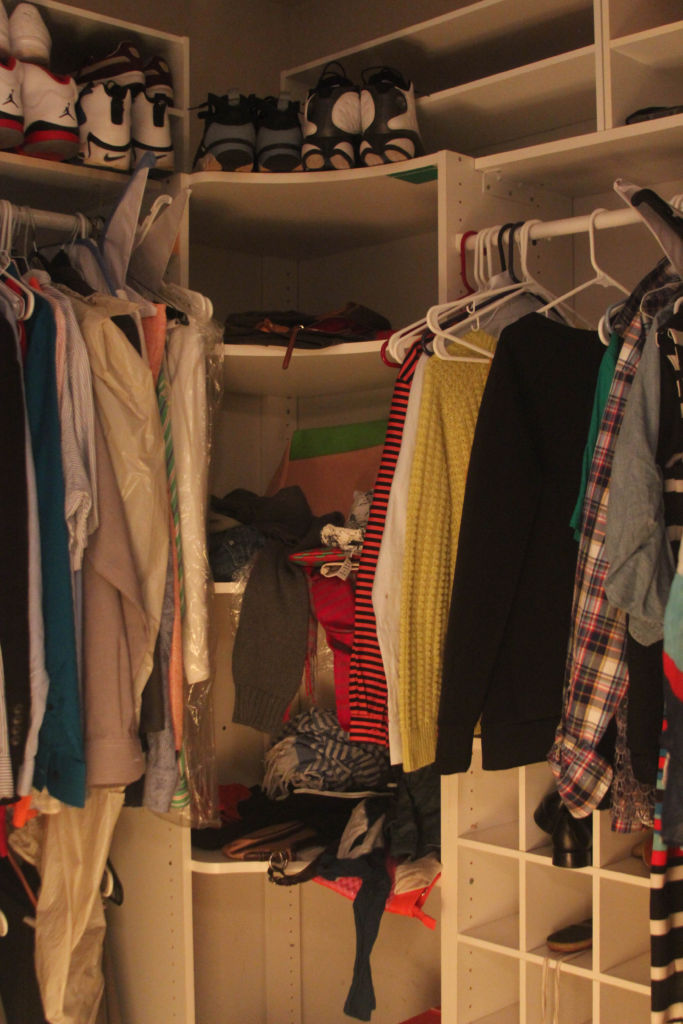
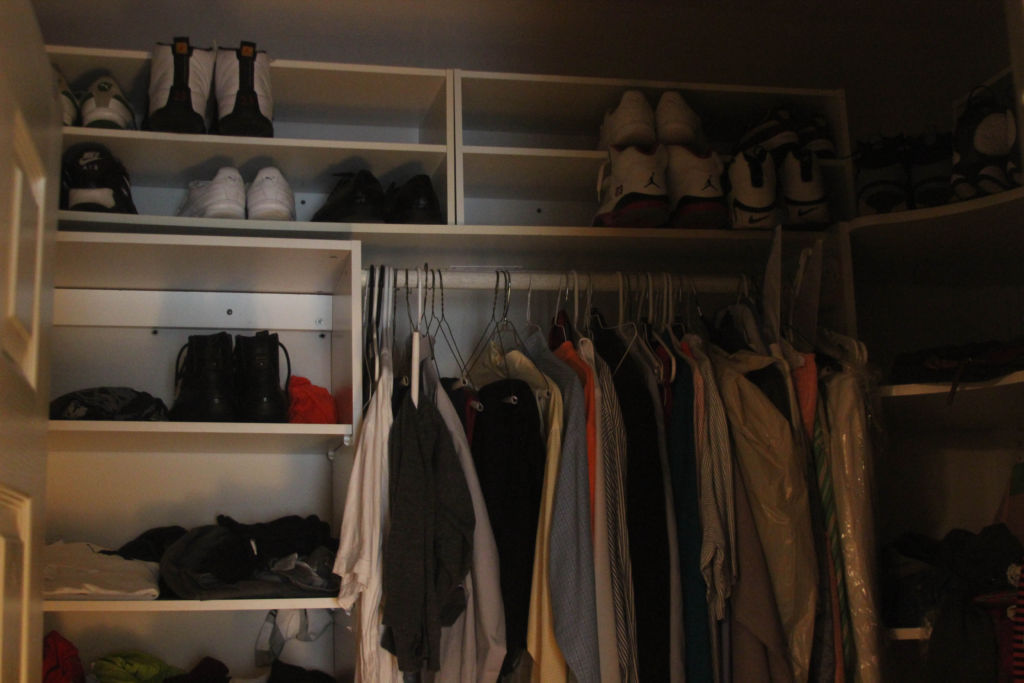
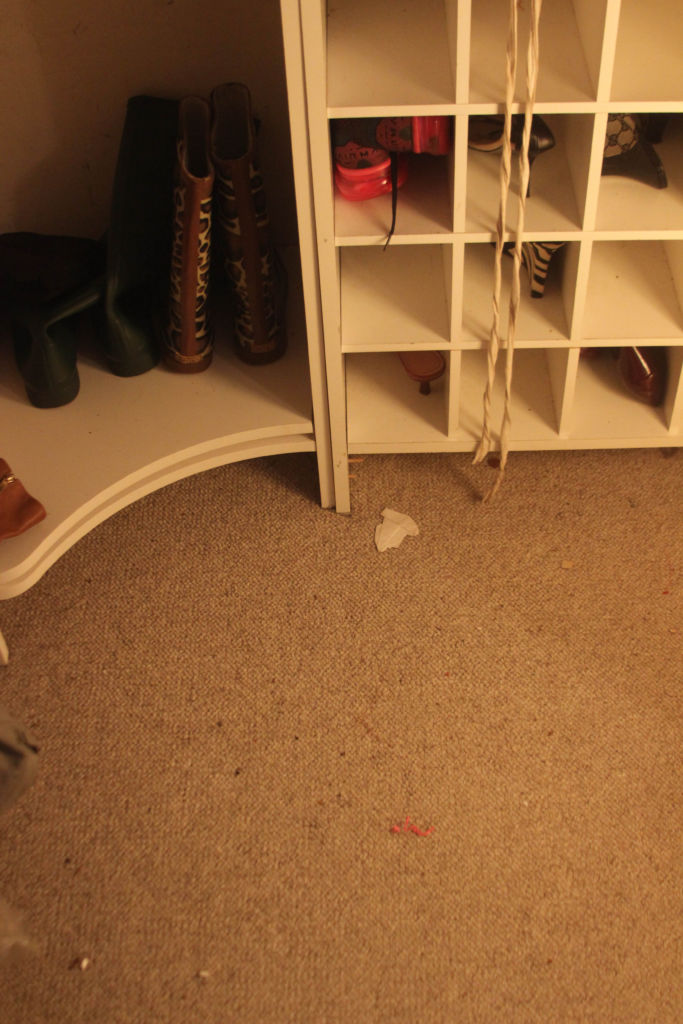
A transformation is only as good as the trashiest of trashy before images. It is my pleasure to oblige.

Remember I said a while ago we ripped this out. On some Alanis Morrisette irony, this was better than those garment racks. Hindsight is always 20/20 but no better time than the present to make some closet magic.

Master Closet Makeover

Master Closet Makeover

Master Closet Makeover

Here’s what we need:

  • More hanging space
  • Better shoe storage
  • Shelving
  • New flooring
  • New lighting
  • Paint
  • Drywall repair
  • New hangers

If you follow me on Instagram Stories you’ve already seen a little sneak peek, but I’m not sure I will be sharing them moving forward. You may have to wait with bated breath for Wednesday’s to see the progression.

…and we’re off. See you next week for the ceiling color and drywall repair.

Wish me ( and by me, I mean Adrian) luck…..please. We’re going to need it, and a few dollars.

PROGRESS

Week 2 is now complete. We painted the ceiling, see here.

Week 3 is now complete. Shelving is built.

How to reseason a cast iron skillet
Home

How to ReSeason Your Cast Iron Skillet

No pan alive has fried a better piece of chicken or baked a fluffier pan of cornbread than a cast iron skillet. I read a recent article that alluded to the fact that millennials have made these kitchen staples popular, you should’ve seen me with all of the eye rolls.

I remember being gifted a seasoned cast iron skillet as a gift when we moved into our first home. Not sure I understood the underlying message of such a thoughtful gift. Of course my initial thought was somebody must want us to have the best friend chicken, then as the age meter crept up I learned to treasure that gift for the actual history that lies behind those heavy black pots. They spell out memories of watching grandmothers and mothers over the years in the kitchen creating love through their food.

More than 13 years after receiving that skillet as a gift, I still treasure it so.Unfortunately due to poor care and my son not wiping it totally dry after washing  it started to rust. I reseasoned her a few weeks ago and she’s back to normal.

How to reseason a cast iron skillet


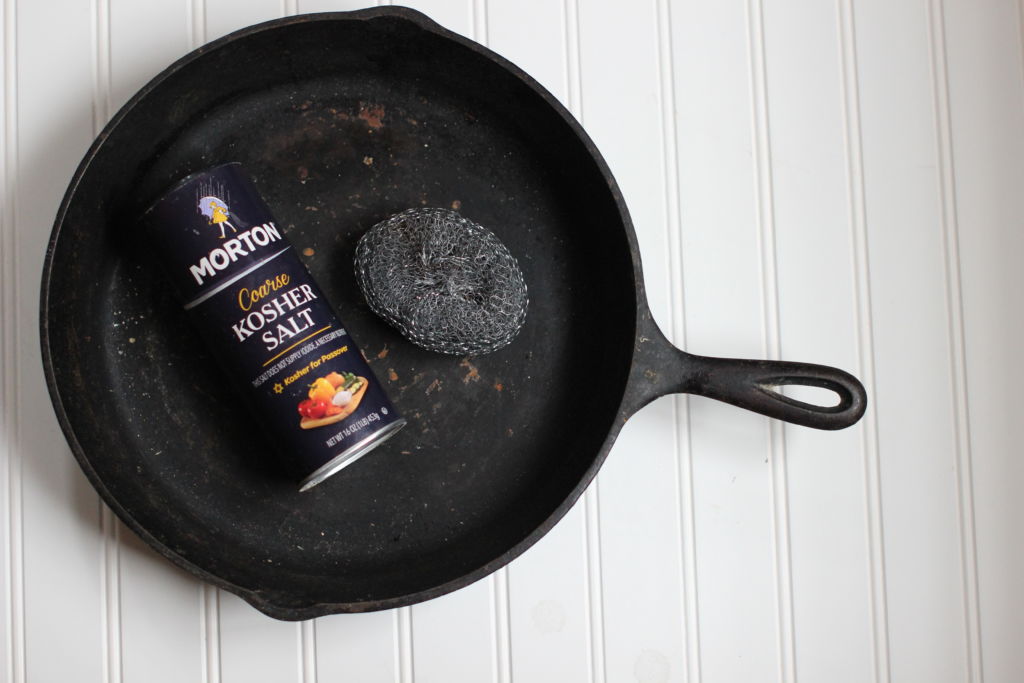
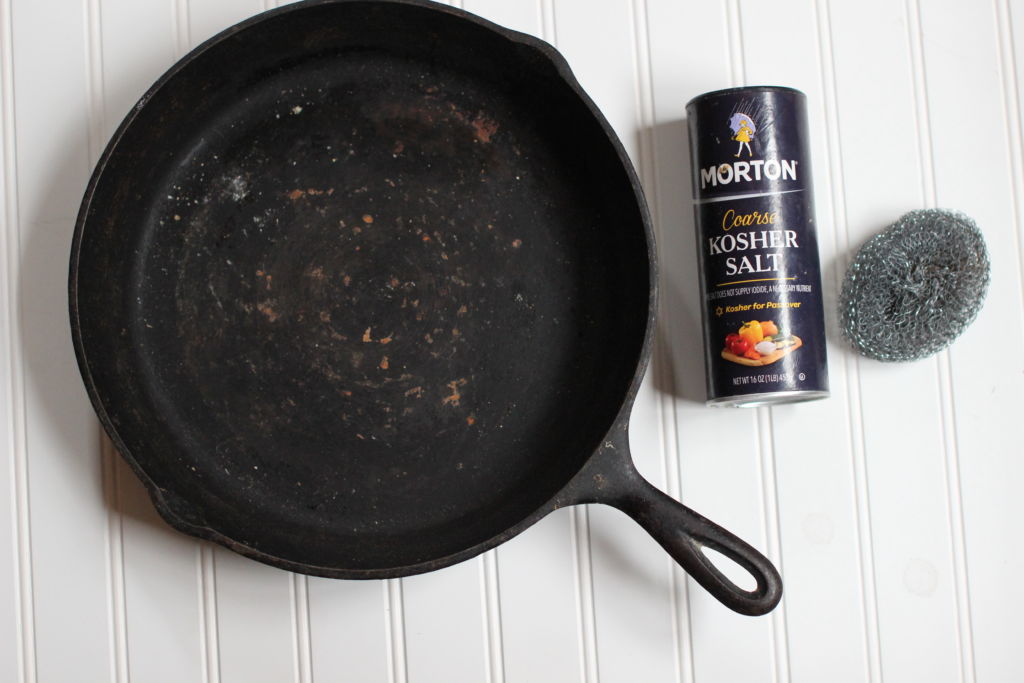
To reseason you need to pour a course salt into the pan and scour it with steel wool if your pot has rusted. I grabbed like a million steel wool scrubbers from the Dollar Tree. If you don’t have rust you can skip this step and just clean well with dish soap and water

Here’s a tip. Wear some gloves, my fingers got nicked a few times from rogue pieces of steel wool. Maybe that was because I used the Dollar Tree brand. Just be careful.

Once all of the rust is gone, rinse and dry with a paper towel. Rub a little vegetable oil on the inside and sides of the pan, then bake at 350 degrees upside down for an hour. Place something under the pan to catch the oil drippings. Once the hour has passed, turn the oven off and leave the pan in the oven to cool.

Seasoning a pan simply means putting an oil coating on it that will keep food from sticking. Most are already seasoned when you purchase them but in the event you notice food sticking just give it some seasoning love with the steps above.

To maintain my skillet, I wash with a drop of dish detergent and use the steel wool if there is stuck on food. There are some people that will say don’t use dish soap at all just use hot water and steel wool. I’ll leave that decision up to you.  I thoroughly dry the skillet and at times if the oven was used for dinner I will sit it in the oven for a few minutes to make sure it is fully dry before storing.

How the season a cast iron skillet

Do you have a cast iron skillet? Please share any other tips you may have on cast iron care!

SaveSave

SaveSave

SaveSaveSaveSave

SaveSaveSaveSave

SaveSave

SaveSave

SaveSaveSaveSave

SaveSaveSaveSave