Browsing Category

DIY

how to hang a gallery wall
DIY Home

How to Hang a Gallery Wall

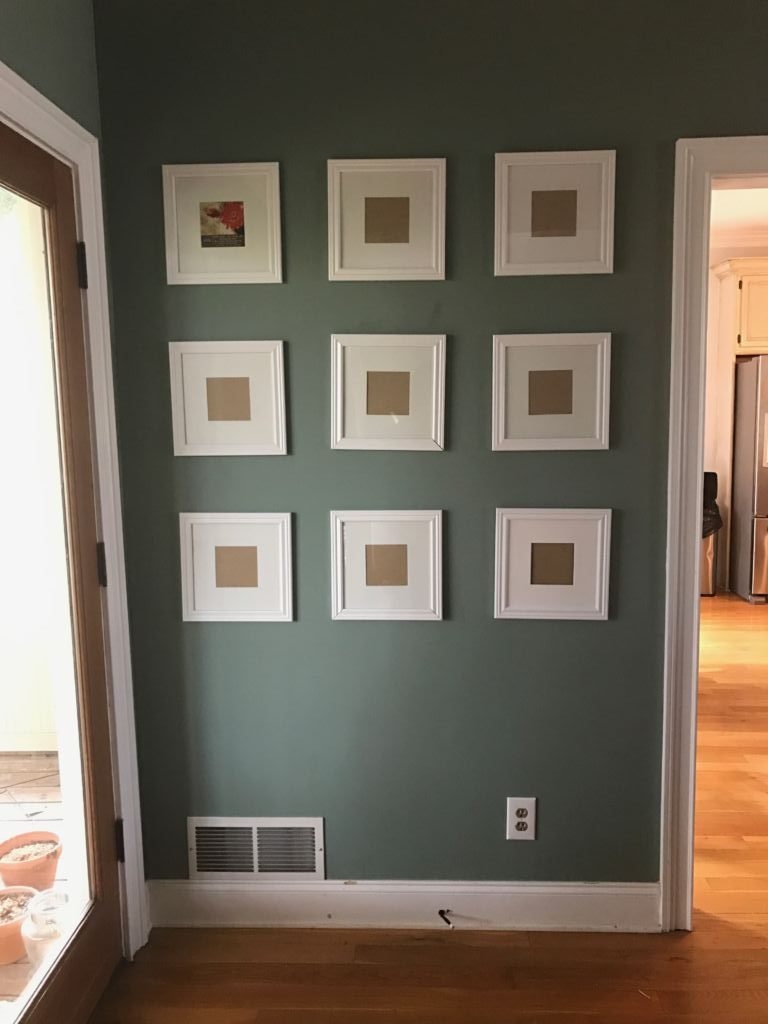
A few months back, I finally got around to arranging the  9 frames that I picked up from Michael’s on my wall into a 3X3 grid for a gallery wall.

Being very conservative let’s just say the frames sat for 3 months with nothing in them. One day while glancing at them I grabbed my computer right then and set about ordering prints to go in them. I finally settled on going with 5 X 5 prints as I thought the matte would be a nice touch.

Can we say I have so many pictures, thankfully most are organized so I had a easy time finding them based on my photo storage method. With so many to choose from instead of getting overwhelmed I just grabbed a few that jumped out at me through the Instagram link method on Walmart’s website to just assess the quality of the photos before taking out the time to really dig in and find all of my favorites throughout the years.

Unfortunately due to the size they were not available for immediate pick up. I had to wait a few days for them to go site to store but for a little over $4 for 9 photos I was impressed with the quality.

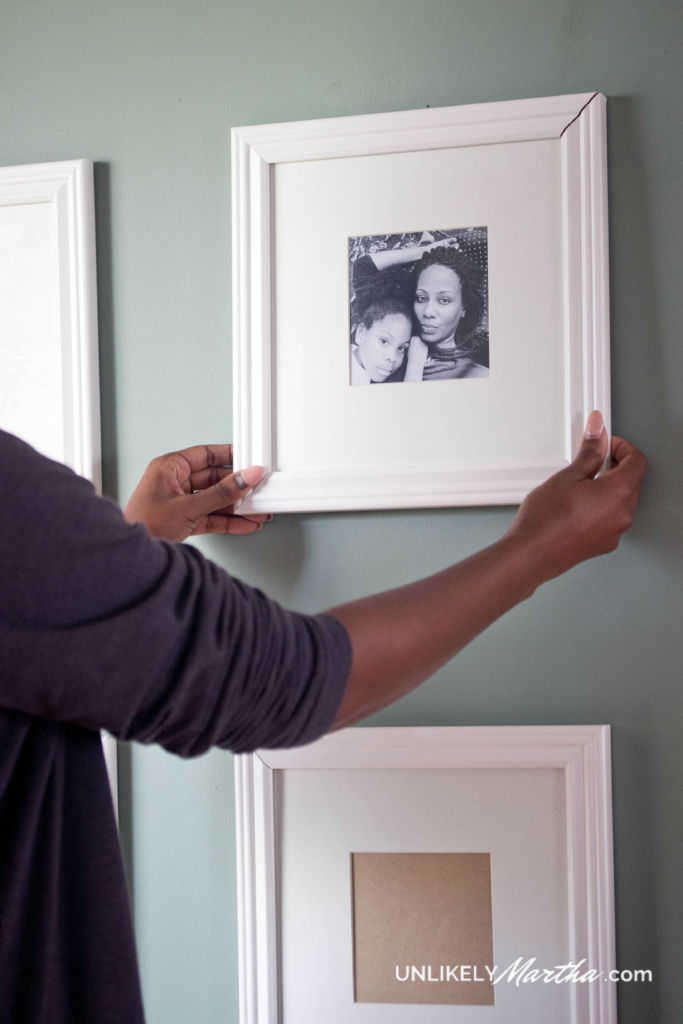
Once the photos were finally in hand, I set about putting them in the frames. Here are a few tips to make life a little easy when setting up your gallery wall.
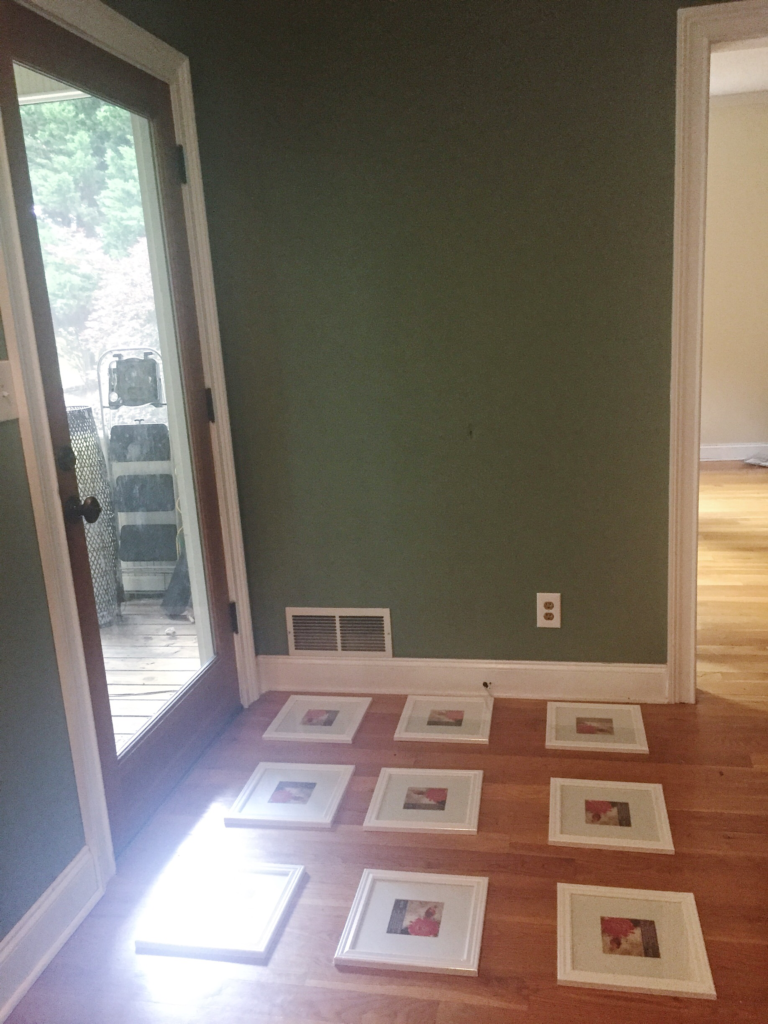
Gallery wall


  • Measure the entire area where you will be hanging your photos. You’ll need to do a little math to determine where the center of the wall is. Once I found that number in inches I hung the middle of my middle frame there and worked out.  That being said it SEEMS to be easier to work with an odd number, but whatever works for you.
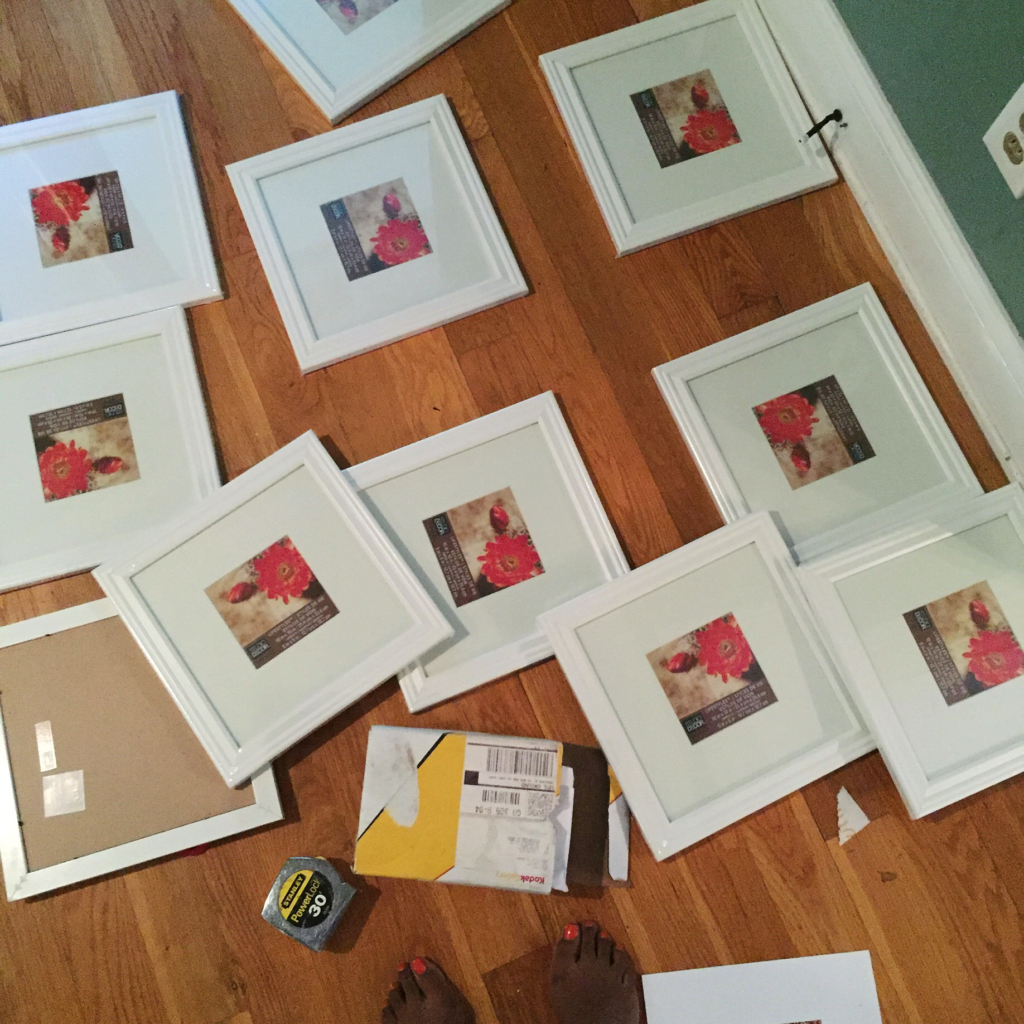
 

Gallery Wall


  • Once you determine where you will be hanging put a piece of tape over the hanger on the back of the frame and put a hole in the tape  where the nail should go.
  • Put all of your pieces of tape on the wall. If you are unlike me, now would be the time to make sure things are level. LEVEL AT THIS POINT and make any adjustments
  • Now put a nail where that tiny hole in the tape is.
  • Do not insert a 7 month gap between here and putting pictures in the frame.
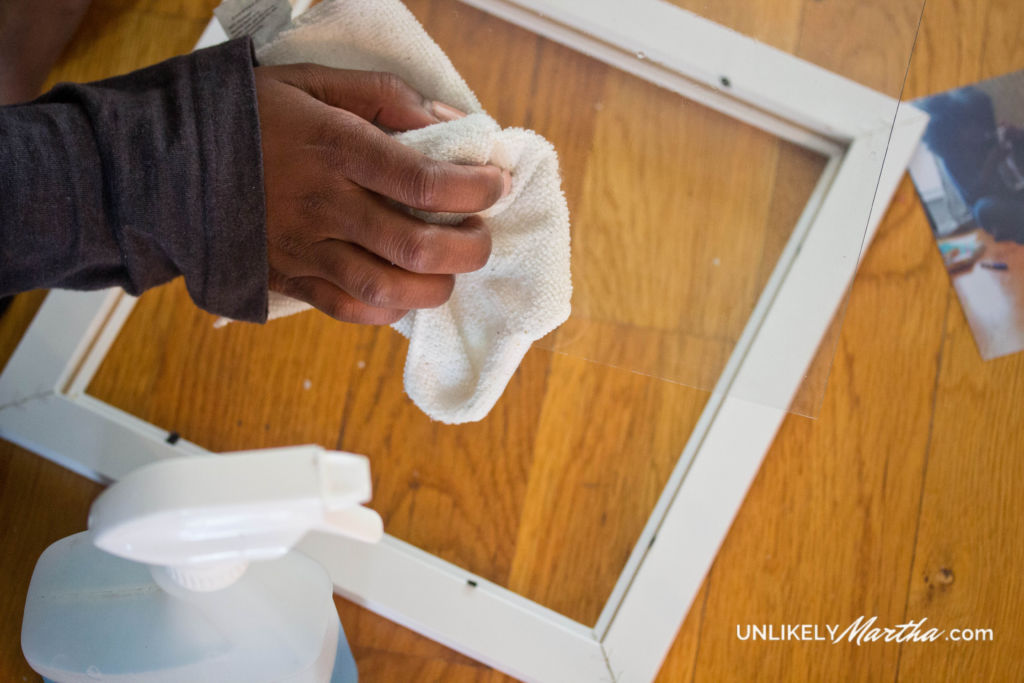
  • Before putting pictures in the frame, be sure to clean the glass well
 

how to hang a gallery wall


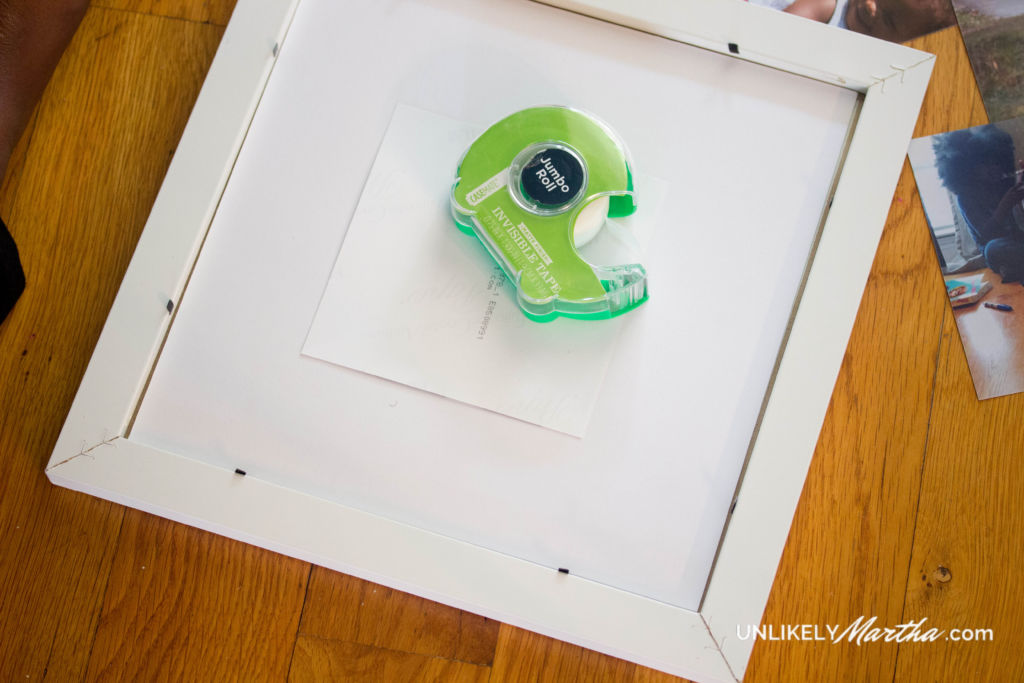
  • Put in your print and determine where you want it. Once that is determined add a small piece of tape to the top to keep the print from shifting.
 

how to hang a gallery wall


  • H A N G!


how to hang a gallery wall


Now that I am certain of the quality of the prints and I am happy with a mix of color and black and white prints I can go through all of my photos and really pull out my favorites, most of these are just place holders for now. I’ll be back to show you the final photo selections.
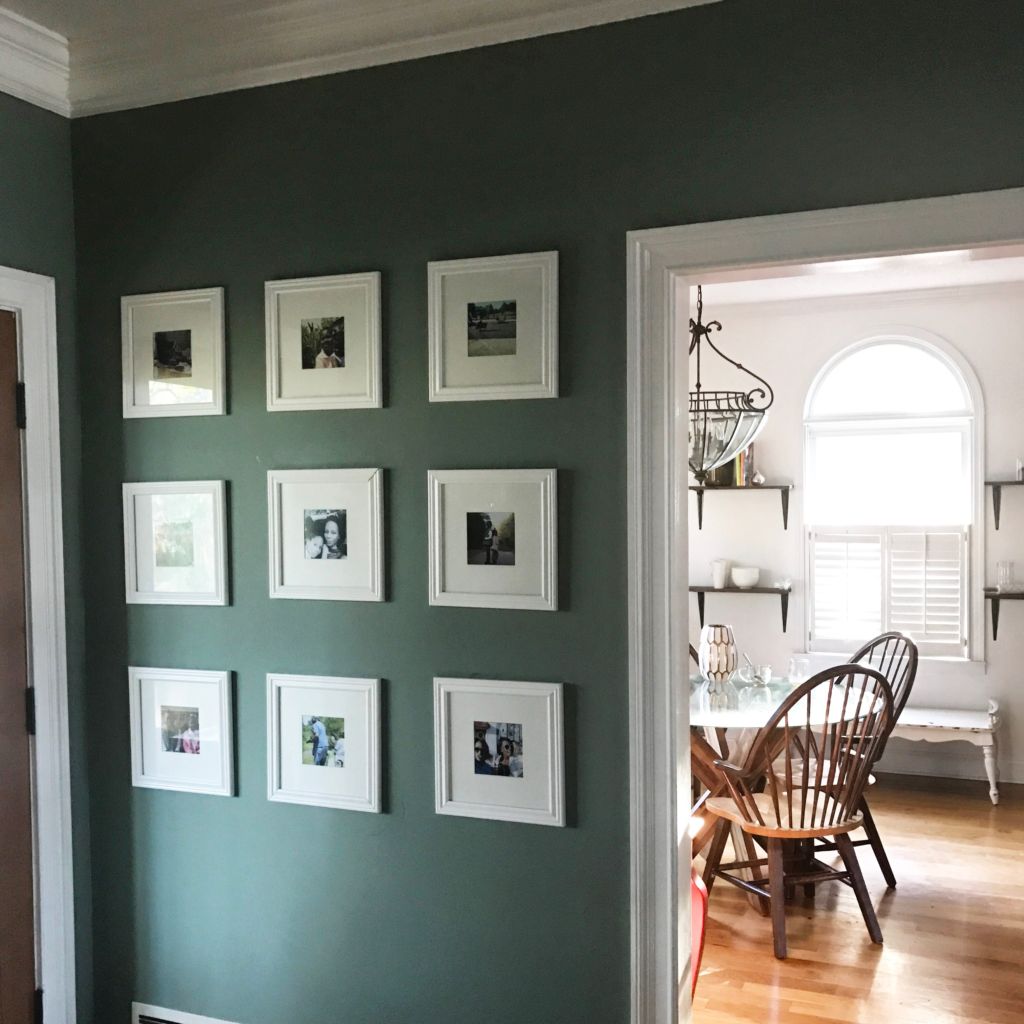
 

how to hang a gallery wall


how to hang a gallery wall

It might be 6 months from now, but I’ll be back with the absolute finished product!

Have you ever hung a gallery wall? Will you attempt one now?


Save

Save

Save

Save

Save

scraping a popcorn ceiling
DIY Home

Scraping a Popcorn Ceiling | How to and the Pros and Cons

Scraping a popcorn ceiling is not for the weak. We did it, and by we I totally mean he finally scraped the outdated popcorn from the ceiling in our living room.

scraping a popcorn ceiling

I’ve said before that this house had the good bones, neighborhood, schools etc. but the inside left a lot to be desired and the two things that grated my nerves have finally been made over.

Before painting the living room walls we went ’round and ’round about whether or not the ceilings would get scraped. After hearing all of the horror stories about the pending mess to ensue we thought it wise to ignore the warnings and have a go at it.

scraping a popcorn ceiling

This doesn’t even seem real 😐

Absolute worst experience. Dust was EVERYWHERE. Disclaimer being that my husband found the bag that attaches to the scraper and collects the particles hindering. To fix that minor irritation he took it off. If only foresight was 20/20.

3

Do the math. ALL of the dusty things hit the floor, the air, the furniture, and every room in the house.

scraping a popcorn ceiling

If you are thinking about scraping your ceilings, here’s a list of the things you will need, some tips and my pros and cons

You will need:

Process:

  • Working in small sections spray the area well, but do not saturate as you don’t want to damage the drywall. Let sit for about 3 minutes prior to beginning to scrape
  • Scrape in one direction, with just enough force to get the very thin layer of popcorn off. Do not scrape too hard to avoid damage to the dry wall.
  • Clean as you go, as the process is VERY messy

Cons:

  • Outside of the dust my husband was hurting for days. It was such a large area and the majority of the work required him to keep his hands over his head. If you attempt to do this on your own, make a few days of it to allow your body time to rest.

Pros:

  • Very cost effective DIY in terms of material. Definitely not in time and energy but if you are counting coins the savings was a major pro. We were quoted in excess of $300 to have this done. We spent $25 in materials.
  • It looks amazing. Sometimes we just stare at the ceiling and forget how much of a headache it was. You know, like childbirth

Ace 31 Days of Color

Ace 31 Days of Color

Compared to this..I’m like give me  er’ him all the pain for the gain. The kitchen has since been painted all white.

Ace 31 Days of Color

Because we are DIY gluttons for punishment we’ll be taking on the hallway in a few weeks. I’ll take my own advice and let you know how it goes.

Have you ever scraped your ceiling?


Save

Save

Save

DIY Home

Rubbermaid FastTrack | Garage Makeover

This shop has been compensated by Collective Bias, Inc. and its advertiser. All opinions are mine alone. #GarageCleanUp #CollectiveBias

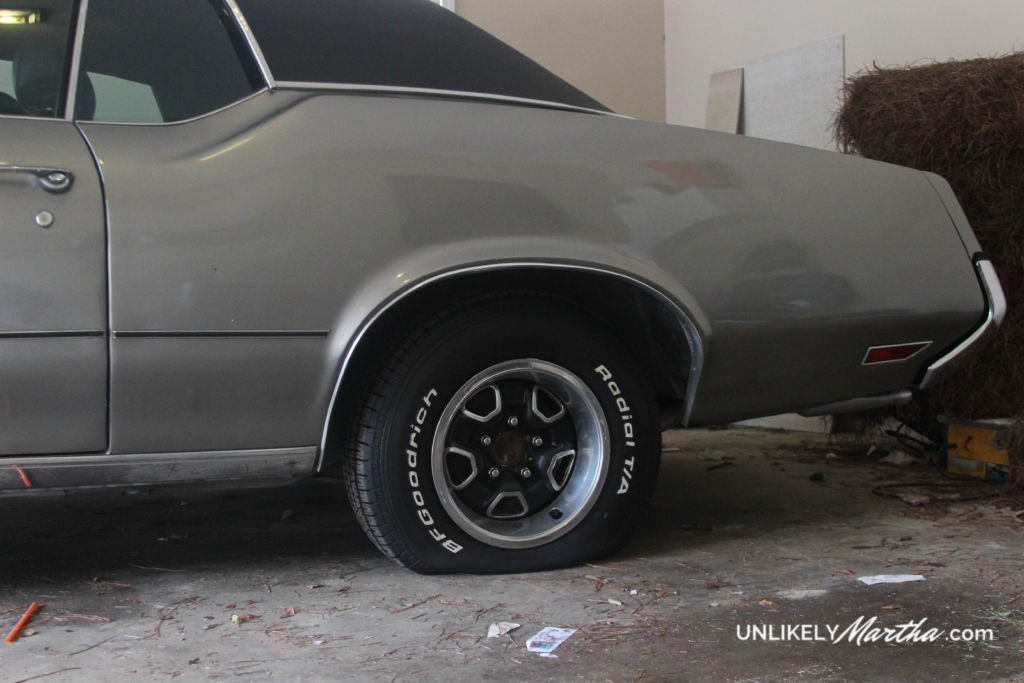
If you follow me on Instagram or Snapchat you know that my husband drives a classic car. Her name is Sylvia but I refer to her as Mistress Money Pit (MMP) for obvious reasons. If you know anything about classic cars the care and love for them by their owners can be a tiny bit obsessive. So much so that some of them drive their car about three times before they go and sell it! I mean, they spend however much money on the car, however much doing the car up, and then however much on getting traders insurance from somewhere like One Sure Insurance just so that they can sell the damn thing. An exercise in futility, in my honest opinion.

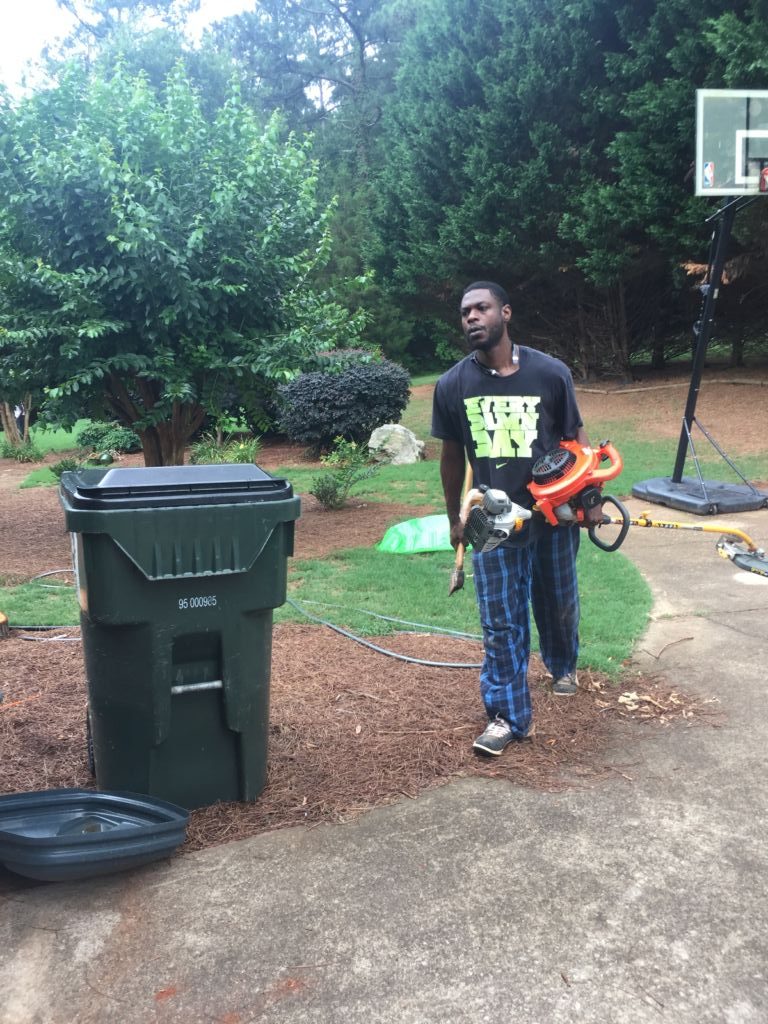
One of the main issues we were having in the garage is the kids park their bikes on my side of the garage (go figure). When they park their bikes on my side it causes me to have to park a little too close to Sylvia to avoid taking them out. As a result every time I open my door to get out I have to touch my car door to MMP and over time her door has accumulated far too many nicks for his liking.

Fixing this dilemma was fairly simple. We decided to relocate the children’s bikes into the downstairs garage. Genius resolution until I saw snakes enjoying the breeze down there, and quickly that option became flawed.

Snakes.

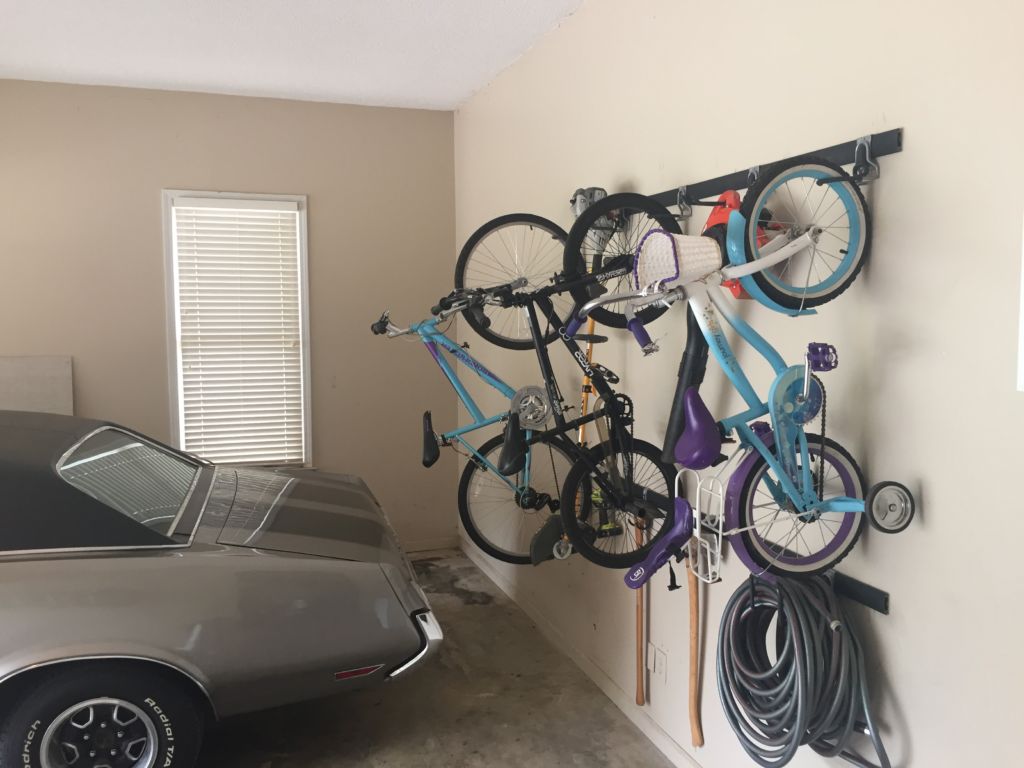
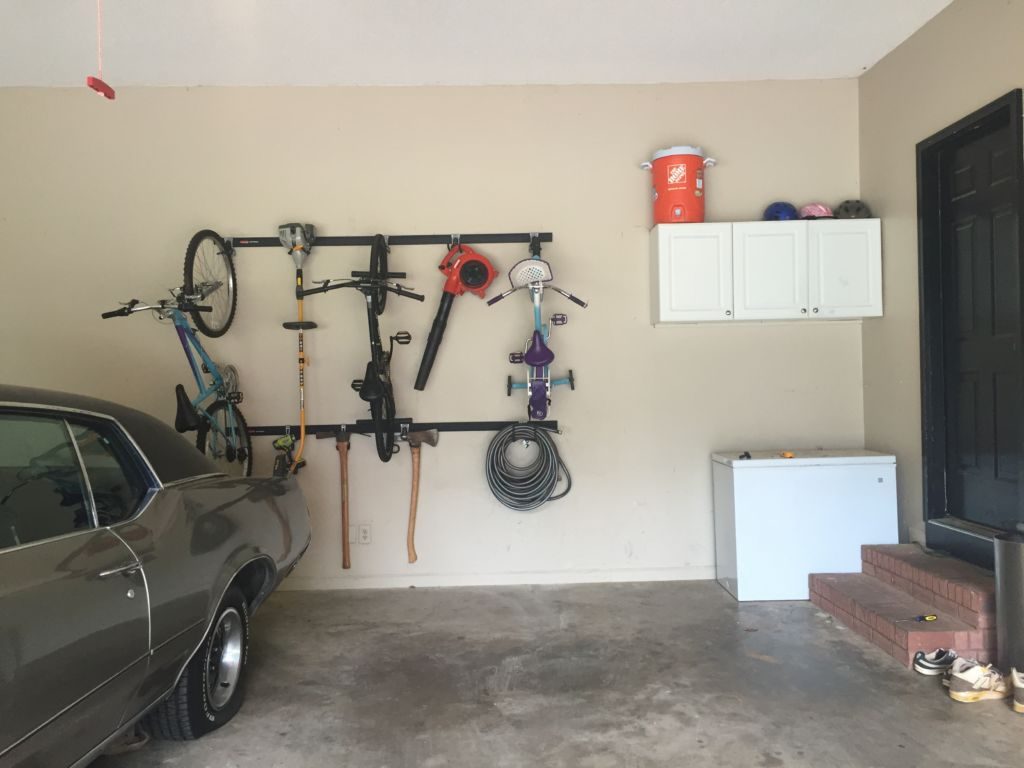
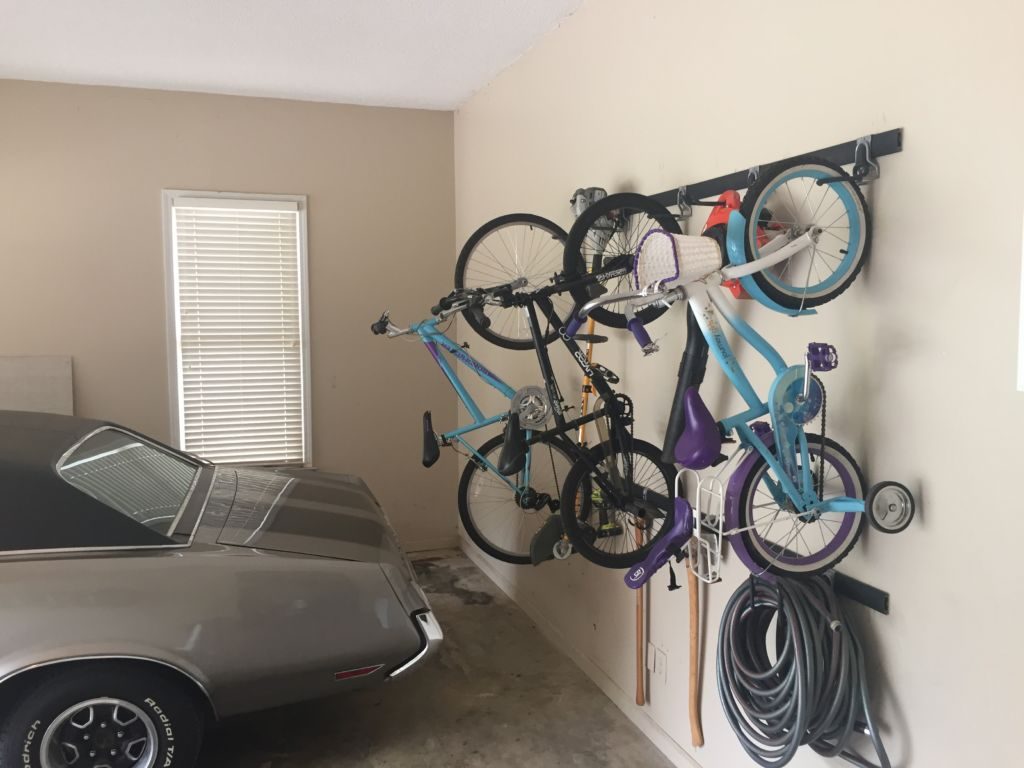
We then decided the best option would be to install a system to hang their bikes on the wall in the upstairs garage to free up space for me to park properly.

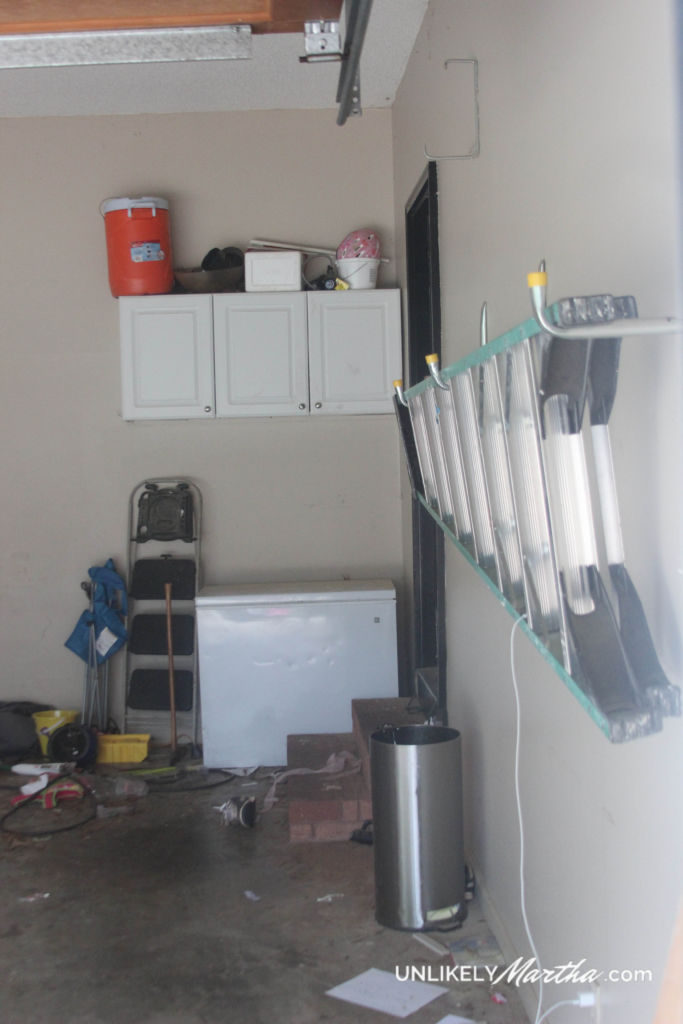
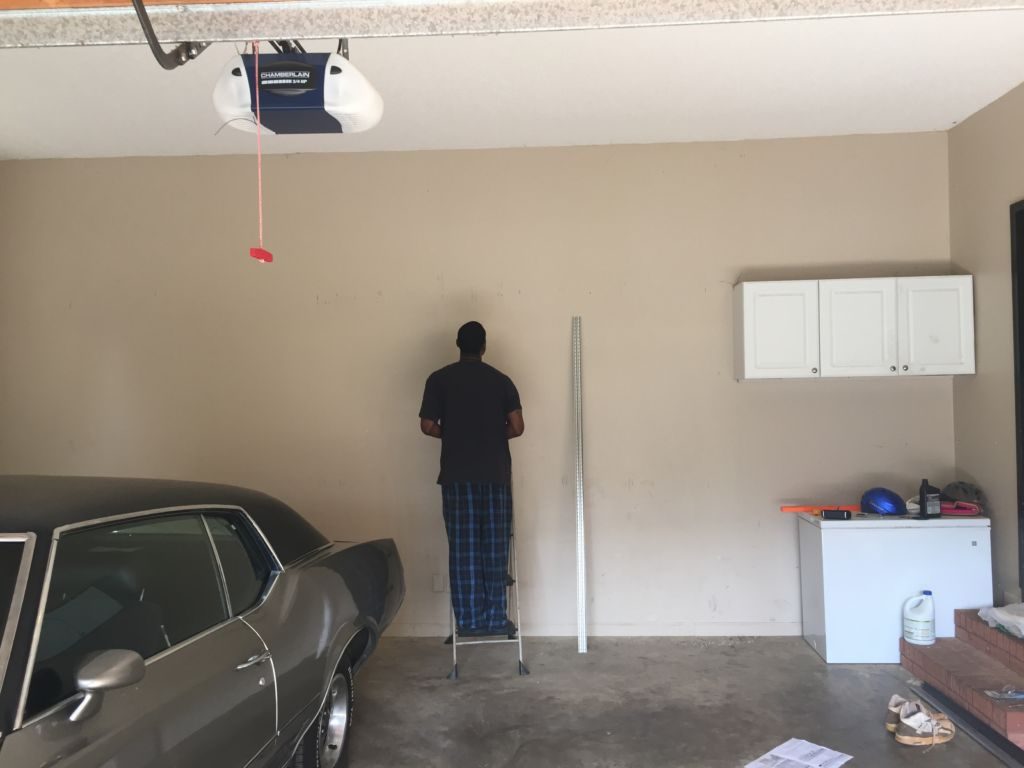
We live in an older home so our garage is huge and there was more than enough space after we measured to put the system upstairs along with his tools leaving the bottom garage for his other classic car that is in the shop *rolls eyes* and the lawnmower. This is what we started with.

Rubbermaid FastTrack Garage organization system

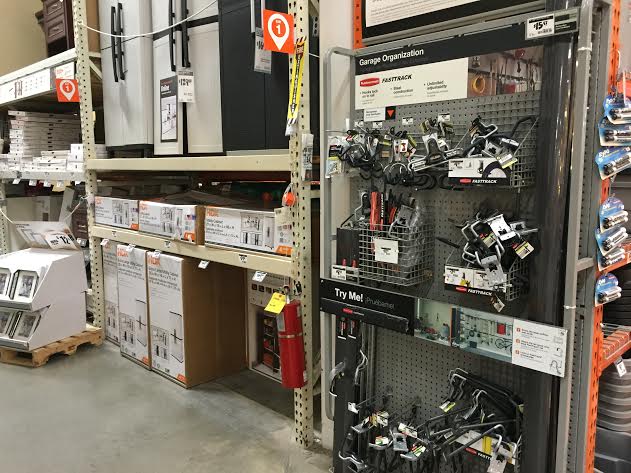
I made a trip to The Home Depot to pick up the Rubbermaid® FastTrack® Garage Organization System. It took me a minute to figure out what hooks we needed to house everything that we would be moving up to that garage.

Rubbermaid FastTrack Garage Organizatioin System

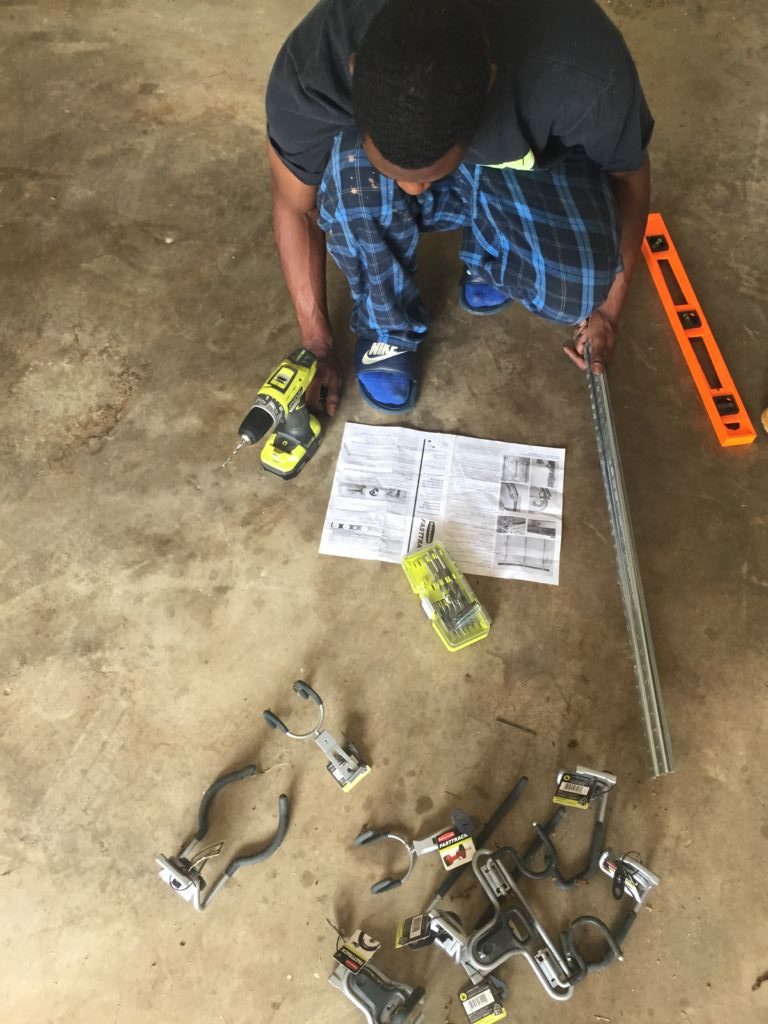
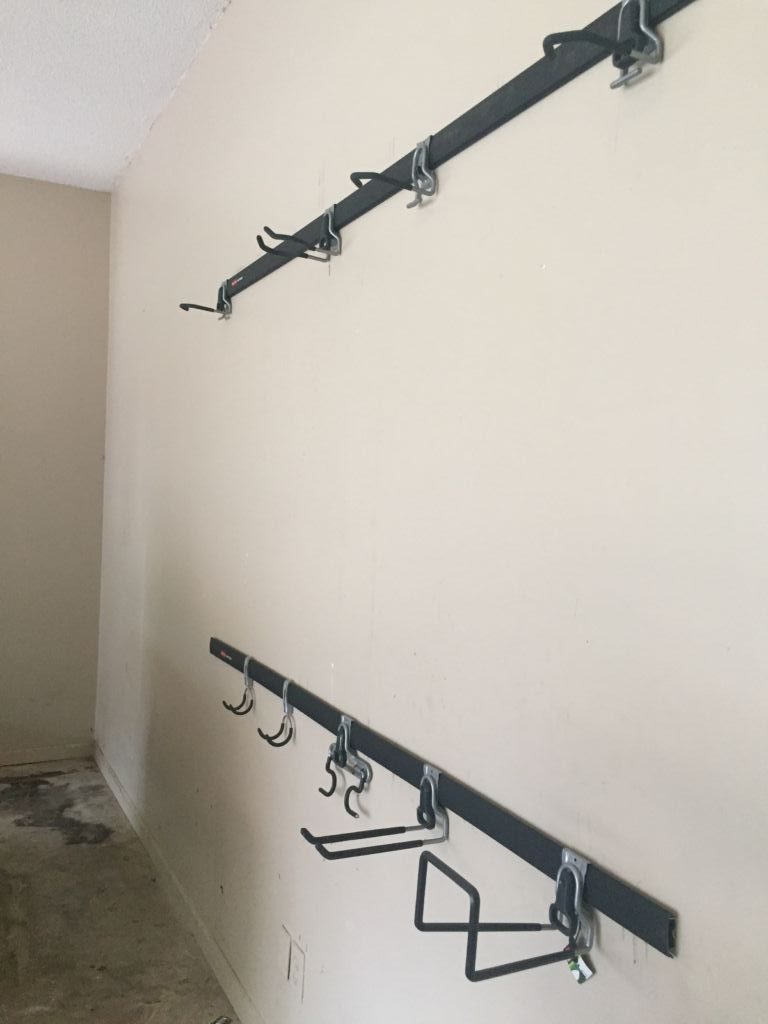
I ended up going with {2} FastTrack® 84 inch vertical rails, 3 FastTrack® Vertical bike hooks, a FastTrack® Utility Hook and a few FastTrack® Multi Purpose hooks along with the hardware packs needed to securely attach the system to the wall.

Rubbermaid FastTrack Garage Organization

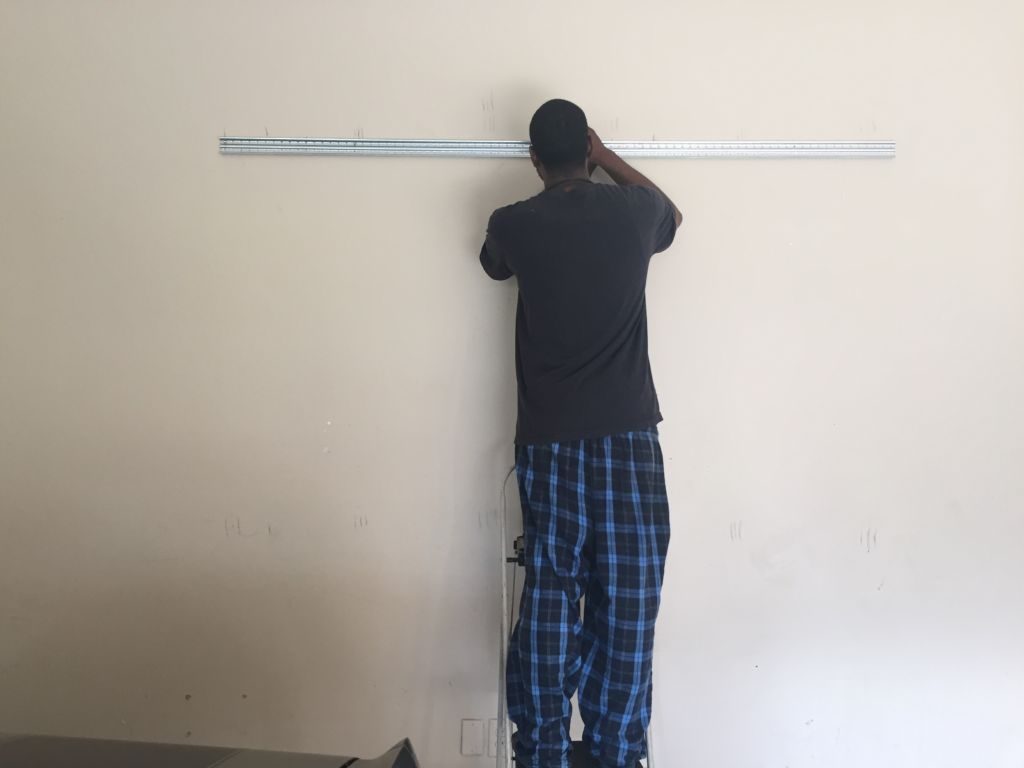
The FastTrack rails were quick and easy to install once he measured out where the studs were. The system can hold up to 1750 lbs, to make sure you don’t have an issue it is super important to make sure the system is attached to the studs. Our studs ended up being the standard width apart which is roughly 16″.


File Jun 06, 10 19 54 AM

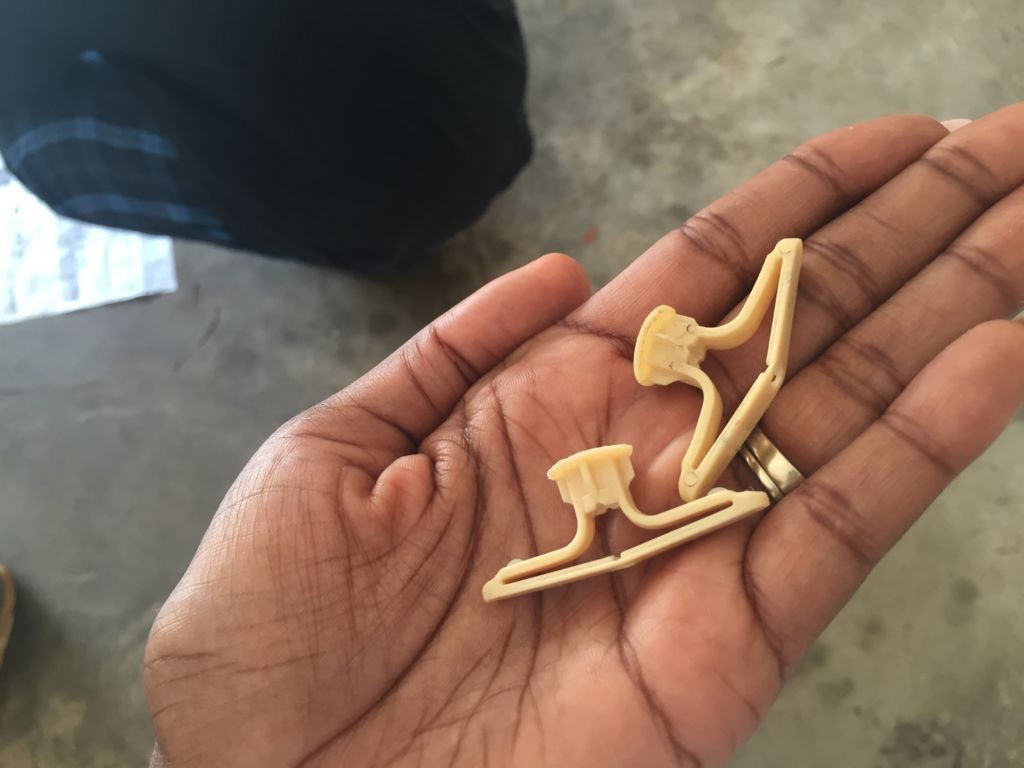
Once the studs are marked out you have to put in the anchors, found in the hardware pack. You must use the hardware pack for the system, it is only $1.97 so no need to cut corners.

Rubbermaid FastTrack Garage Organization

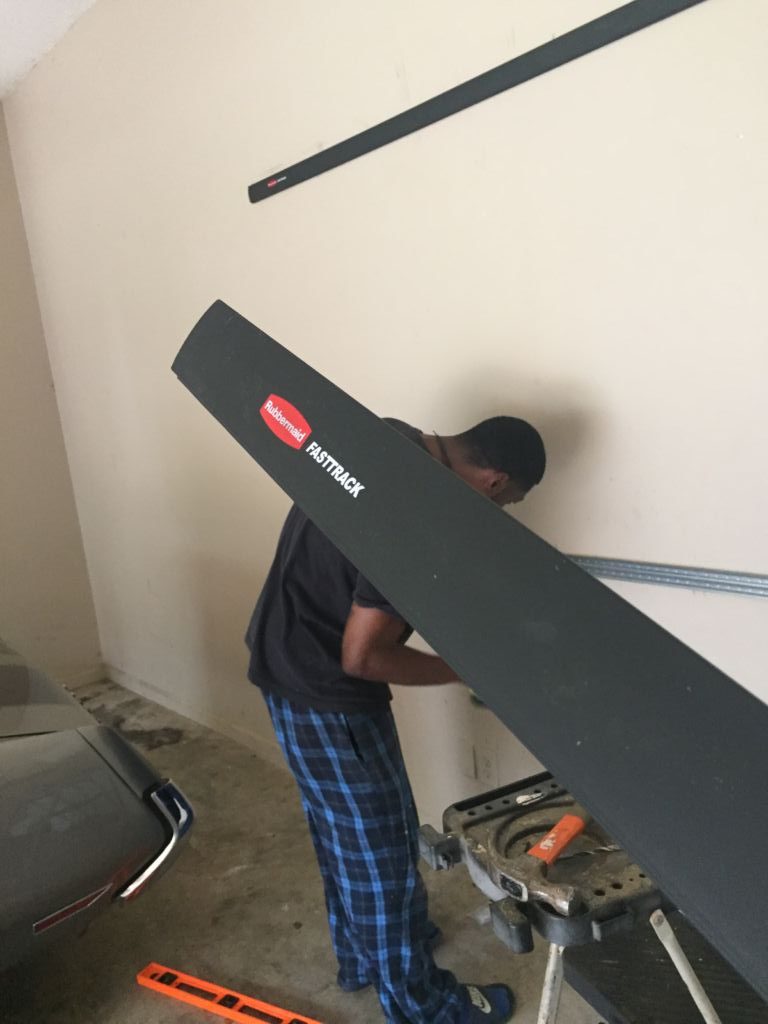
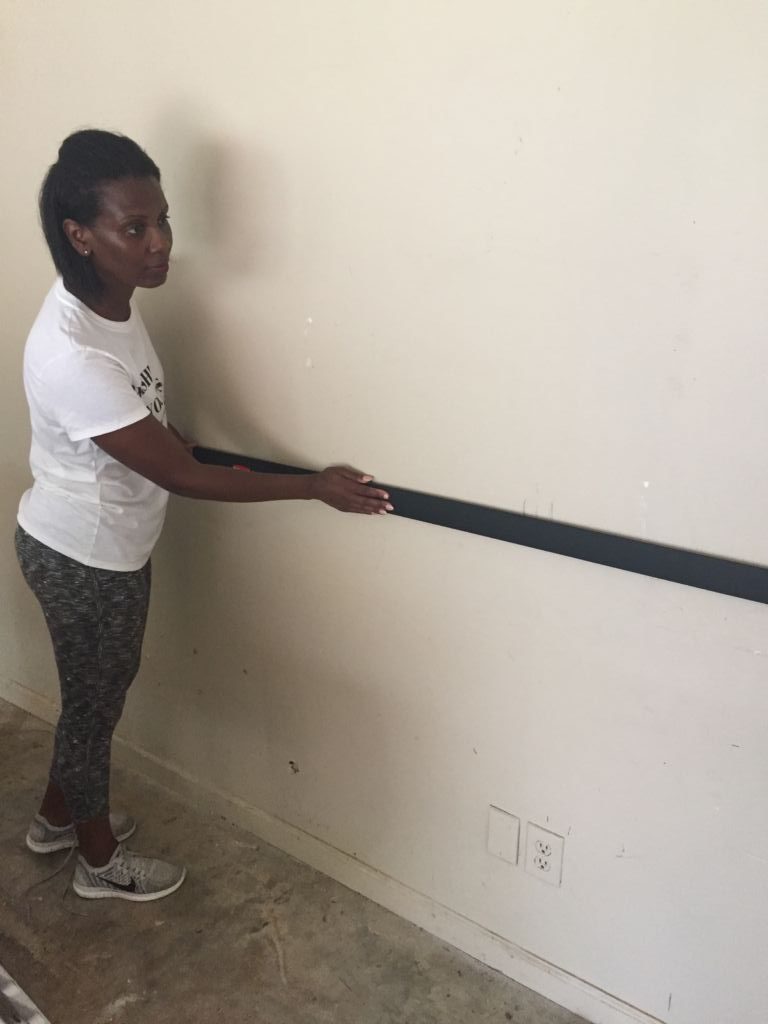
Now it is as simple as screwing the track to the wall and placing the rail cover over it for a sleek and completed look.

Rubbermaid FastTrack Garage Organization


Rubbermaid FastTrack Garage Organization


Rubbermaid FastTrack Garage Organization


Rubbermaid FastTrack Garage organization system

I put the process on Snapchat. Here is a short clip of how it works.


Once the hooks were up he was happy to bring his lawn equipment up from the other garage.

Rubbermaid FastTrack Garage organization system

All done.

Rubbermaid FastTract Garage organization system


File Jun 06, 11 08 27 AM

…and because old Money Pit Mistress is so needy, it will be a few days before I can get my bike down without his help. Just think after we put in this system to avoid her door getting nicked and I make a mistake and drop the whole bike on her. That would be some Alanis Morrisette irony there.

Rubbermaid FastTrack Garage organization system

This system is a man’s dream. With Father’s Day coming up this is the perfect gift to give all of the father’s in your life.

Can your garage stand a makeover?

Save

DIY Home

diy | dollar tree gold thumbtack wreath

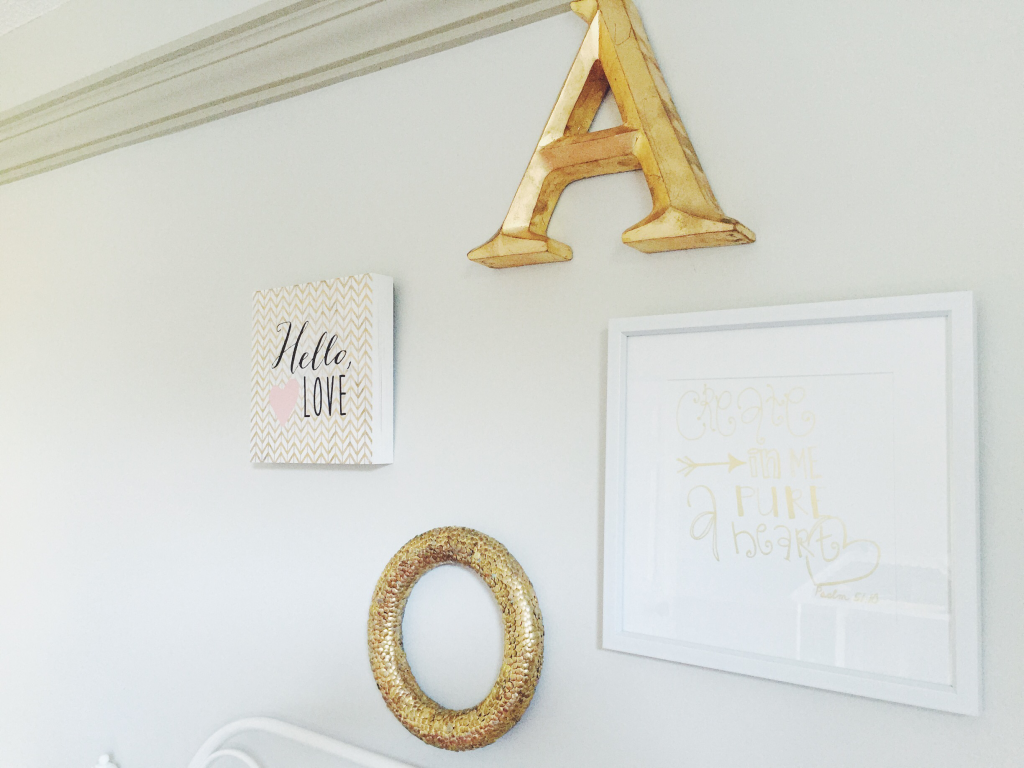
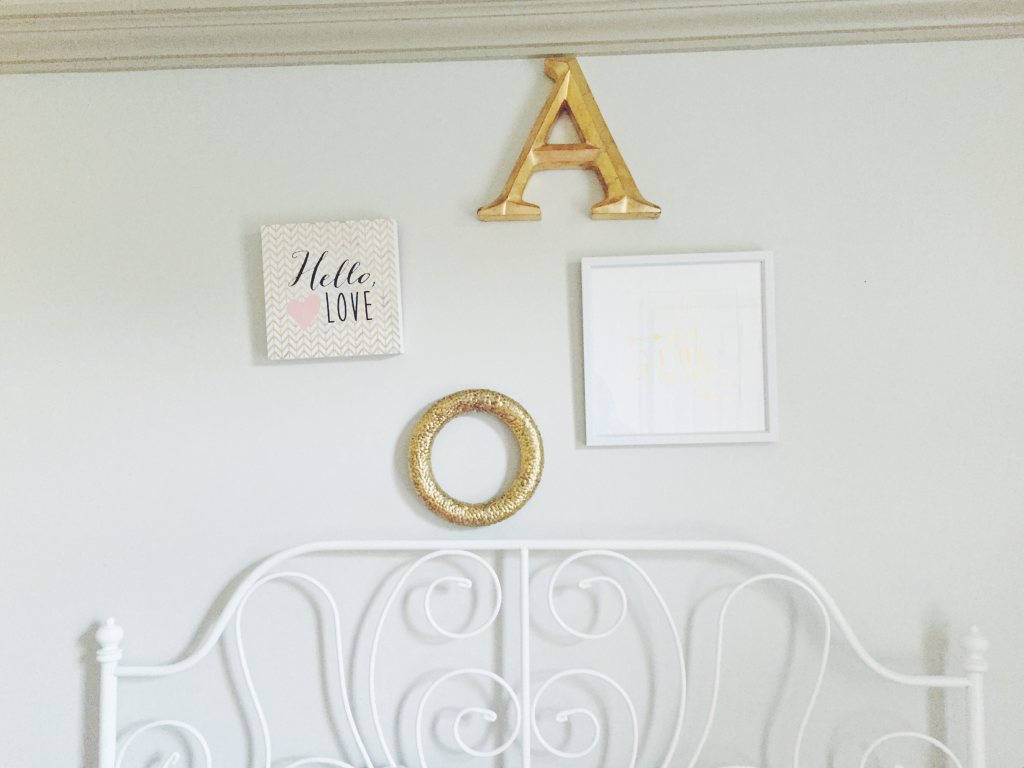
When pulling together the area over my daughter’s bed I was baffled at what to put there. After a trip to Hobby Lobby I came across a few pieces of  art.  After getting the art on the wall I felt there was something missing. One day on my weekly trip to Dollar Tree I saw gold thumbtacks and knew I needed to have them and then it hit me to make a wreath.

It took me forever to make the wreath, I worked on it for about a month. Surely it could’ve been finished long before  but I didn’t purchase enough boxes, and then it was a minute before I was able to find them in stores again. The moral of the story is  purchase at least 7 boxes. I think there are about 2K thumbtacks in total.

You will need:

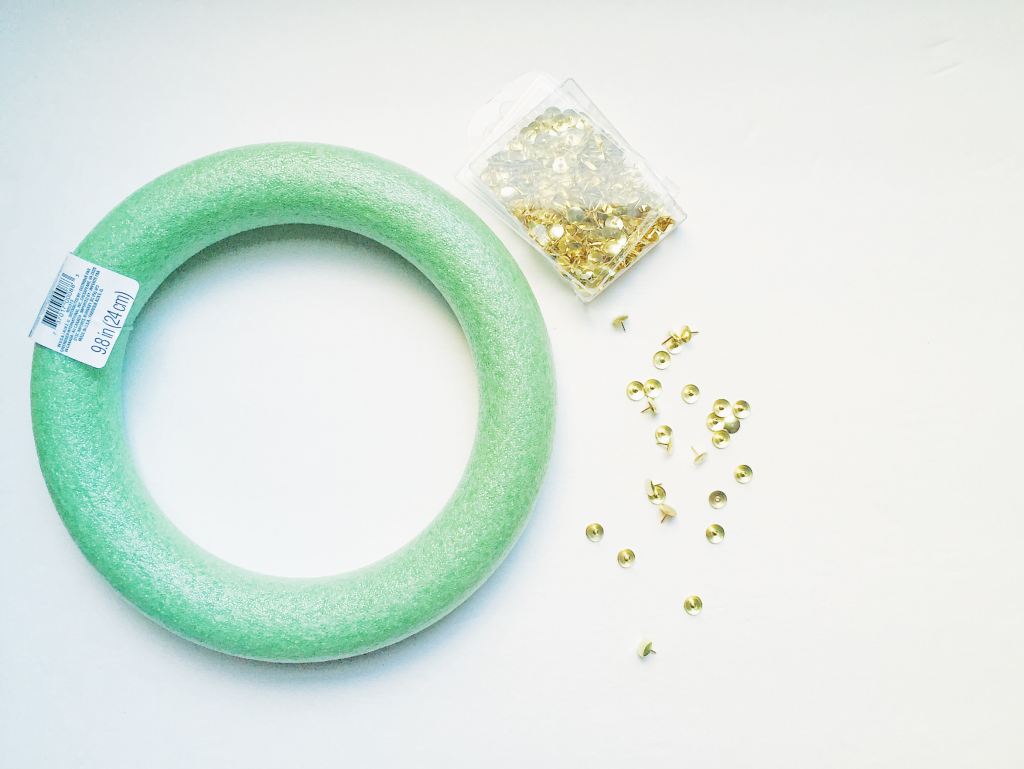
Styrofoam wreath

Gold Thumbtacks (at least 7 boxes. Each box at Dollar Tree has 300 thumbtacks)

dollar tree gold thumbtack wreath

When inserting the thumbtacks I found they went in better and stayed better when I stuck them in at an angle

File Mar 31, 5 00 24 PM

File Mar 30, 9 19 53 AM

To get the fishscale look as I call it make them overlap a bit.

Dollar Tree Gold Thumbtack Wreath

Dollar Tree Gold Thumbtack Wreath

Once you are finished try to handle it as little as possible as the oil from your hands will cause the gold to tarnish. I actually like the look of it but if you want it to stay gold and shiny keep this in mind.

Dollar Tree Gold Thumbtack Wreath

Hanging it is super easy. I put a nail in the wall and just pushed the wreath onto it. Hello styrofoam.

Dollar Tree Gold Thumbtack Wreath

Oh. Keep a handle on those thumbtacks lest the bottom of your feet become pin cushions.

Trust me.

Gold Thumbtack Wreath