I’m still on the journey to finishing up my son’s room. He has really been on me lately to finish his room and I totally understand, because his sister’s has been done for sometime now and he is feeling some kind of way.
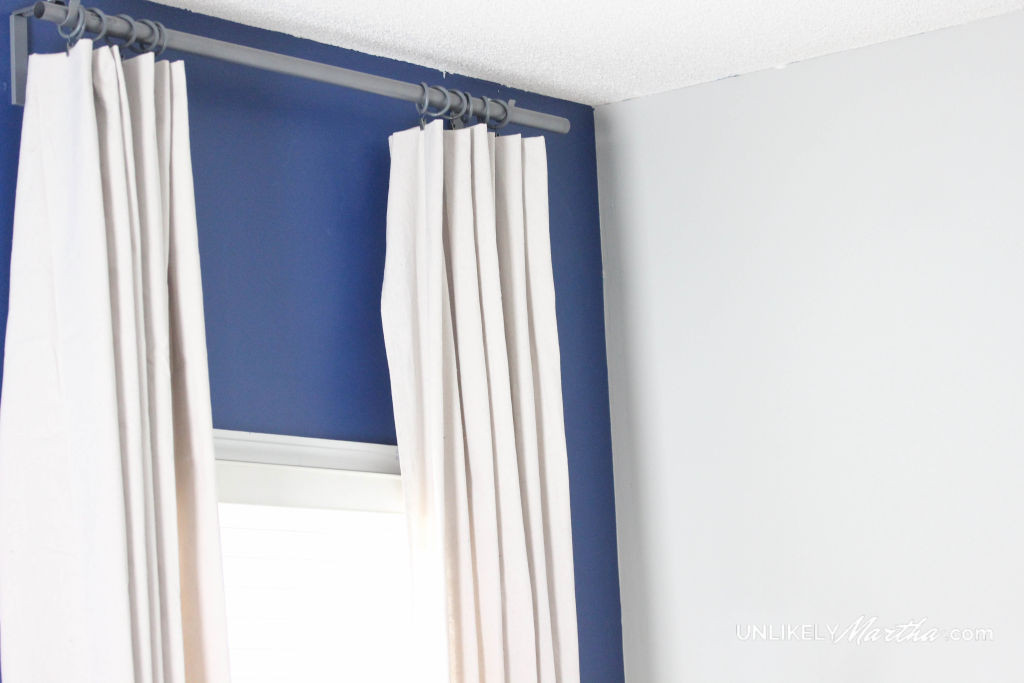
Now that the walls and stripes have been painted, drapes are up next. I shared my inspiration for dropcloth curtains awhile back while I was trying to decide on a curtain option that would go with the industrial chic look that he wants.
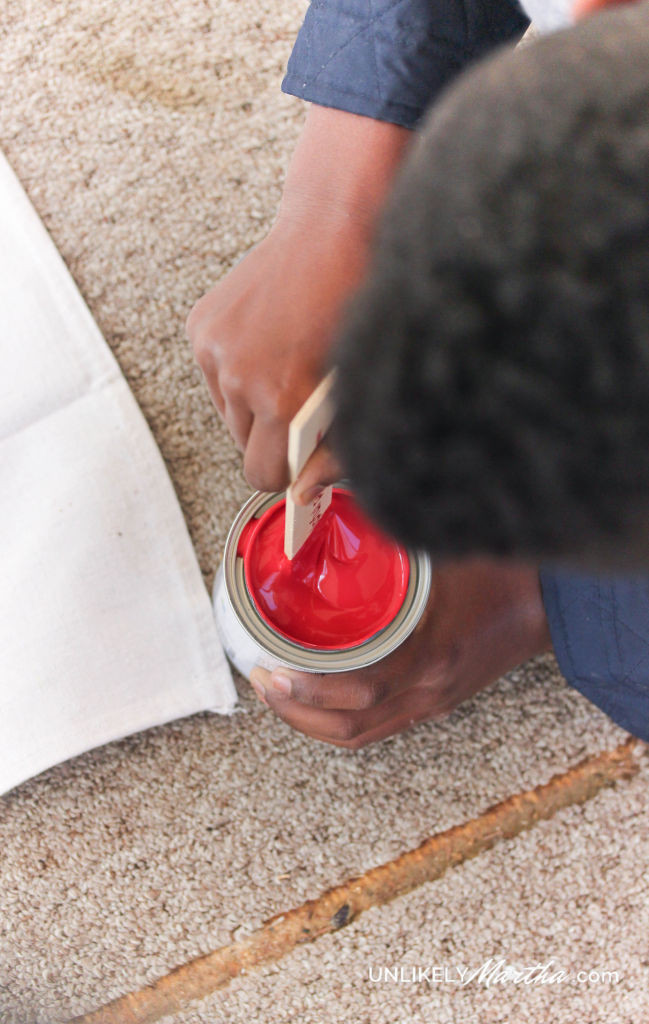
To make sure that I would like the look initially I purchased one dropcloth from Home Depot for $10 and used the leftover paint from his stripes. After I hung the first one, he liked it so I went back and got three more dropcloths.
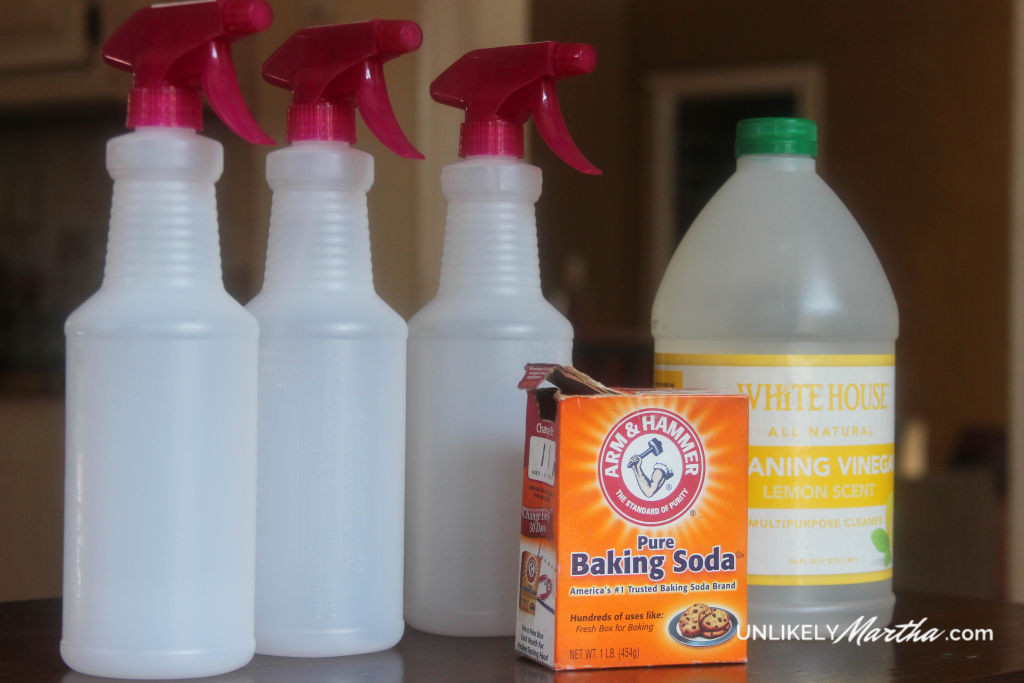
Here is what you need to create these super easy no sew drop cloth curtains. This is what I used to create 4 panels
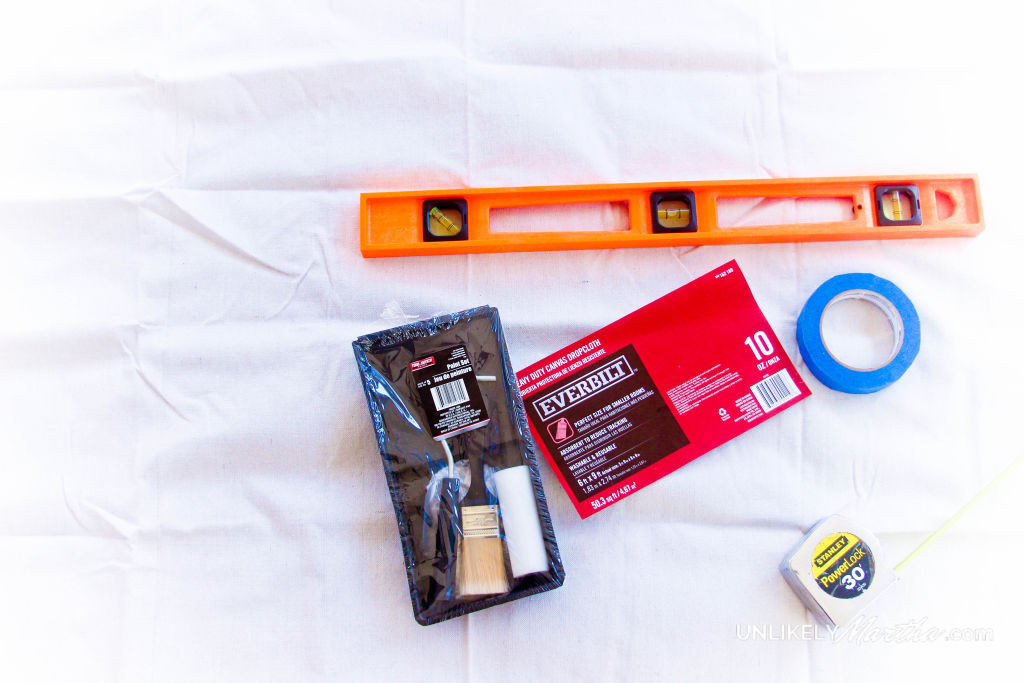
Supplies
- 4 6×9 Painters Dropcloth
- Level
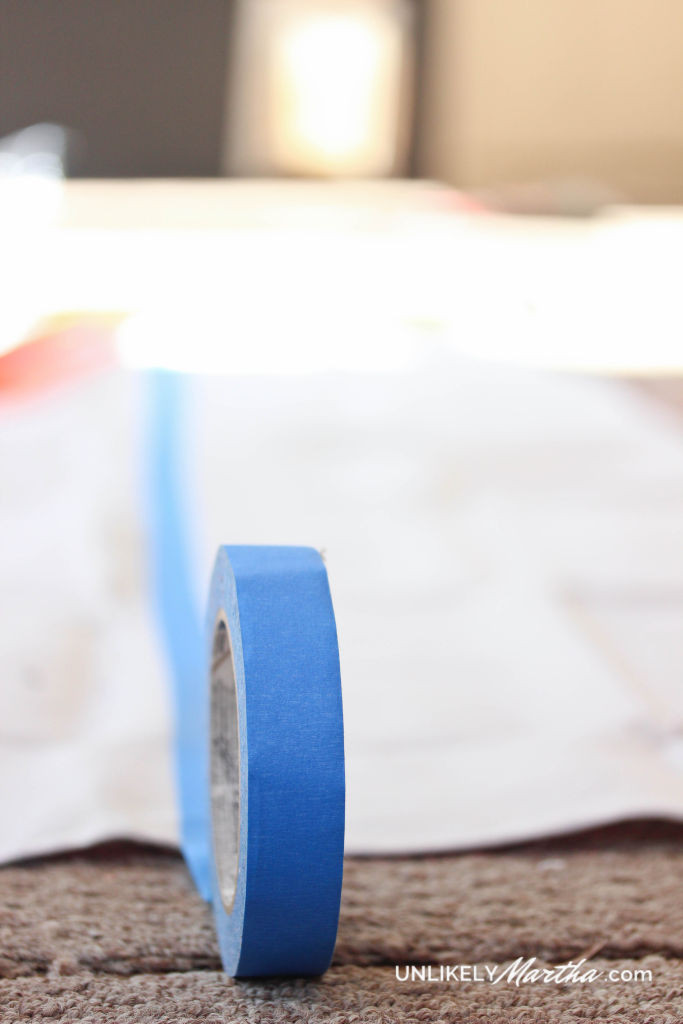
- Painter’s Tape
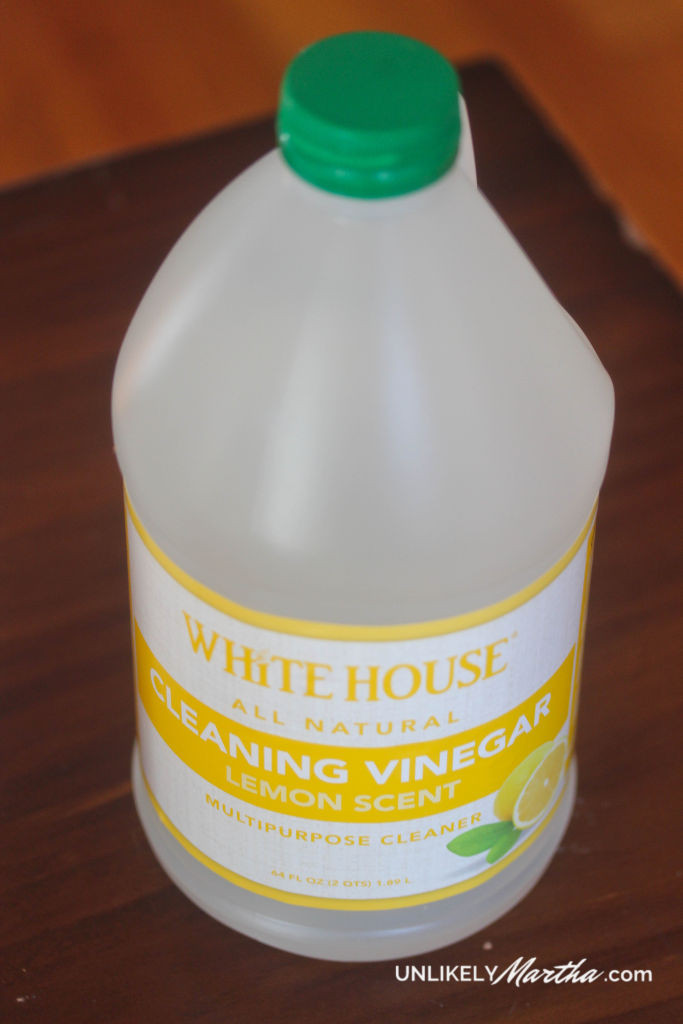
- 2 pints of paint
- Tape Measure
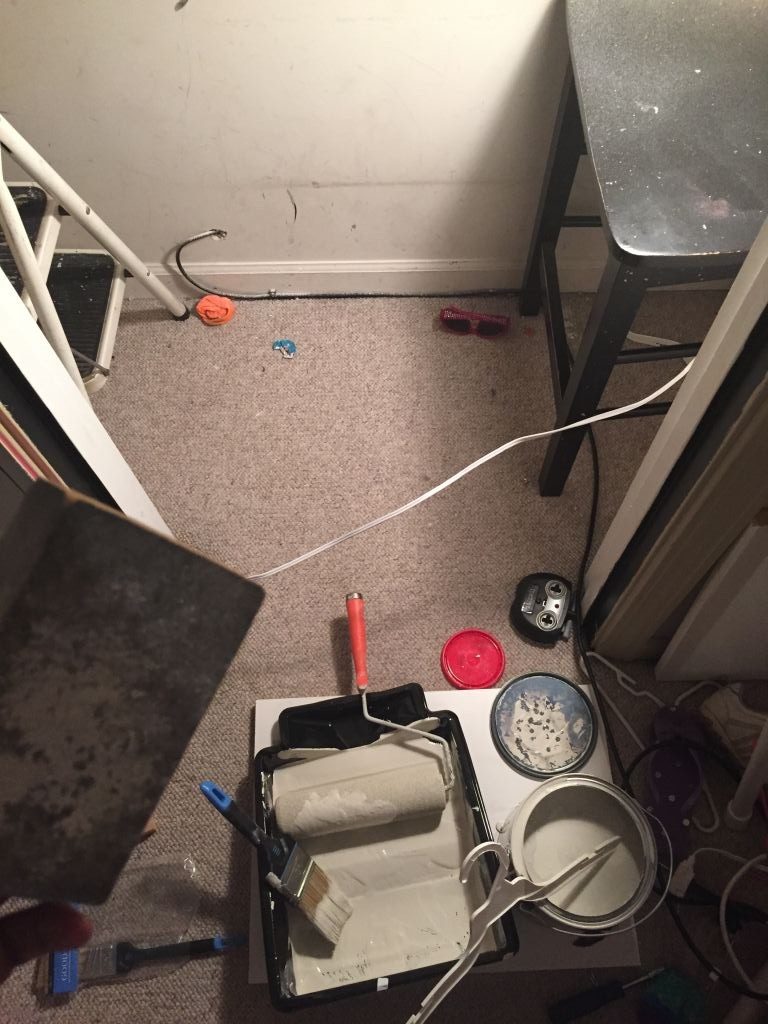
- Small paint roller and pan (my set came from Dollar Tree)
Directions
- First determine how large you want your stripe and measure using your tape.
- Start painter’s tape at the height you desire. Use the level to make sure you keep the tape line straight as you work across the dropcloth
- Once everything has been taped off, go back and smooth down the bottom of the tape where it meets the dropcloth to help minimize paint bleed into the areas you do not want painted
- Now paint, give the roller a little pressure to ensure a good coat.
- Right after you finish painting pull off the tape
- PLEASE make sure you put something underneath as the paint will bleed through. We will be replacing the outdoor carpet in our sunroom so I didn’t care but please keep this in mind.
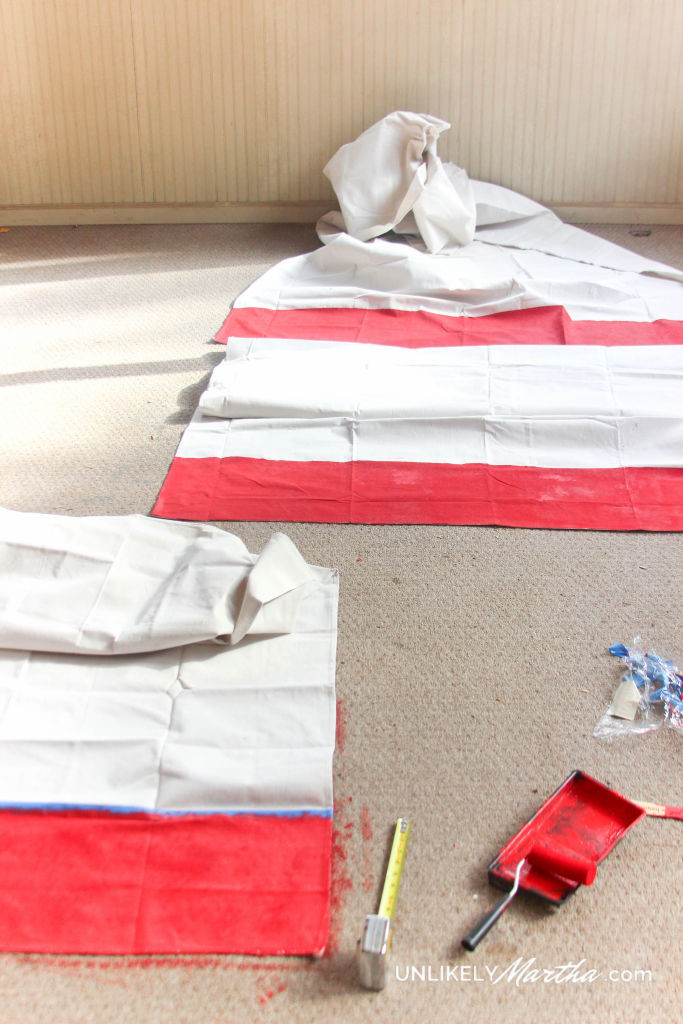
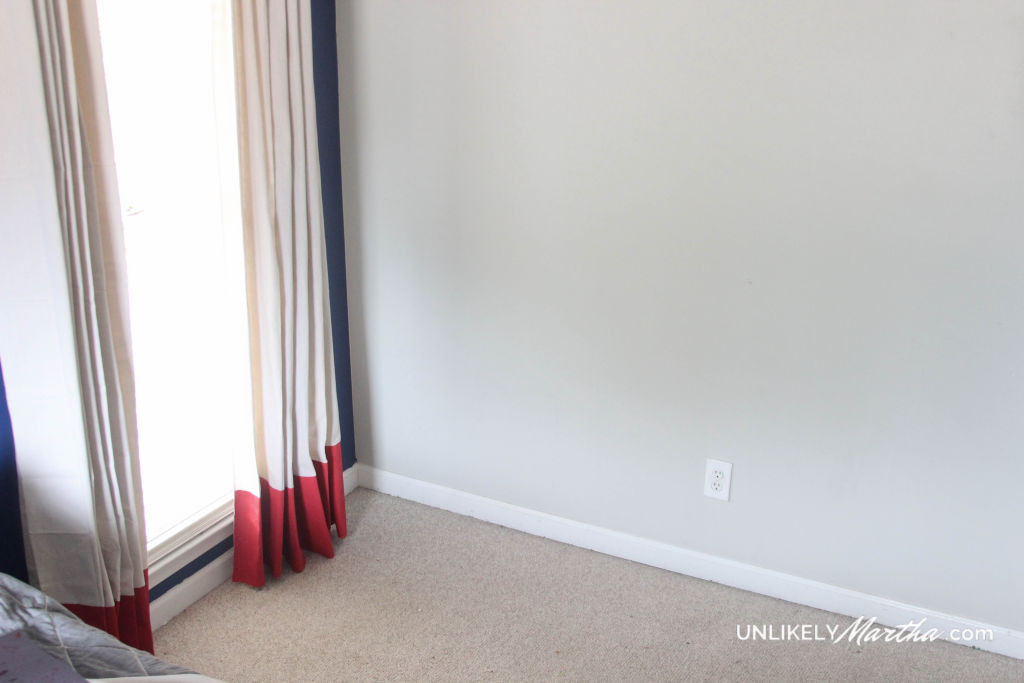
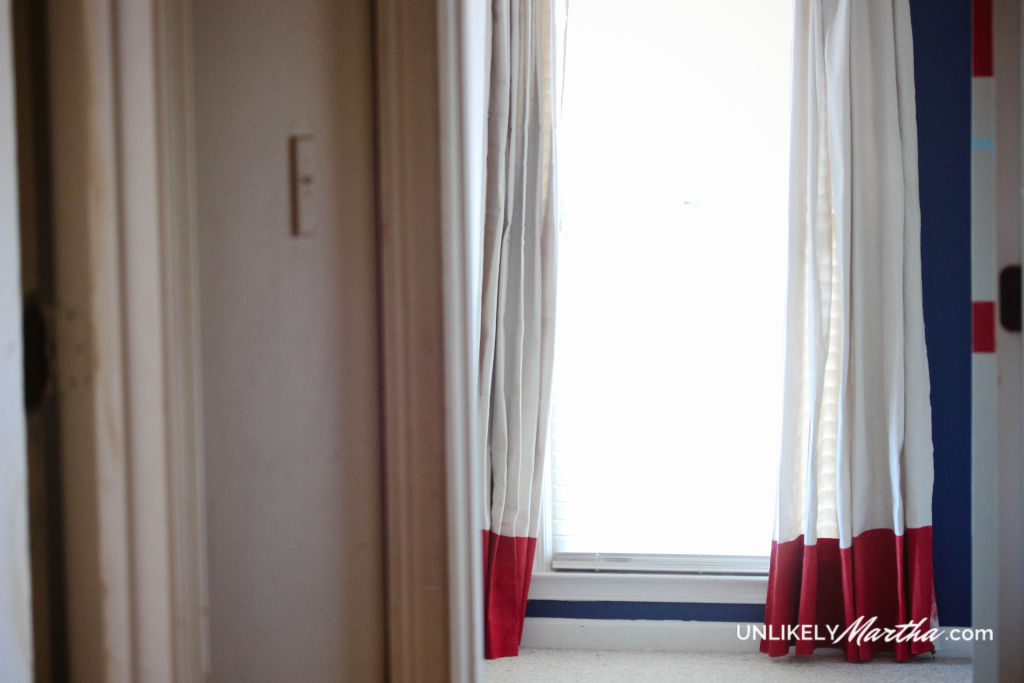
Once you get ready to hang you can alter the length by folding the top and securing with curtain rod ring clips. I still have to adjust the lengths of the panels and steam them so this is a very preliminary look at them. I have two more panels to hang and start hanging a few of his pictures. I’ll be back with that update hopefully before the month is out.
Here’s a peek from the hallway at the before and after.