
Oh friends. Your eyes do not deceive you, this picture is slightly identical to last week’s but a little different. Have a seat, let me tell you what happened.
But first, if you have missed the last few weeks, let me catch you up. We are participating in the one room challenge. Which is a six week challenge where designers, and guest participants share the transformation of a room from concept to completion. It’s quite inspiring to see so many people transforming their homes during this six week period. You can follow along by going to the link above or scrolling #OneRoomChallenge on Instagram.

You can catch up with Week 1, Week 2, and Week 3 at your leisure. Now back to “what had happened was.”
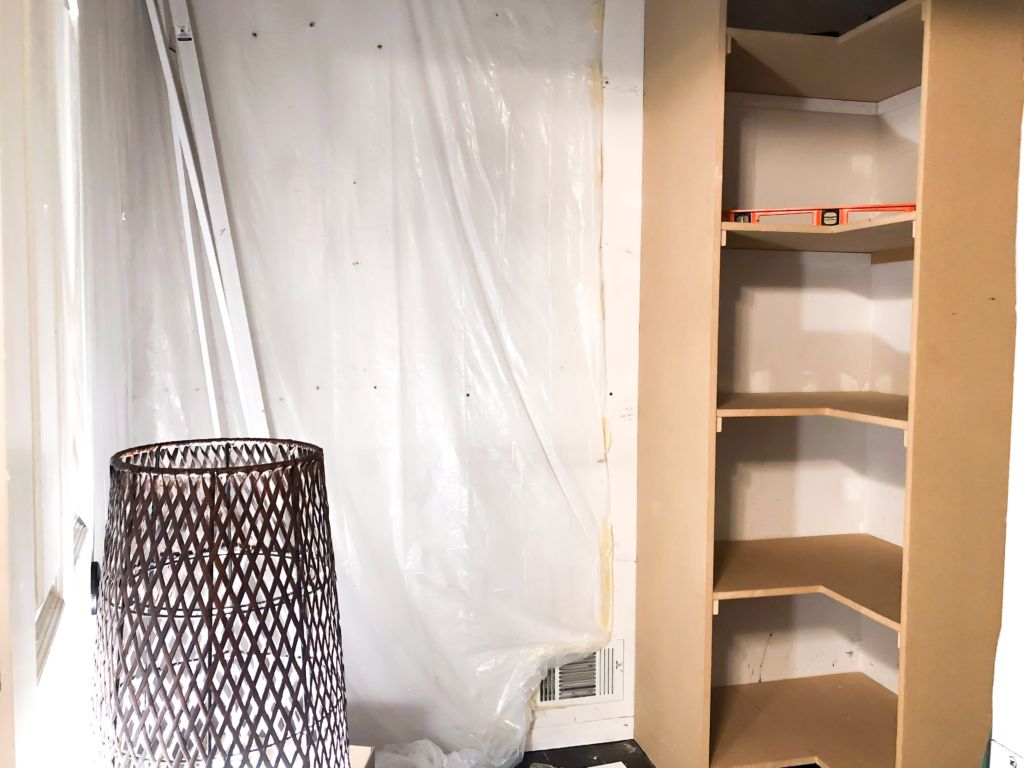
We discovered the width of the cabinet was a few inches short of a normal hanger. This meant that the clothing would hang out in the open and not be flush with the edge of the cabinet. I’m afraid this made no sense, in other words the shirt would hang past the edge of the cabinet.
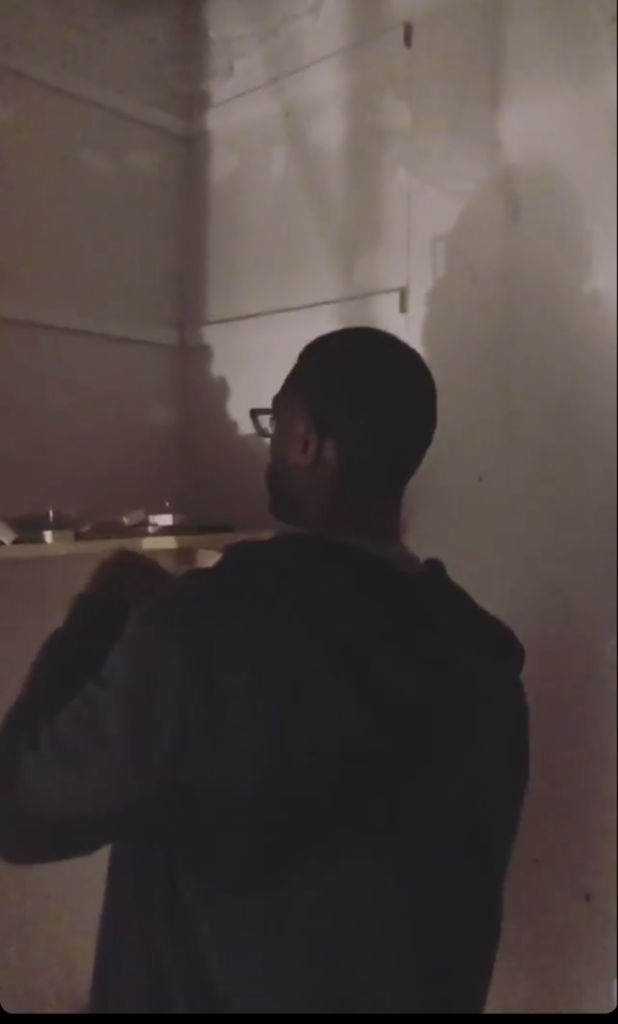
We tried to come up with a solution to make it work, but the end result was ripping out the old cabinet to build a new one that was 18 inches wide to account for a hanger making everything look neat and flush. If you follow me on Instagram Stories you saw the whole saga go down. I’m too tired to create a video of my IG stories, hang tight, I’ll post it next week.
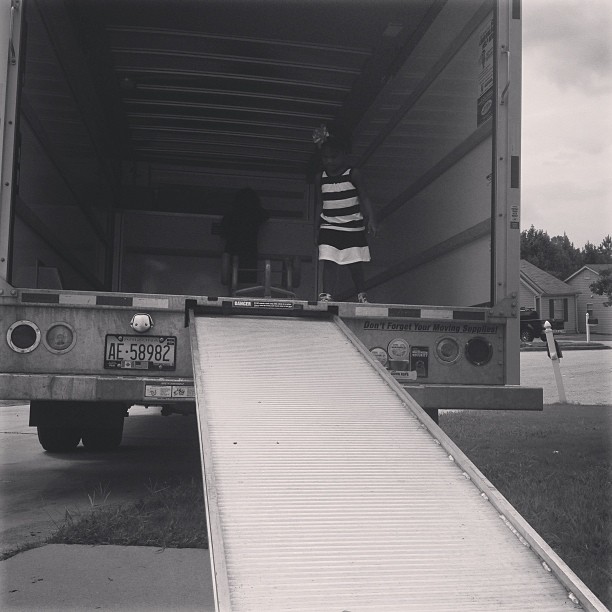
But anyway it looked a little something like this:
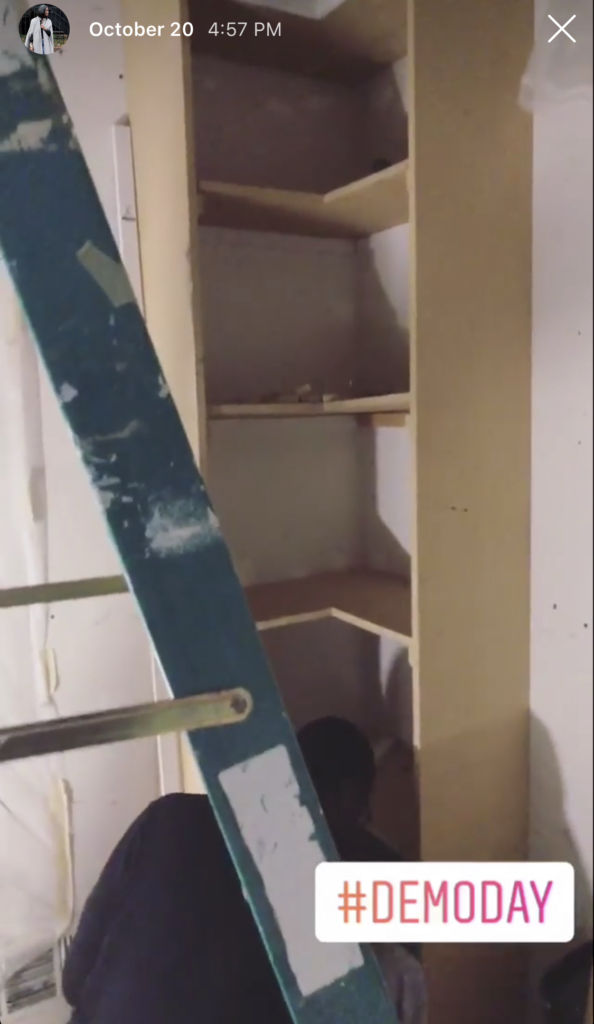
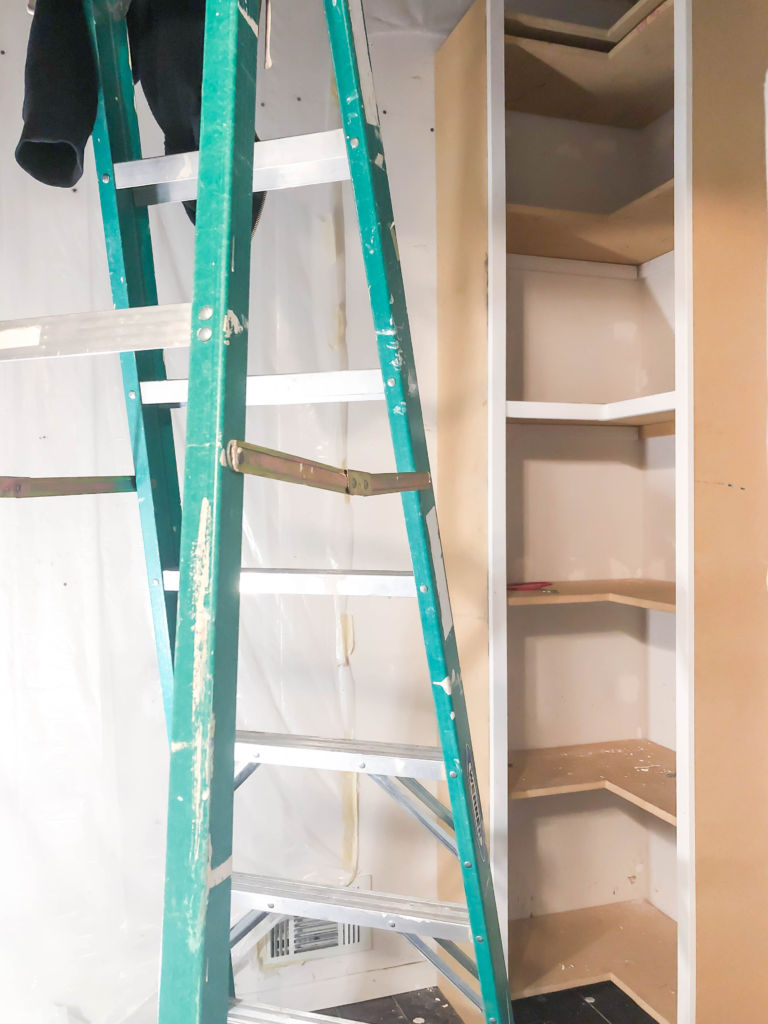
He was removing the trim at this point, I was low key in the corner weeping. Upside was that we were only in about $65 at this point. We are able to reuse the old sides as the top shelves so we really didn’t lose more than $15 that was spent on the MDF boards that he made the shelves out of.
If you look closely you can see the new one, on the left, is larger across allowing for more storage. More storage is always a good thing.
Might I say I’m glad we took this step back to make sure we would love the end product moving forward. He has me convinced that we will have the closet ready to reveal on November 7. I’m keeping hope alive.
Here’s our unchanged list of things that need to be done from last week:
Here’s what we need:
- More hanging space
Better shoe storage- Shelving (
built-ins, shoe shelving, high shelving for storage) - Grout existing flooring
- New lighting
- Paint (
ceiling, walls, built-ins) - Drywall repair (
ceiling, walls) - New hangers
- Glass closet door
- Baskets
- Floor length mirror
- Install hanging rods
- Rug


7 Comments
Ola
October 25, 2018 at 5:35 pmOh Mimi! Don’t fret girl, you can do it. This has been a difficult week for me too! I am absolutely exhausted. I’ll be on IG to cheer you and the hubby on to the finish!
Kenyatta
October 25, 2018 at 8:54 pmugh. so sorry you had to start over, but at least it’ll be right.
Floria lena
November 6, 2018 at 10:17 amugh. so sorry you had to start over, but at least it’ll be right.You can do it.
Ailsa lena
November 6, 2018 at 11:09 amReally nice article.I enjoy to read your post.
One Room Challenge Week 6 | Master Closet Reveal - Unlikely Martha
November 11, 2018 at 3:27 pm[…] My last update post was on week 4. During this week we had to rip out the first cabinet that Adrian built and re-do it. For the details on why, click here. […]
Fiberscope.Net
September 6, 2019 at 12:26 pmIt only proves that amazing makeovers on a budget are more than real!
Shaun
February 26, 2020 at 2:23 pmOMG… I would have LOVED to have been a fly on the wall listening in when you discovered it was only 18 inches ! 🙁