Browsing Tag

DIY

Floating Desk
Décor DIY Living Our Home Pinterest

{Homework Space Makeover} DIY Floating Desk Part I

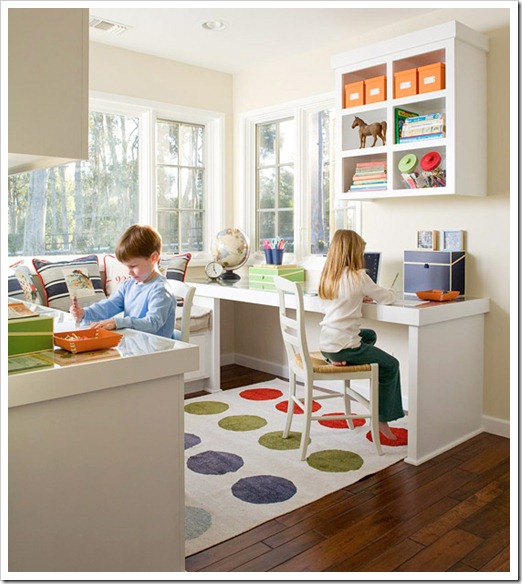
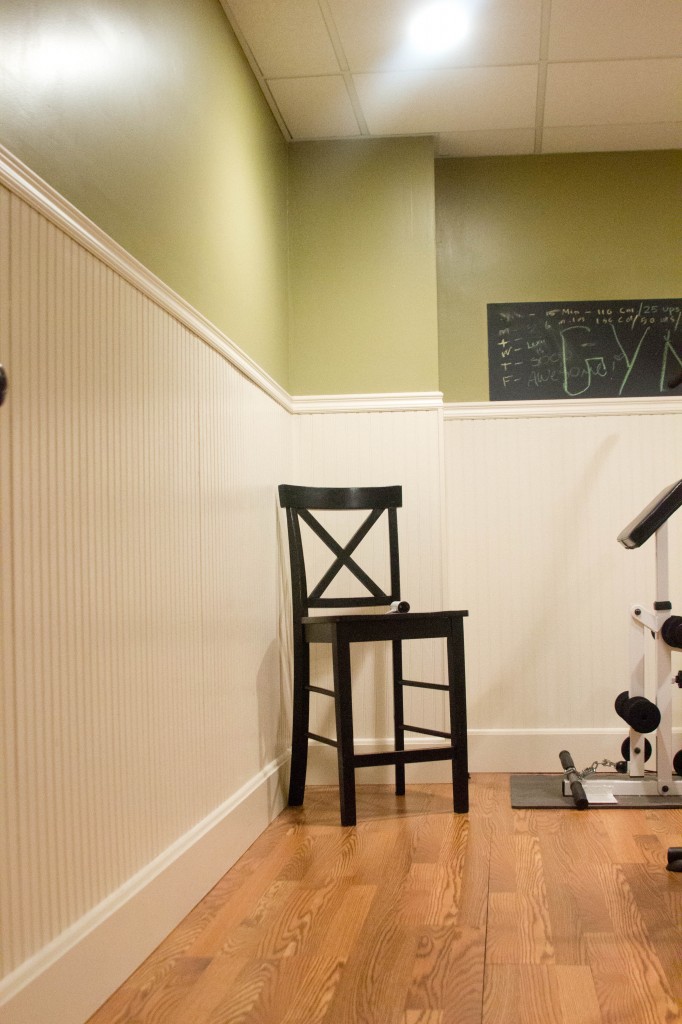
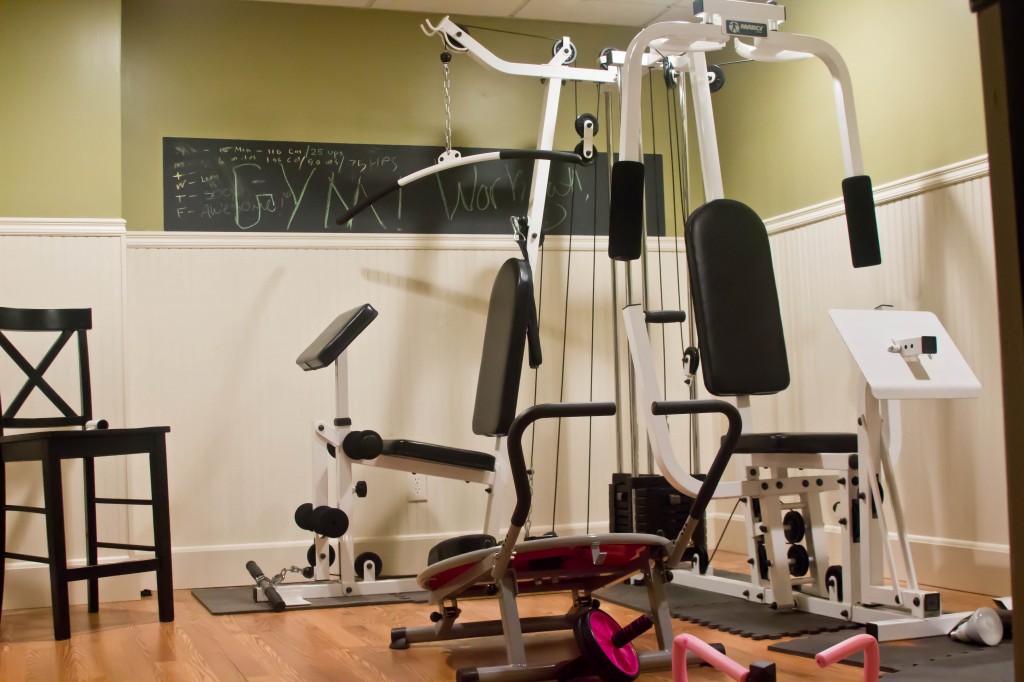
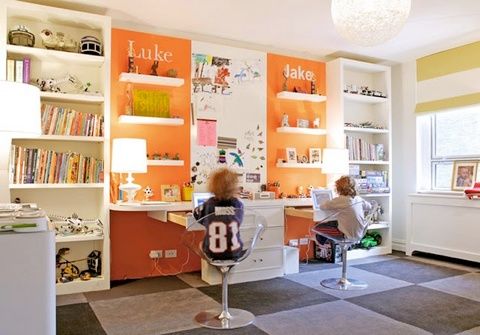
I mentioned here that I was turning our workout room into a homework space/playroom for the children.

DIY Floating Desk

You should be so proud of me, the equipment has been sold and the room is now a blank slate. I spent more nights than I wanted laying under the covers with my phone and when it died, my tablet trying to come up with a solution for the desk situation. I needed two and paying $200 wasn’t an option so I was looking for a low cost alternative. The other day while in Home Depot we were looking for some options when I remembered a friend of mine mentioned we might consider a hollow door and that’s what we ended up going with after I consulted Pinterest from my phone and found similar examples.

Floating Desk

Source

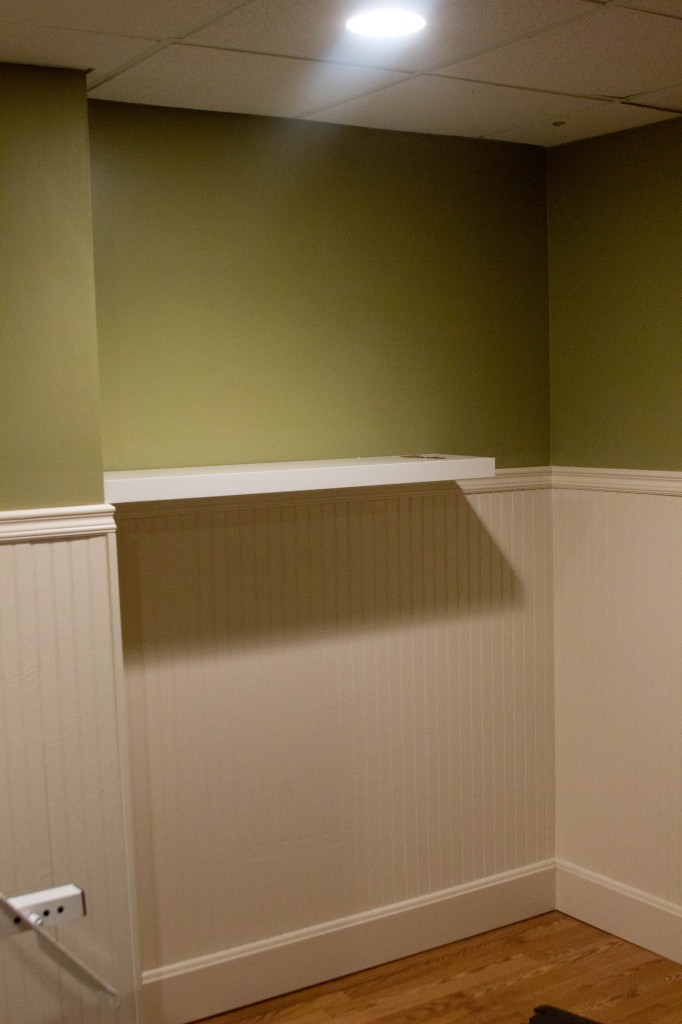
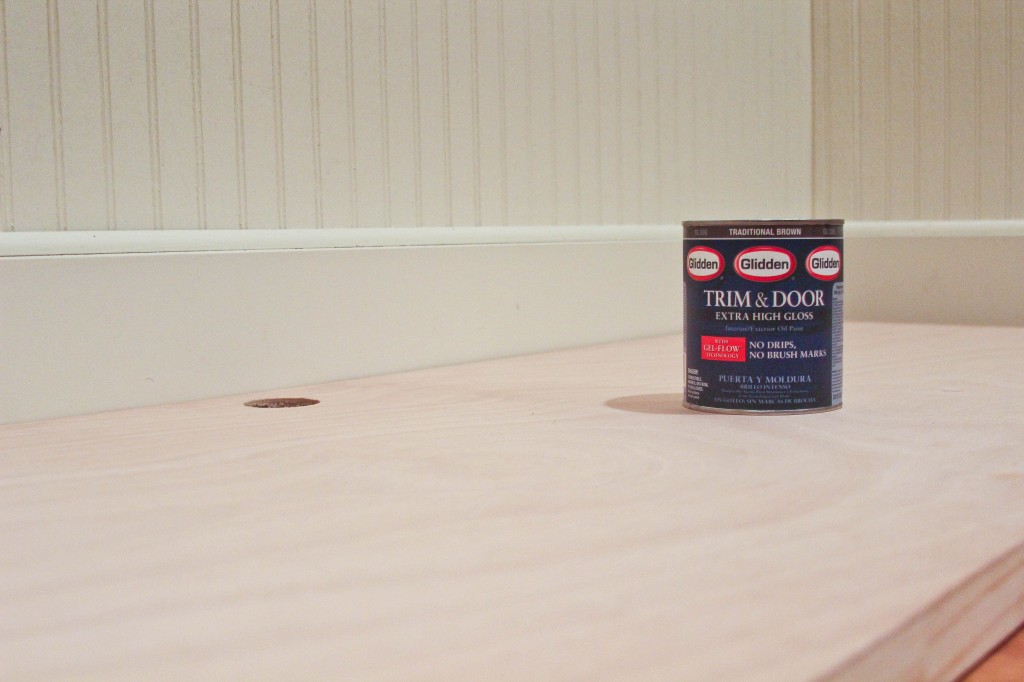
The wall measures exactly 8ft. Unfortunately the door only measures around 7 ft so there will be gaps on the end and I’m fine with that. The door was a whopping $25 and I chose the one with the doorknob hole so that I have somewhere to fish cords through. We grabbed a few brackets, a quart of stain and a clear coat and headed home.

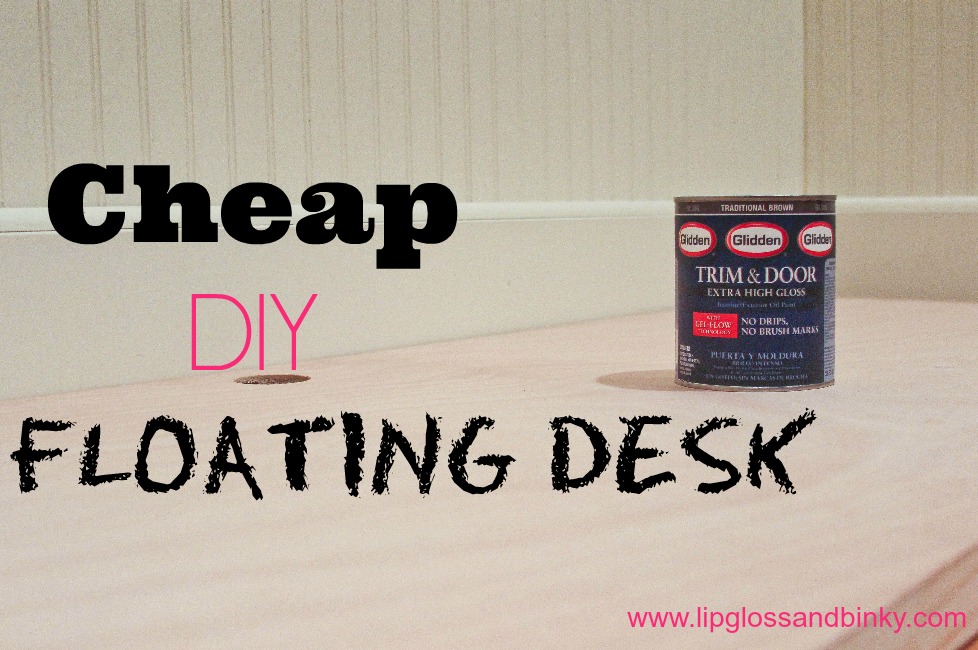
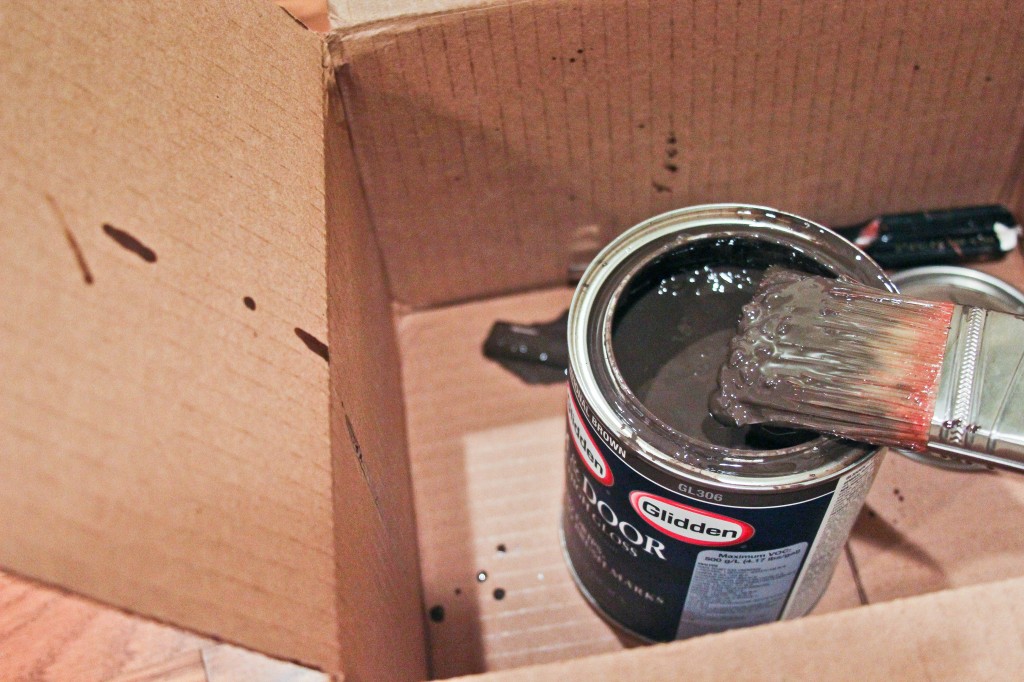
The perks of having an interior designer for a bestie is when you go to see your sweet precious god daughter for the first time her mother sends you home with free Glidden door and trim paint along with some chalkboard paint. I don’t need to tell you I returned the stain and clear coat.

Floating Desk DIY

So this isn’t your ordinary paint. It is gel based and is reported to give you great coverage with no brush marks and dry to a glossy top coat. It was a little lumpy but once I got it on the door it spread easily and covered like a dream. I didn’t have to use that much.

Glidden Trim and Door Paint

The next day it was rather tacky to the touch, however after sitting for the past 3 days it is no longer sticky and is ready to be put on the wall. The pictures don’t do the glossiness of it any justice. Super shiny I’ll be back with an update!!

DIY Floating Desk

DIY Home

{Laundry Room Makeover} Wallpaper Lined Cabinet

It’s hard to believe that on July 31, we will have been in this house for a year. For those who have been reading for awhile, if you can recall the whole process really consumed me and I am again thankful for blogging as it provides the opportunity to go back and see areas of struggle and triumph. Oversharing has its privileges.

If you are new here, and want to be nosey feel free to go back and see what all of the drama was about. Click here.

Prior to moving in I had all of these grand ideas of changes I would be making immediately. People kept telling me live in the house a year before making any changes. Give yourself a chance to feel the house out, they said.

I brushed them off, nonsense. Clearly they weren’t looking at this

Laundry Room Makeover

I had grand plans of coming in here and getting to work. Wouldn’t you know a whole year has passed and not a piece of bedroom furniture, nor a kitchen table have been purchased. My intentions were real good but the reality is the majority of my grand ideas are still hanging from “pins” on the virtual corkboard that is Pinterest.

Welp, looks like I in advertently took their advice and I’m glad I did, but it is time to get to work tackling some of the smaller projects….like finishing the laundry room.

When I started on the laundry room one of my favorite people handed down a bit of wallpaper that she had left over from when she had her dining room done. It wasn’t a lot but enough to line the back of of the cabinet shelves. At the time I hadn’t started refinishing the cabinets so I wasn’t sure if it would get used. After deciding to go with the wallpaper lined cabinet in place of returning two of the doors it only took me six months to get the paper up. I’m glad I decided to leave them off.

Here is another before during the painting process:

2014-01-03 13.44.30

Here is the after.

Wall paper lined cabinet

Wall paper lined cabinet

Wall paper lined cabinet

After carefully measuring the space, and that wasn’t easy I applied Mod Podge to the back of the wall paper and applied to the cabinet making sure to wipe out any bubbles. That took a little effort but after I did the first one I was on a roll.

I am pleased. I still have to do a little more decorating to do to the shelves. I’ll be back with an update when I’m done.

I recently read something on a décor blog that stated in summary, our homes are ever evolving and the beauty comes in completing small projects and over time seeing the spaces become those that we love. I concur.

What do you think?

Décor DIY Living Our Home School

Homework Station Design in Process

Last week it dawned on me that we are nearly half way through Summer Vacation and before I know it the school bell will be ringing again. We’re headed to see the “Mouse” in a few weeks and when we return there will only be 3 weeks left to get school shopping and all of those things done.

I won’t say anxiety set in but let’s just say I’m tired of the clutter that comes with school and I need a solution to keep their artwork, school work, permission slips, book bags, markers, pencils, pens, flashcards, paint brushes, paint and folders off my kitchen table. After being in the house nearly a year we I’ve concluded that the workout room will be turned into a homework station /craft space for the children.

This wasn’t an easy decision to make. There is equipment in there that the previous owners left and while I’m not saying we don’t need a space to workout, I’m thinking the wine room will get refitted with less bulky equipment. My husband recently went and got a gym membership, I took that to mean he was throwing in the towel. It’s now time we I make the space useful….cause there are cobwebs forming in there. Wasteful.

Looking from left to right in the room this is what is currently there

Homework Station

IMG_3340

 Homework Station

IMG_3346

I’m not saying it will be completely done before school starts but by the first day I hope to at least have desks, chairs and lamps in there for them. Funds will be low. I did say we are going to see the “Mouse” so there will be some Craigslist’ing, Ikea’ing, Goodwill’ing and DIY’ing going on. I do like the paint color and may leave it just making that entire back wall chalkboard…or maybe everything above the beadboard will get chalkboarded out. We’ll see.

Here are a few inspiration photos:

dual-homework-station5

Source

 organization

Source

Homework station 1
Do you have a designated space for your children to do their homework? Should I leave the wall green?
Fashion Giveaway Mama Style Vlog Wardrobe Wednesday

Wardrobe Wednesday: Headwrap Tutorial & Giveaway

Being well put together sometimes comes down to merely your accessories and other small touches that make a huge impact.

Earrings, necklaces, and even headwraps can turn a plain t shirt and jeans into a major statement. I have been in love with headwraps for quite some time and could never quite get them to work for me until recently.

In a little over 2 minutes my headwrap, earrings, necklace and sunglasses provided just the right amount of fab to turn my drab outfit of a plain shirt, jeans and Uggs into something I like to call “kick around chic.”

I received a lot of requests to complete a tutorial on how I managed to get my headwrap to look like that and I against my better judgment have submitted myself to the Youtube gods and created a video. I kept it simple and hopefully it will help someone.

In the video I explained the key to creating this look is to make sure your scarf is sizable enough. Lucky for y’all the scarf I am wearing was made by one of my good friends who owns My Head Tie, and she has been generous enough to provide me with three scarves to giveaway. They are not only good for headwraps but double as night caps. Made of imported silk they work wonders in maintaining your hair while you sleep. They are even available in smaller sizes for children. They get better with every wash. Like the silk becomes so soft and pliable and I can’t really explain it but I freaked out when I lost mine. You know how folks are about their head scarves!!

The giveaway will run for one week. Three winners will be selected on November 21. Good Luck!!!

a Rafflecopter giveaway