It’s hard to believe that on July 31, we will have been in this house for a year. For those who have been reading for awhile, if you can recall the whole process really consumed me and I am again thankful for blogging as it provides the opportunity to go back and see areas of struggle and triumph. Oversharing has its privileges.
If you are new here, and want to be nosey feel free to go back and see what all of the drama was about. Click here.
Prior to moving in I had all of these grand ideas of changes I would be making immediately. People kept telling me live in the house a year before making any changes. Give yourself a chance to feel the house out, they said.
I brushed them off, nonsense. Clearly they weren’t looking at this
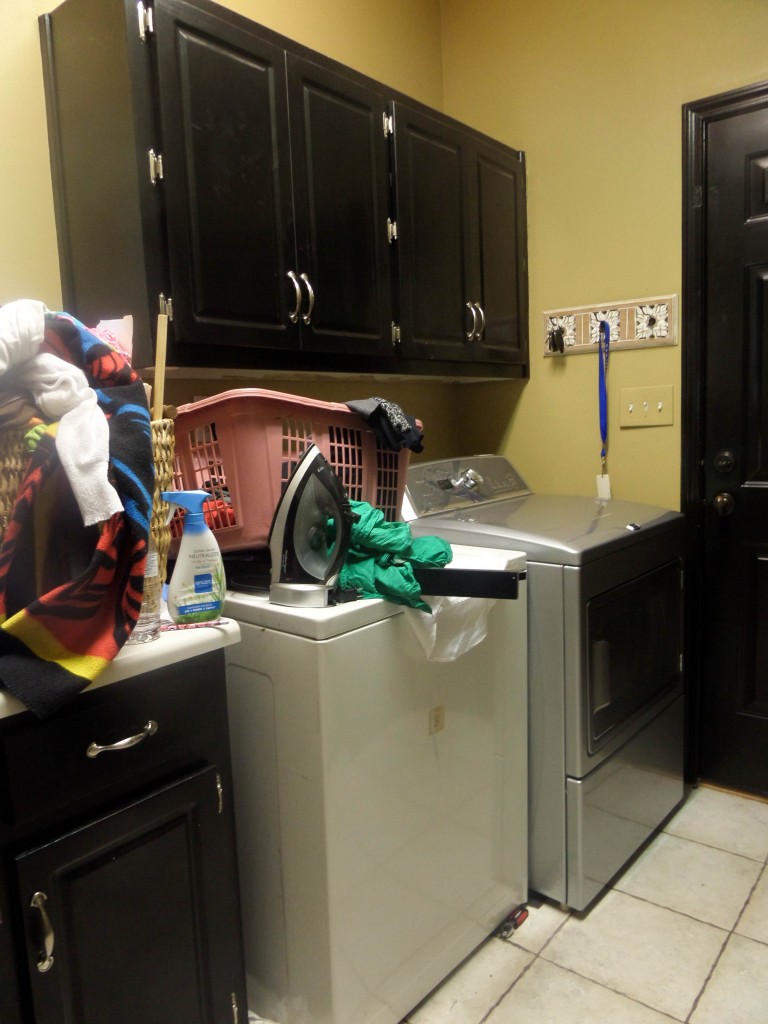
I had grand plans of coming in here and getting to work. Wouldn’t you know a whole year has passed and not a piece of bedroom furniture, nor a kitchen table have been purchased. My intentions were real good but the reality is the majority of my grand ideas are still hanging from “pins” on the virtual corkboard that is Pinterest.
Welp, looks like I in advertently took their advice and I’m glad I did, but it is time to get to work tackling some of the smaller projects….like finishing the laundry room.
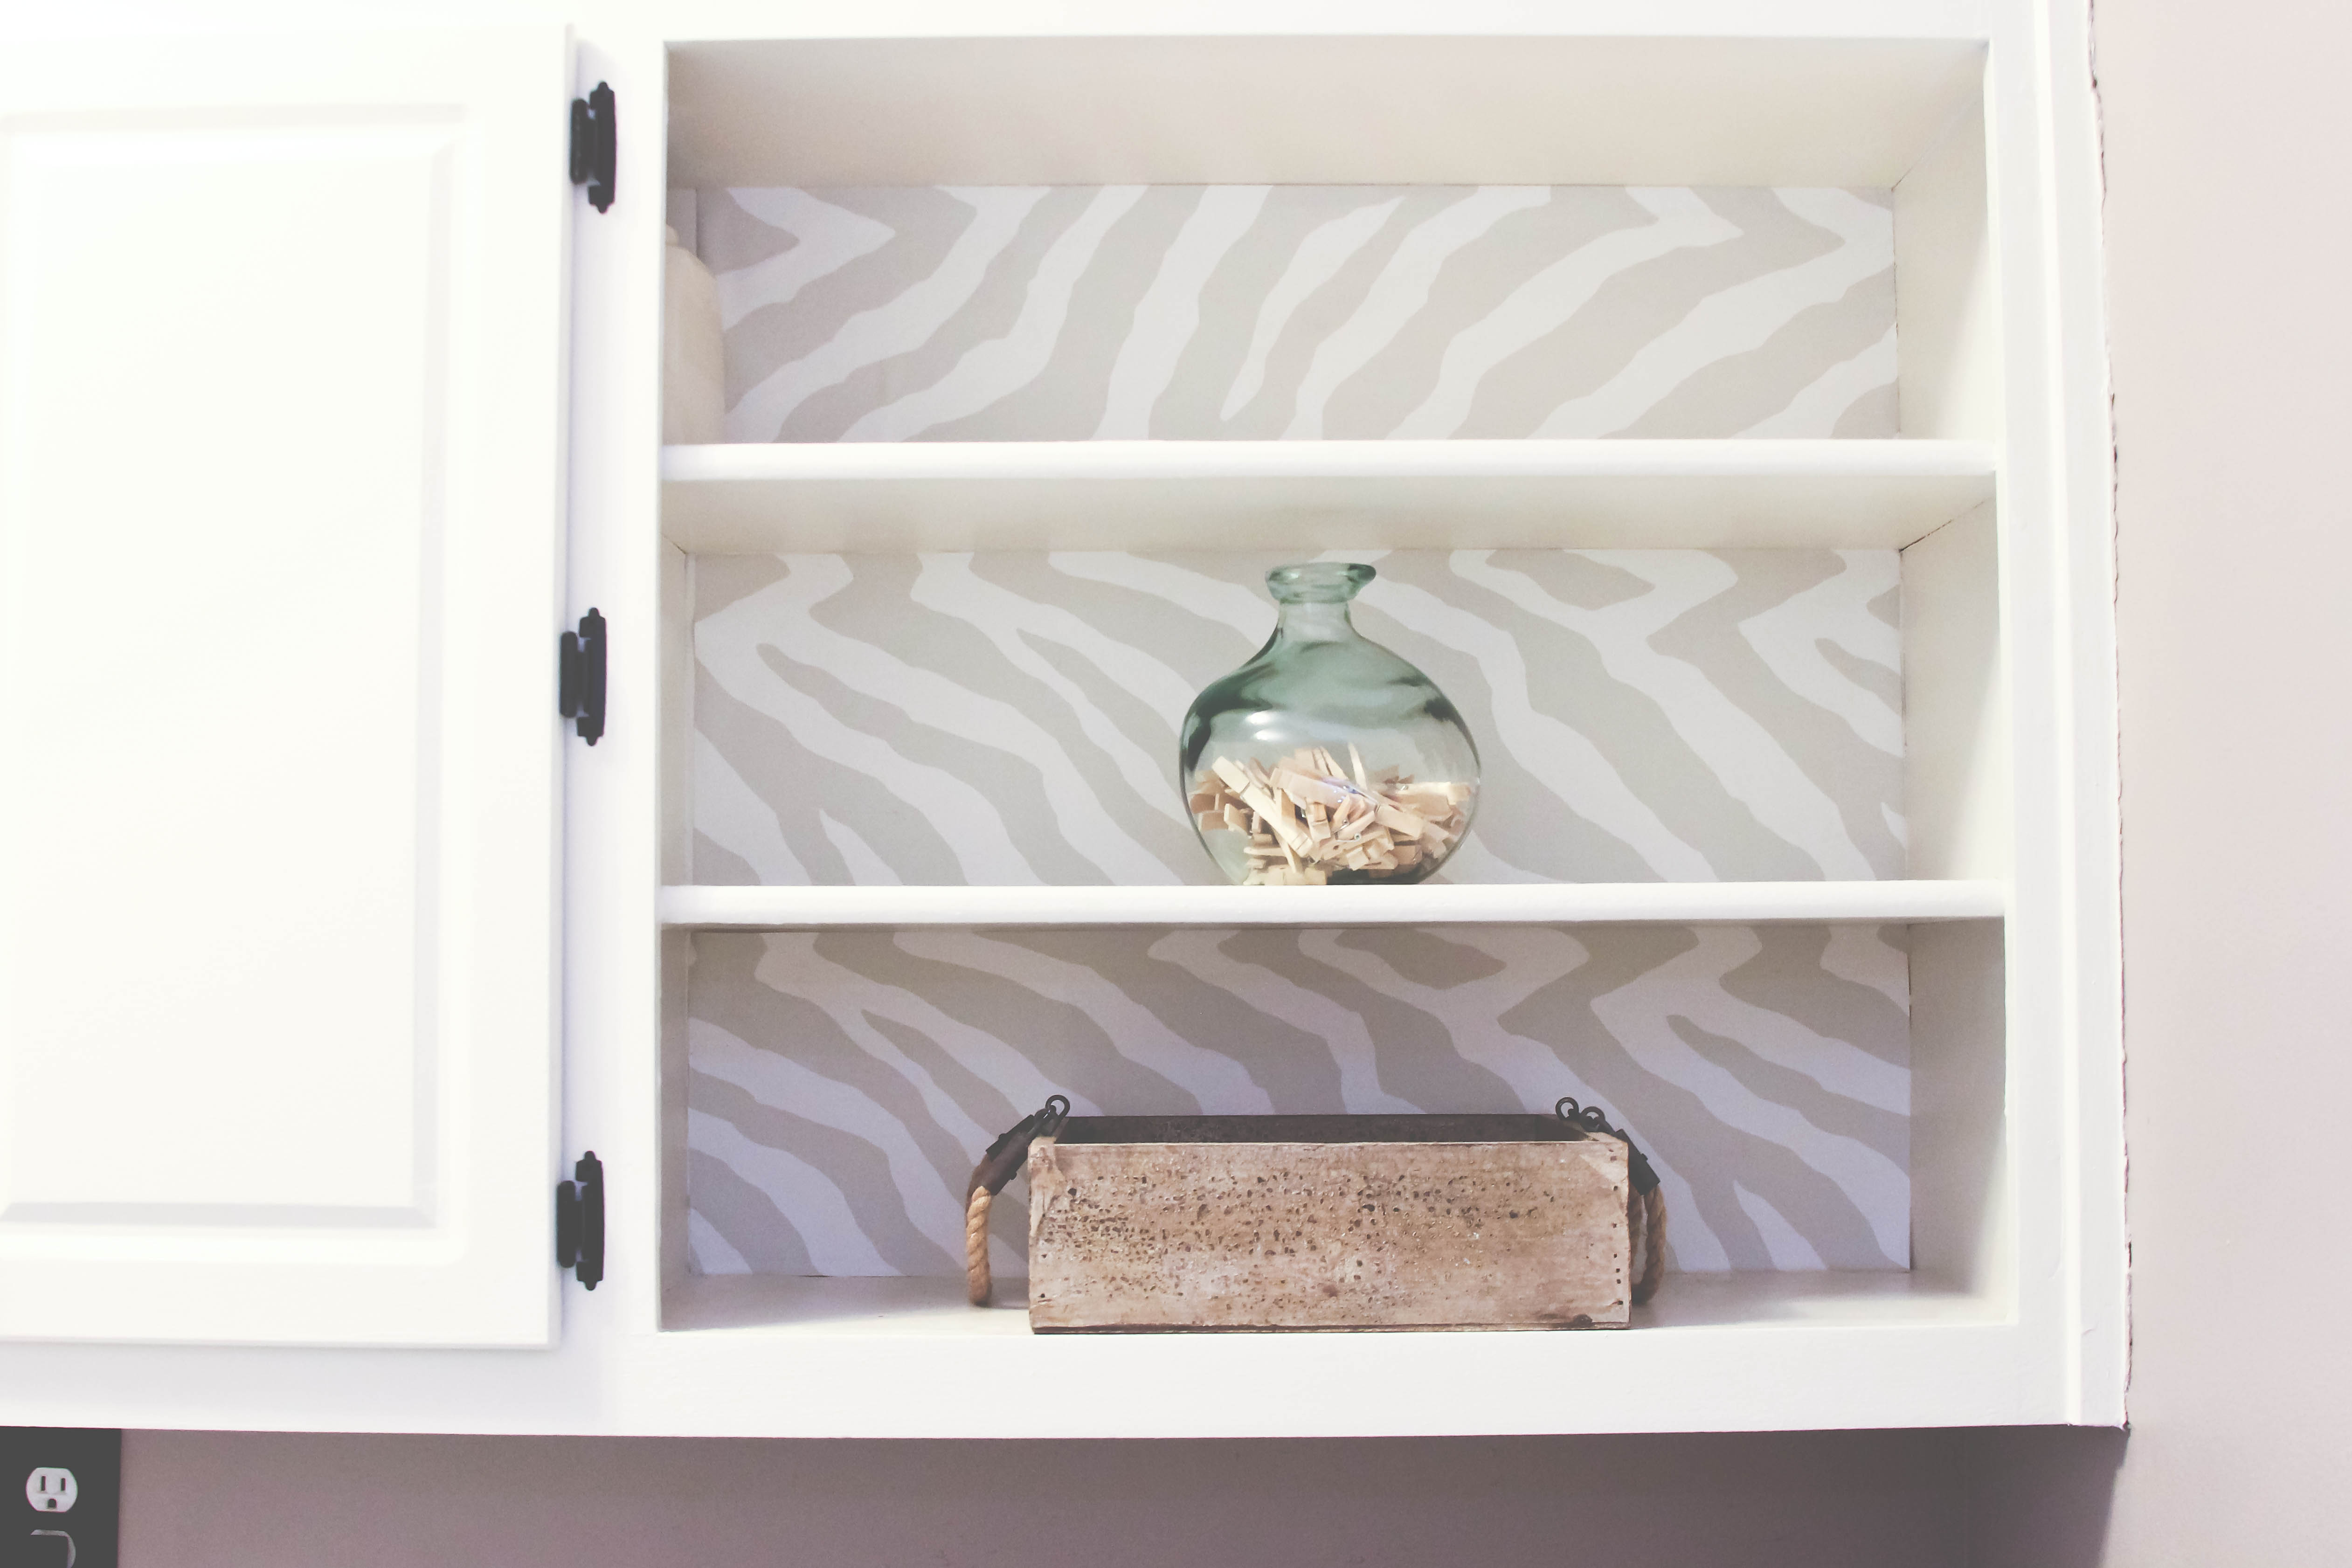
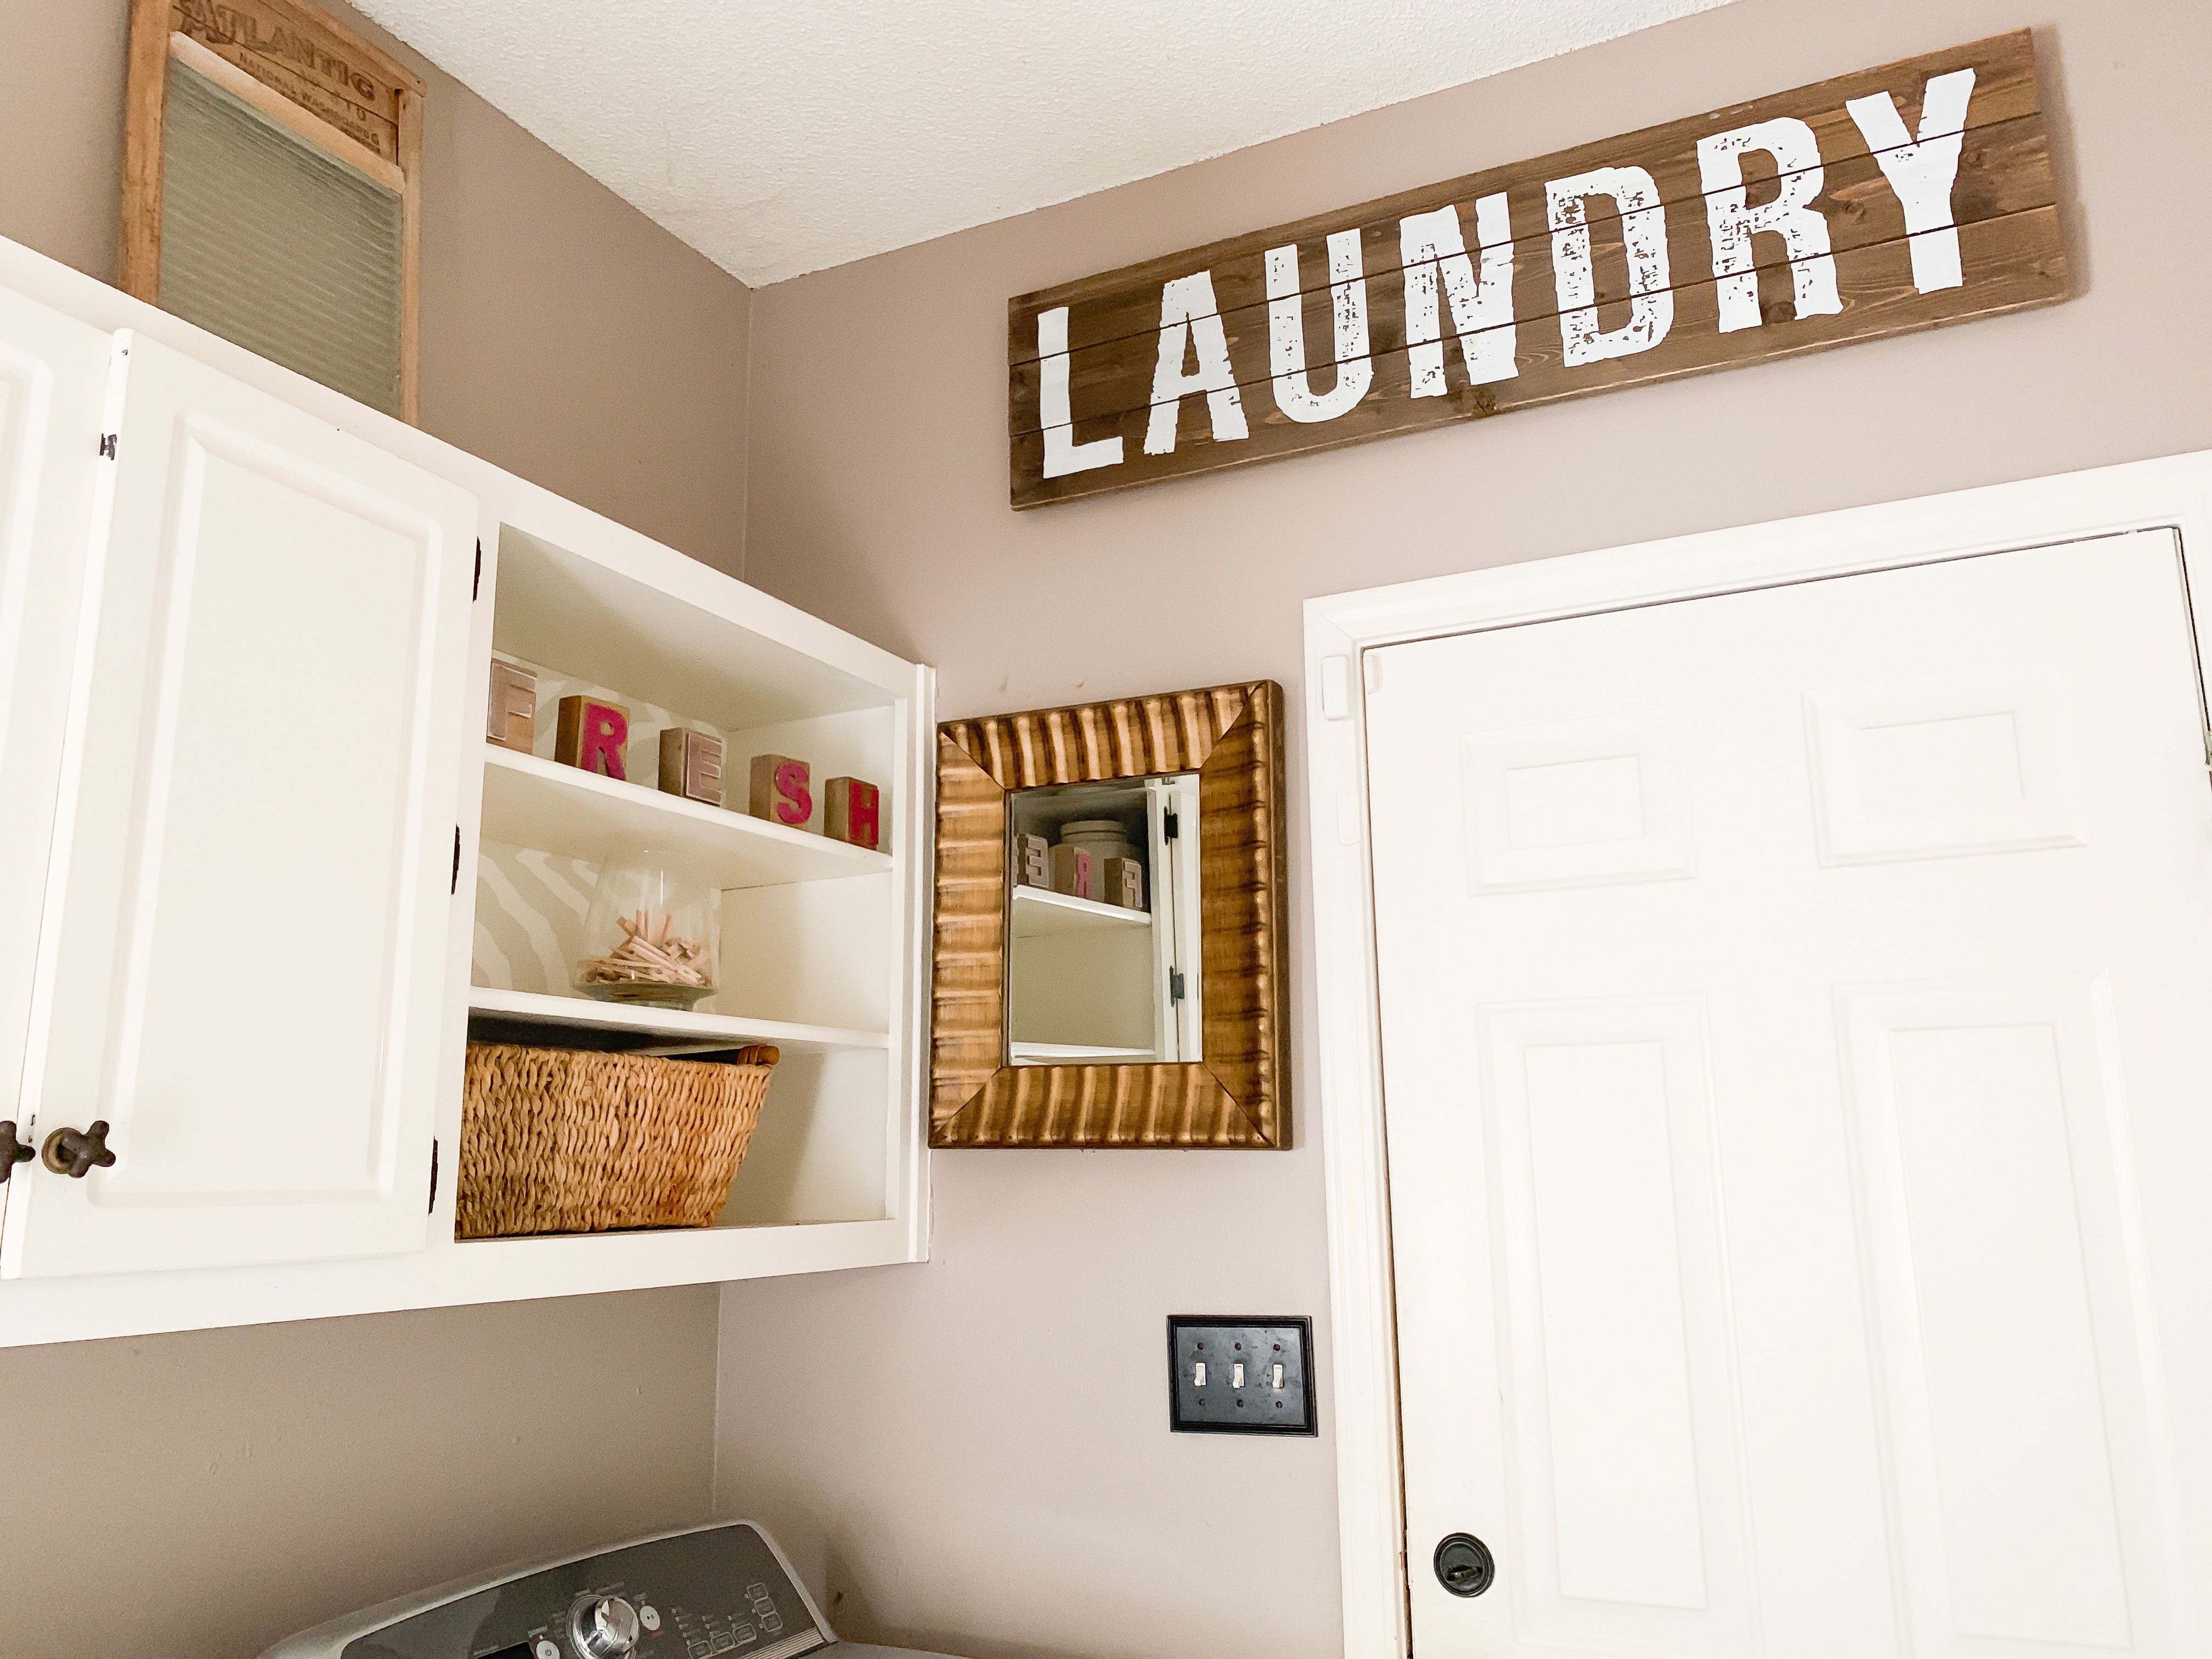
When I started on the laundry room one of my favorite people handed down a bit of wallpaper that she had left over from when she had her dining room done. It wasn’t a lot but enough to line the back of of the cabinet shelves. At the time I hadn’t started refinishing the cabinets so I wasn’t sure if it would get used. After deciding to go with the wallpaper lined cabinet in place of returning two of the doors it only took me six months to get the paper up. I’m glad I decided to leave them off.
Here is another before during the painting process:
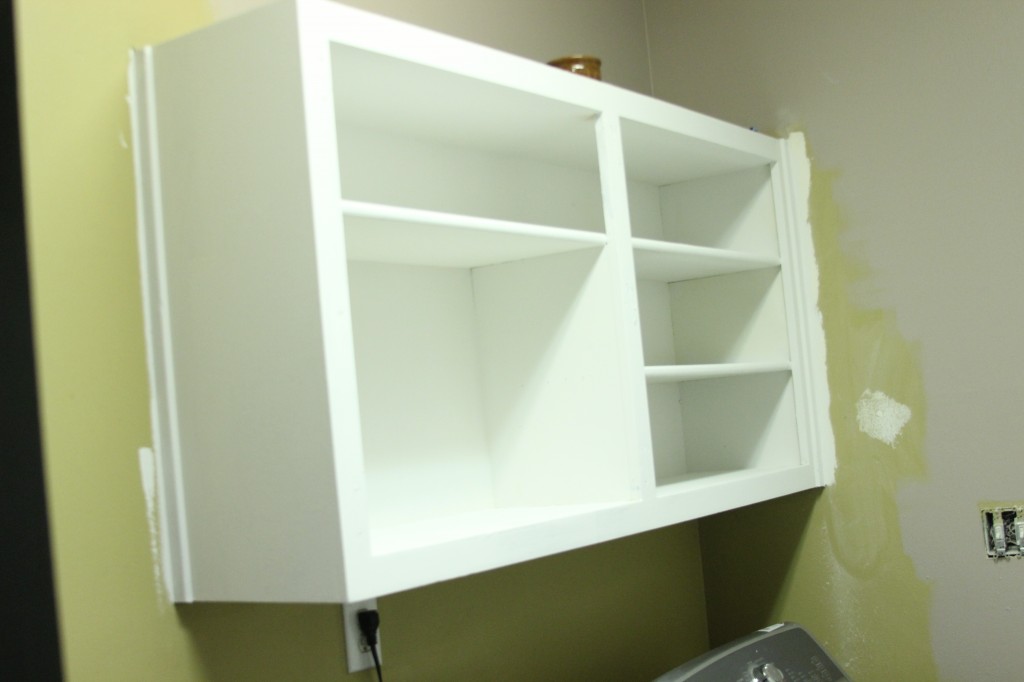
Here is the after.
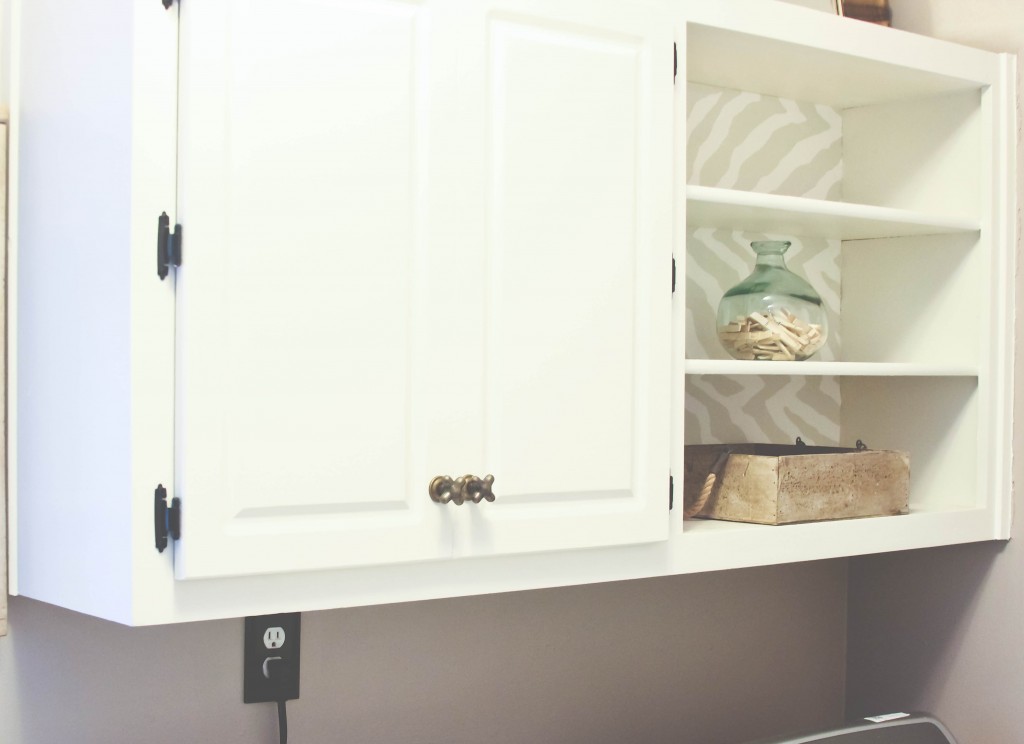
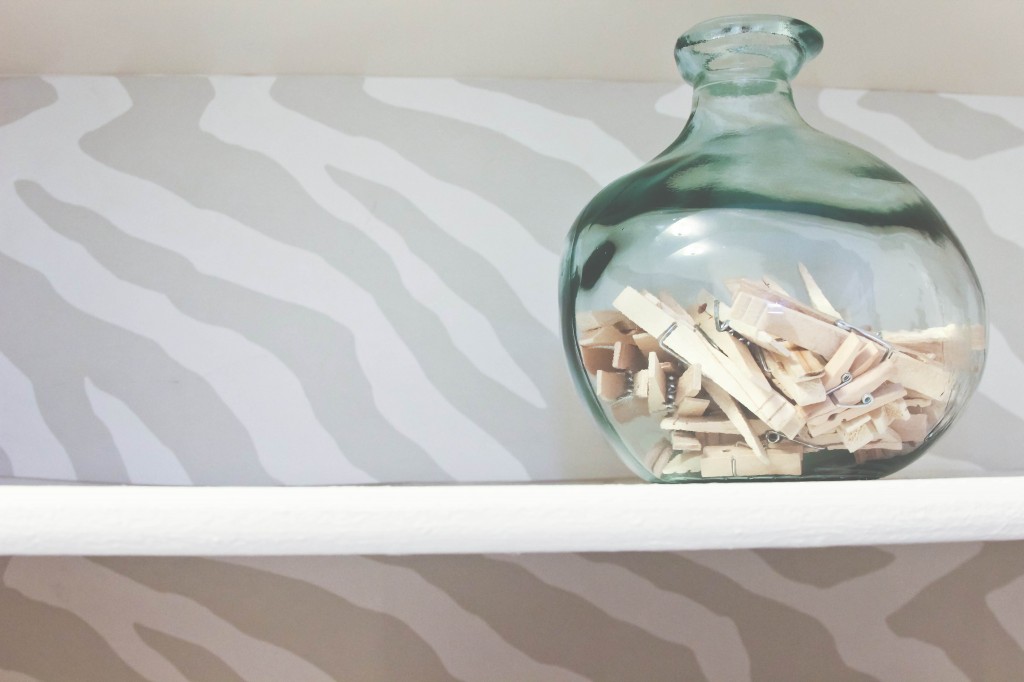
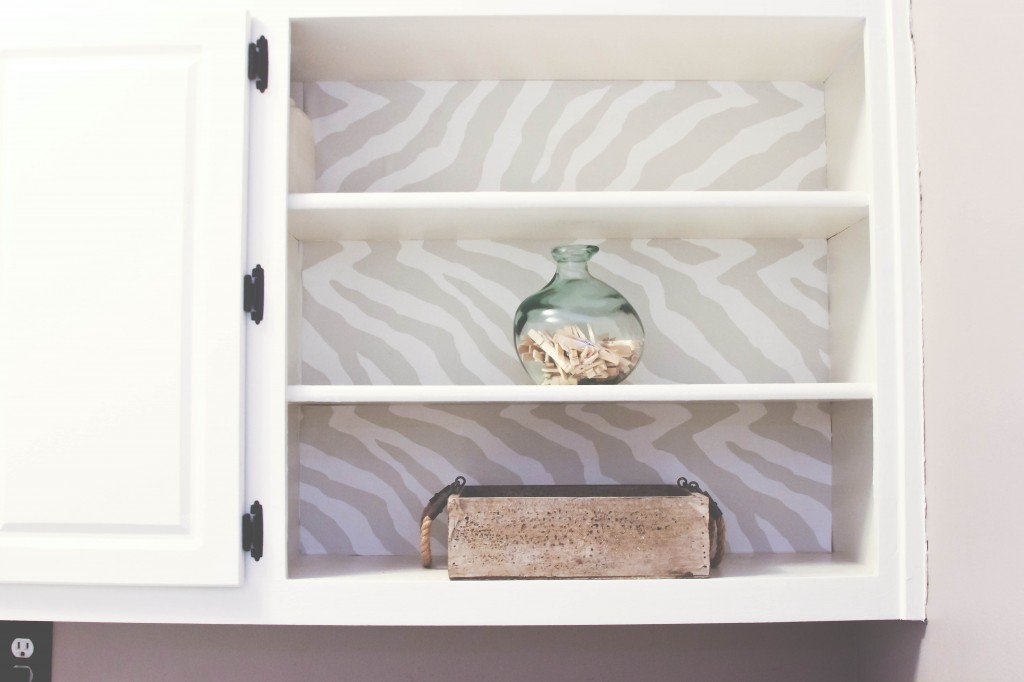
After carefully measuring the space, and that wasn’t easy I applied Mod Podge to the back of the wall paper and applied to the cabinet making sure to wipe out any bubbles. That took a little effort but after I did the first one I was on a roll.
I am pleased. I still have to do a little more decorating to do to the shelves. I’ll be back with an update when I’m done.
I recently read something on a décor blog that stated in summary, our homes are ever evolving and the beauty comes in completing small projects and over time seeing the spaces become those that we love. I concur.
What do you think?



5 Comments
Cam | Bibs and Baubles
June 30, 2014 at 8:00 pmThat looks really good. I’m looking forward to this finished room. Get it, girl!
Brandi
June 30, 2014 at 10:19 pmLove it, Mimi! It looks so much better. Painting the cabinets white was such a nice update. I really like that you left the cabinet door off.
Michellette Mimi Green
July 2, 2014 at 9:30 amLove it! I know all too well how my grand ideas never seem to happen the way I just knew they would. They great thing is they do happen over time.
The cabinets look great, I need to borrow this idea myself.
http://www.mimicutelips.com
Mrs. Pancakes
July 3, 2014 at 11:44 amGreat idea….and it does make it look more organized and easy to do laundry because goodness…laundry is hard enough!
Toia
January 9, 2017 at 9:43 am2 1/2 years later… LOL! You know I had to look for this post so I could see the breakdown!
I don’t think I ever would’ve thought to wallpaper the back of a cabinet but man, this definitely makes a difference. From these photos alone, I’d never guess it was in a laundry room. Love, love, love!