
We’re at week 2 of our master closet makeover and we might be a smidge behind but I’m more than confident we will get everything done on time. If you missed last week, we are participating in the One Room Challenge.
If you aren’t familiar with the ORC it is a six week challenge where designers, and guest participants share the transformation of a room from concept to completion.

There are so many talented people across the internet that I am looking forward to not only participating, but also following along on other people’s journeys as they transform their spaces. You can follow along as well by visiting the One Room Challenge blog. Every Wednesday for the next six weeks we will be uploading our progress.
If you missed last week, START HERE.
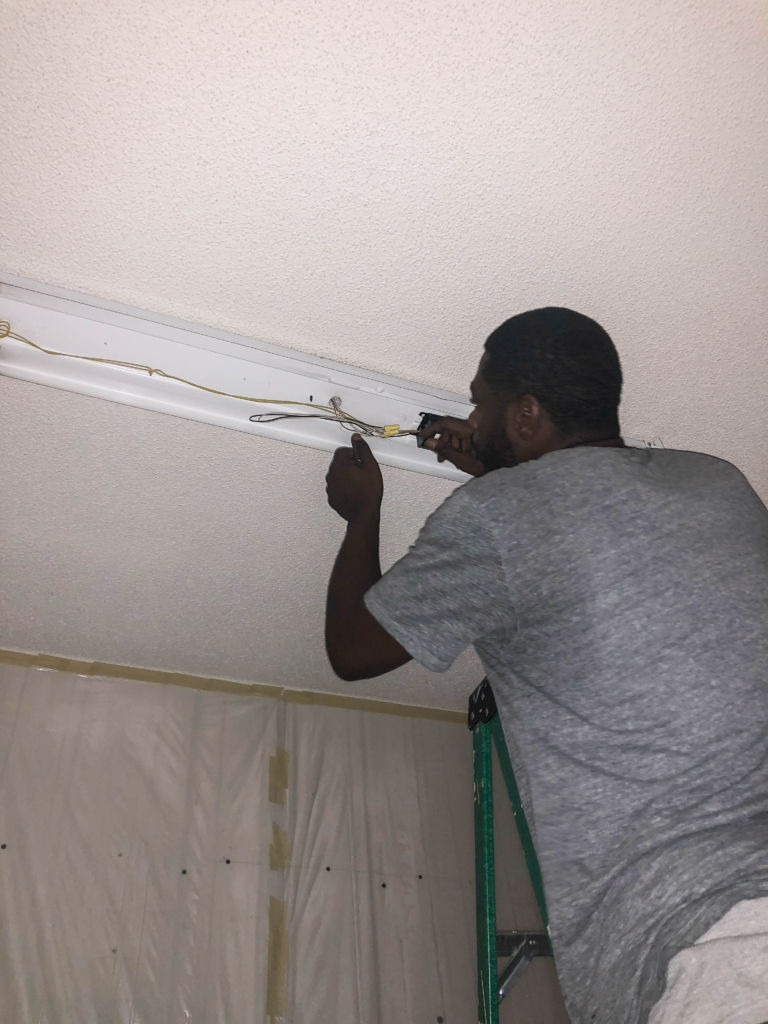
I apologize in advance for the bad photos. The closet is closed off from natural light and we currently don’t have a light fixture installed because I haven’t found one. Well, I have my eye on one, but I’m hoping if it sits in my shopping cart long enough I’ll get one of those magical email offers with a coupon.
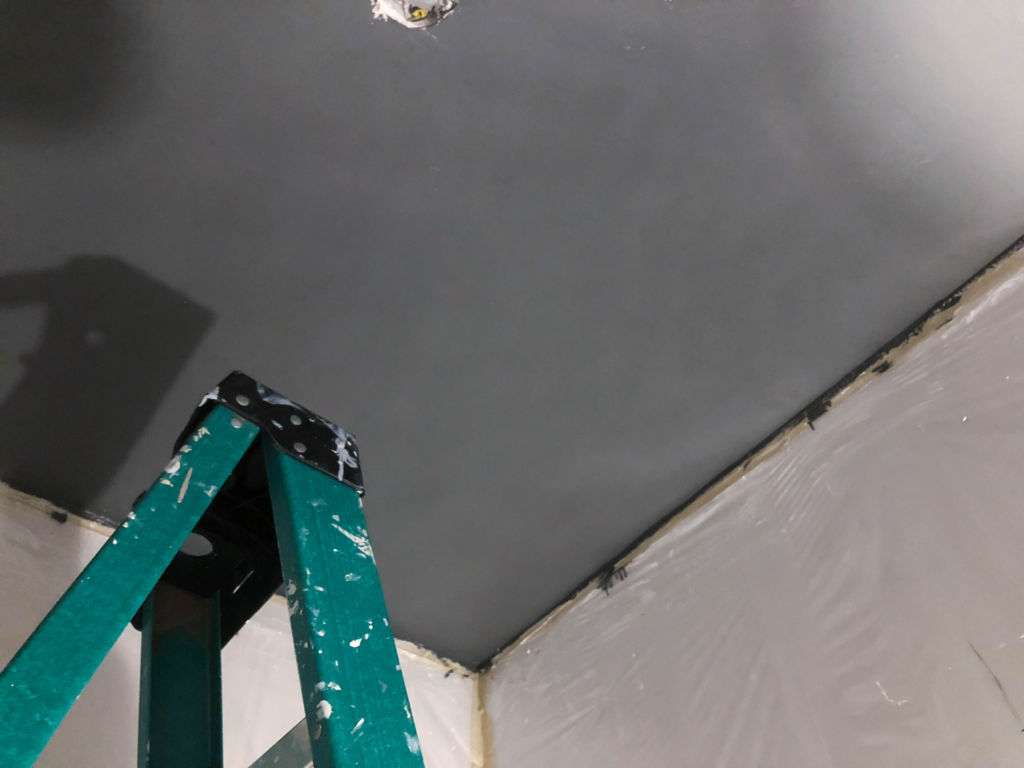
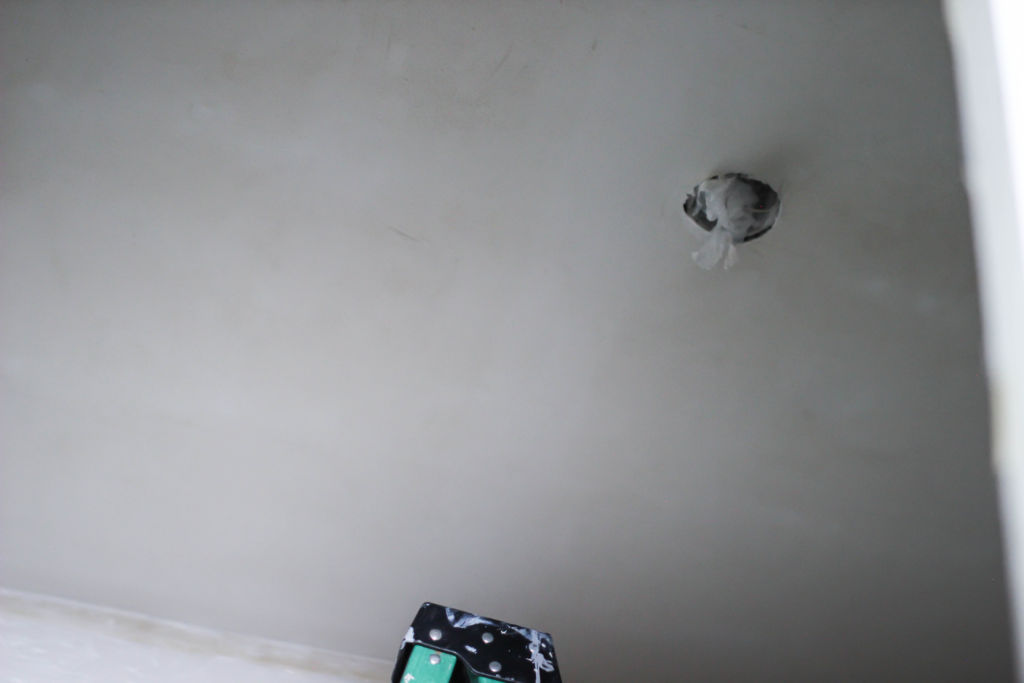
When we were planning our course of action, we decided to work from the top downward. Our first order of action was to attack the ceiling, which involved removing the bar light, scraping the popcorn, patching/skimming the drywall and painting.
We vowed to never, ever (ever, ever) scrape another ceiling after the living room, but you know how that is. He made light work of getting it scraped, and thanks to a dry-vac loan from his brother the dust was minimal. Then he patched the other two large holes where the ends of the light fixture were attached in the attic.
About that.
The whole attic process defies words. I captured the process on Instagram Stories for your viewing pleasure.
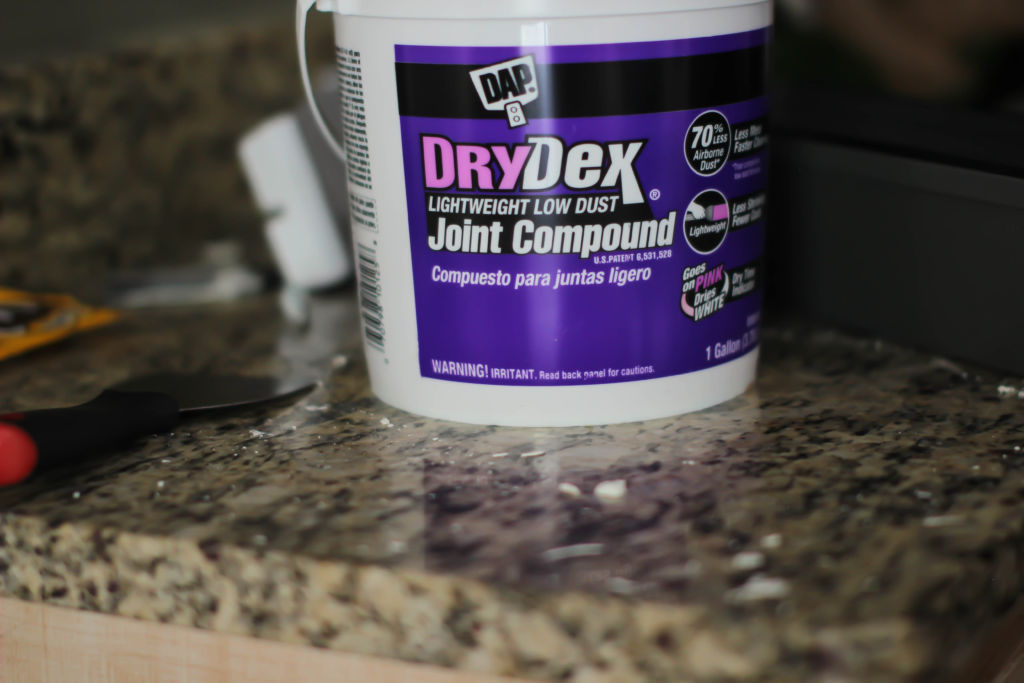
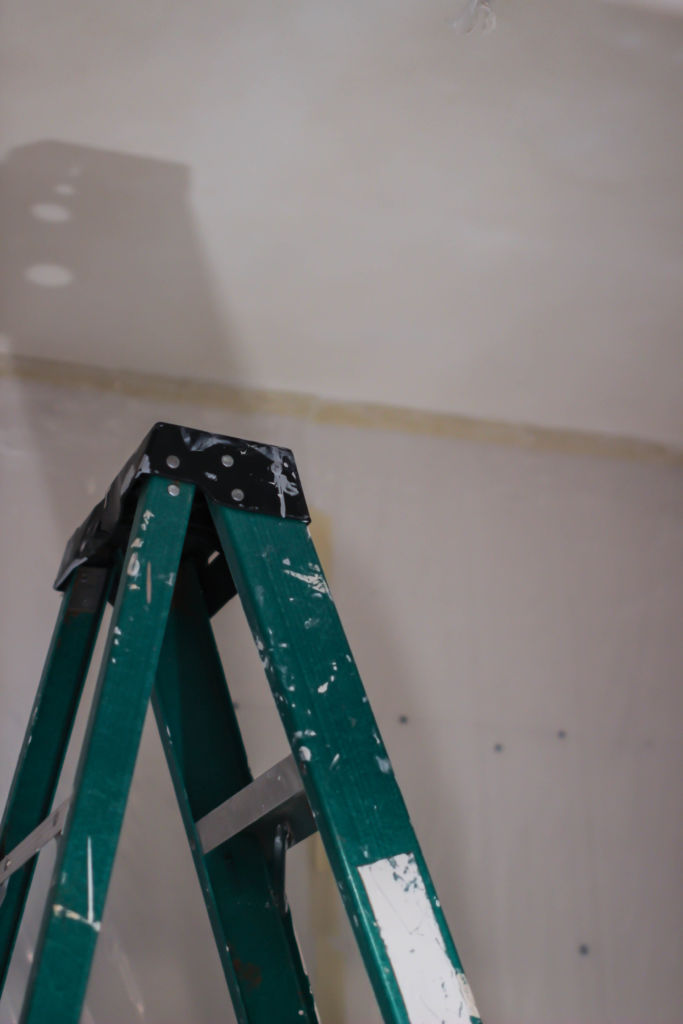
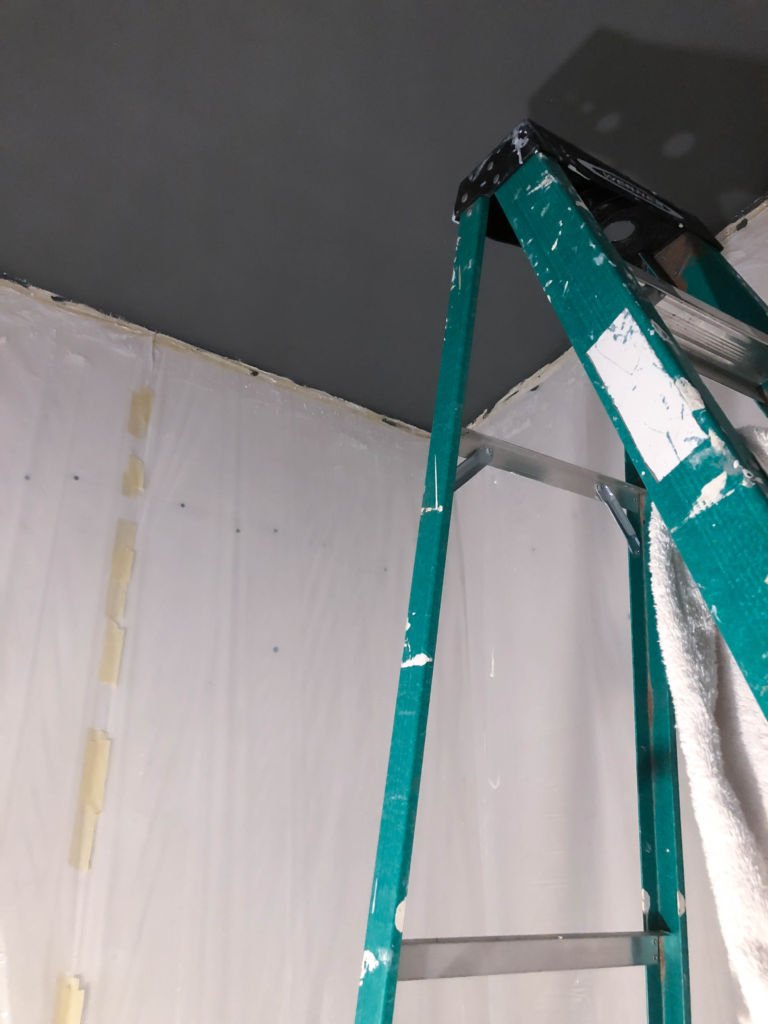
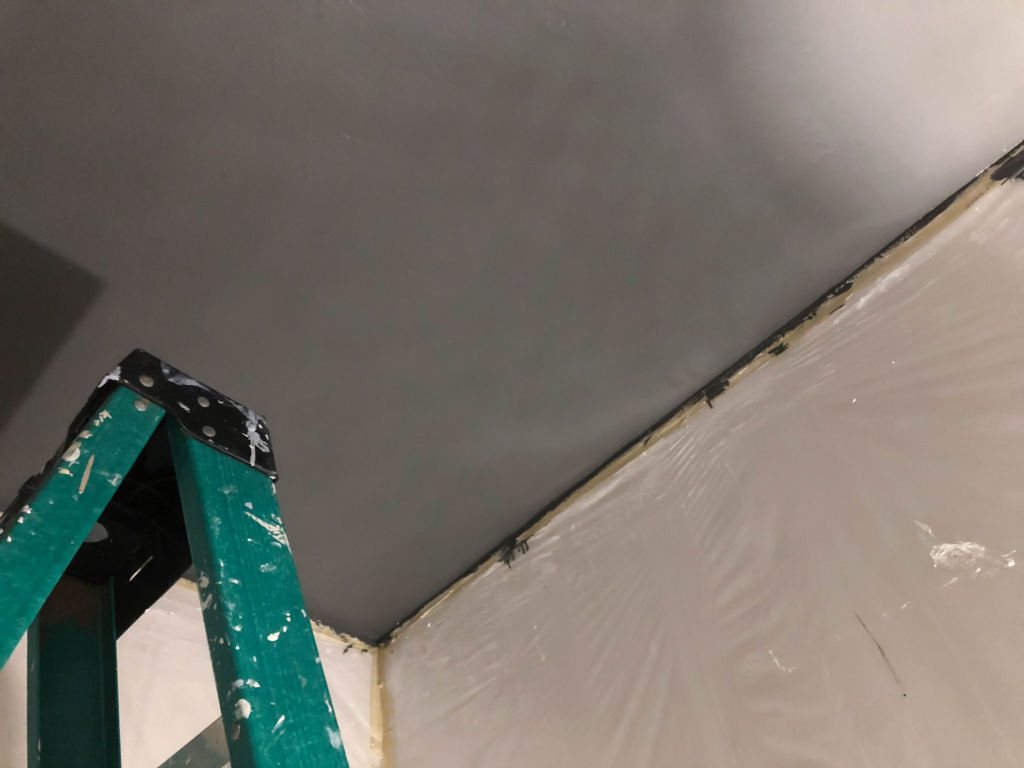
The next process involved him skimming the ceiling with joint compound, sanding, and painting.
He really got it smooth, if we find some areas that need a little more work after we add in the light we’ll address them. However, from a poor lighting aspect, things are looking good.
I know the space is small but I wanted to go a little dramatic so I hope this dark color doesn’t come to bite me, but I like it and think my brass light (the one I’m still waiting on a coupon for) will contrast nicely. The color is Portland Twilight by Valspar
Here’s a sneak peek at what’s going down this weekend. (Wish us luck. If you want a front/behind the scenes seat be sure to follow my Instagram Stories, always fun times over there.)
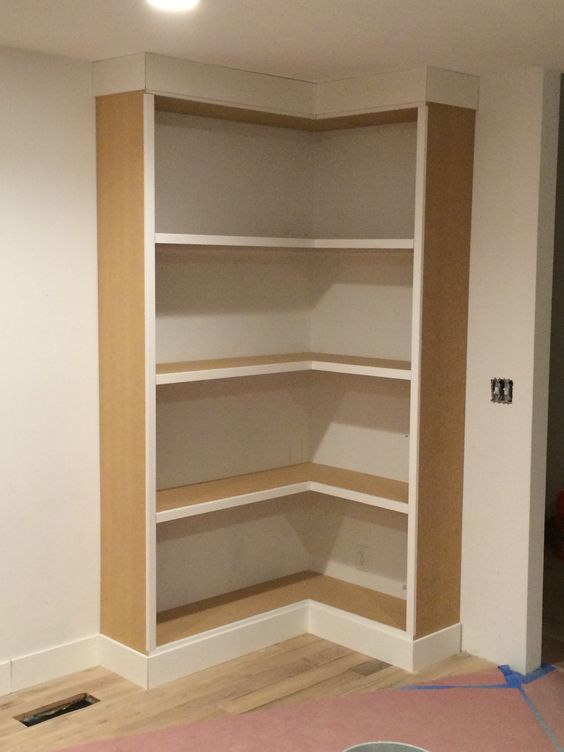
We’ll be making this and installing, as well as patching the walls to prepare for paint. We’ll be using a paint sprayer instead of brushes. To make sure everything is seamless we’ll need to get all of our built-ins put in, and have the holes in the walls patched first.
Update: The shelving has been completed!
Here’s our list from last week with a few additions. In other words, this is a working document.
Here’s what we need:
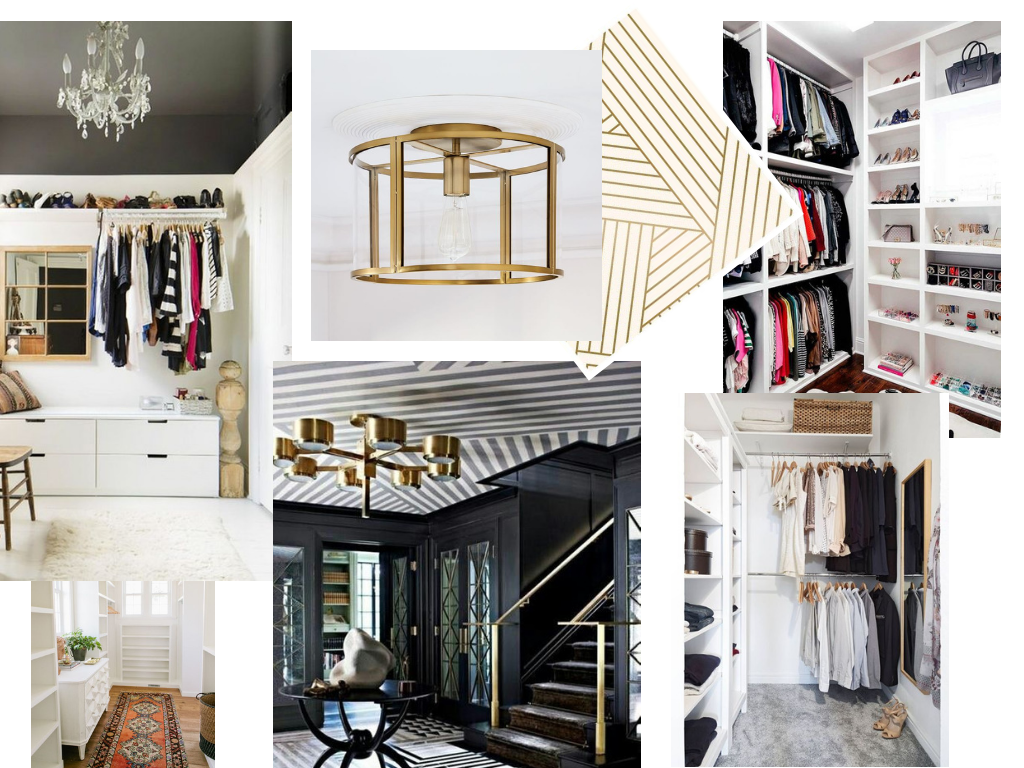
- More hanging space
- Better shoe storage
- Shelving (built-ins, shoe shelving, high shelving for storage)
- New flooring
- New lighting
- Paint (
ceiling, walls, built-ins) - Drywall repair (
ceiling, walls) - New hangers
- Glass closet door
- Baskets
- Floor length mirror


4 Comments
One Room Challenge Week 1 | Master Closet Makeover (Before) - Unlikely Martha
October 11, 2018 at 11:47 am[…] Week 2 is now complete. We painted the ceiling, see here. […]
Kalila
October 11, 2018 at 1:24 pmIt’s looking good so far. I can’t wait to see the reveal!
Ola
October 11, 2018 at 6:10 pmLooks like you all are just chugging along. This is going to be so incredibly nice Mimi. You won’t want to leave the closet!
One Room Challenge Week 3 | Master Closet Makeover - Unlikely Martha
October 17, 2018 at 10:42 pm[…] If you need to catch up, here is Week 1, and Week 2. […]