All Posts By

Blurb photo book
Holidays Living

Blurb Photo Book: Gifting Memories for the Holidays

Thank you Blurb for sponsoring this post.

I’m one of those sappy moms, for my kids and yours too. I’ve been blogging for over 8 years, and during that span of time I’ve built lifelong friendships with people in the internet and watched their children grow like I’ve watched my own.

Say what you want about social media, but one of the great parts of it involves capturing and freezing memories and moments in your life. I’m all  for nostalgia, and I’ve been trying to do better about taking those moments out of my camera/phone and put them into tangible books that can be displayed in our home for other people to see.

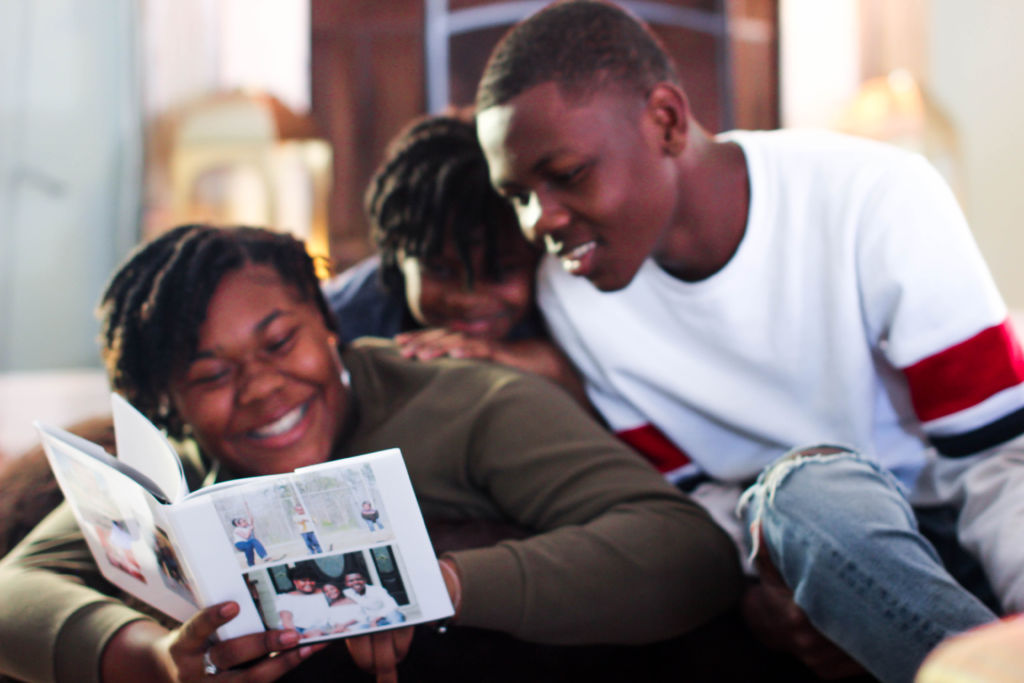
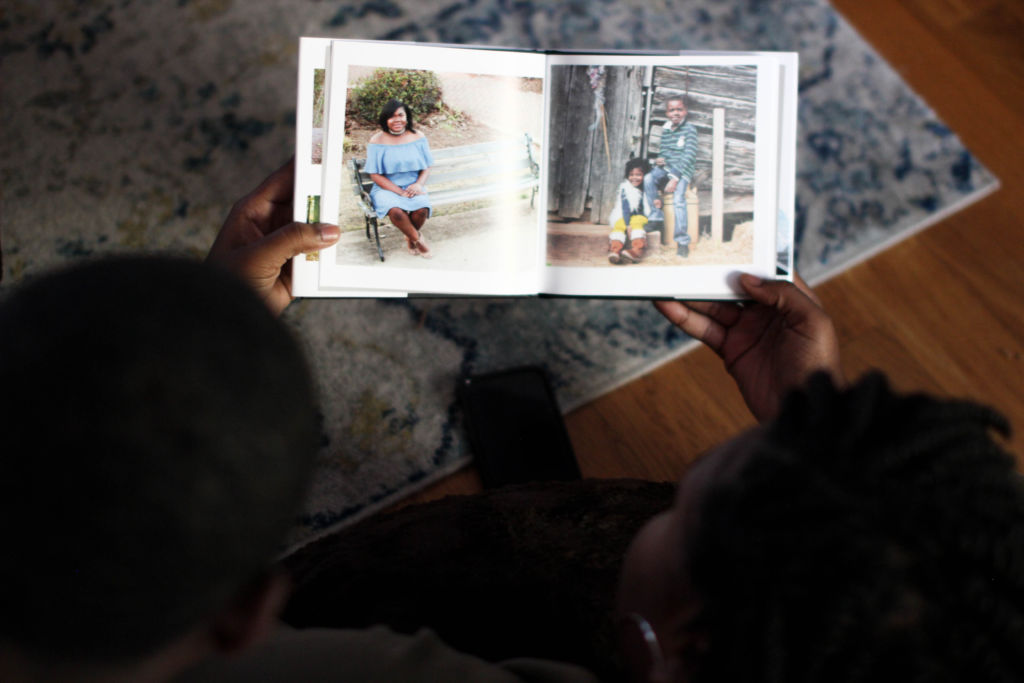
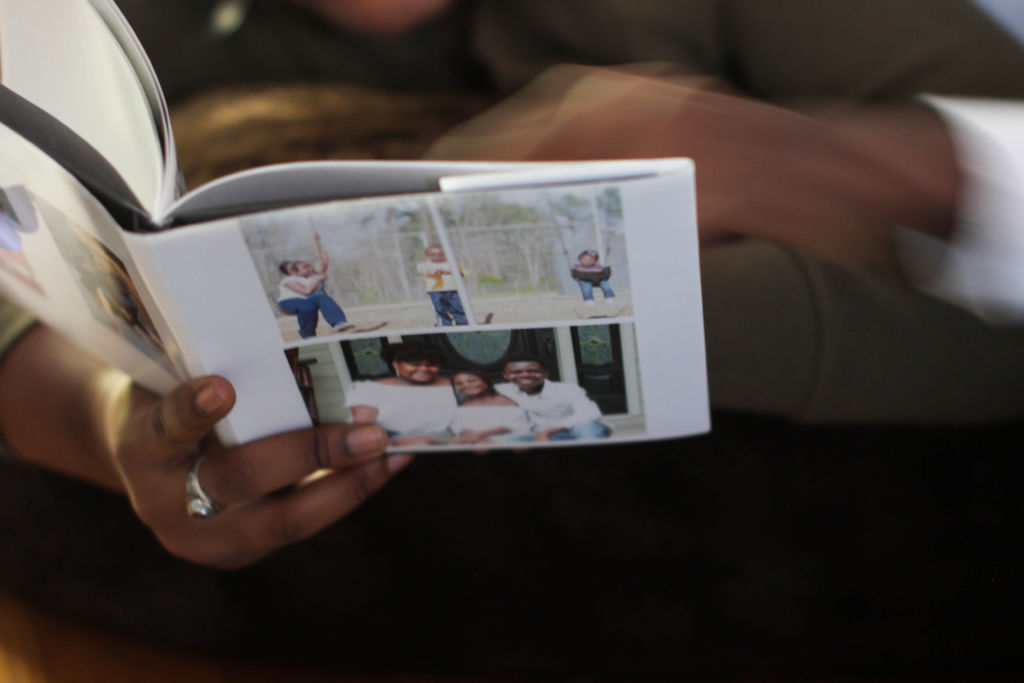
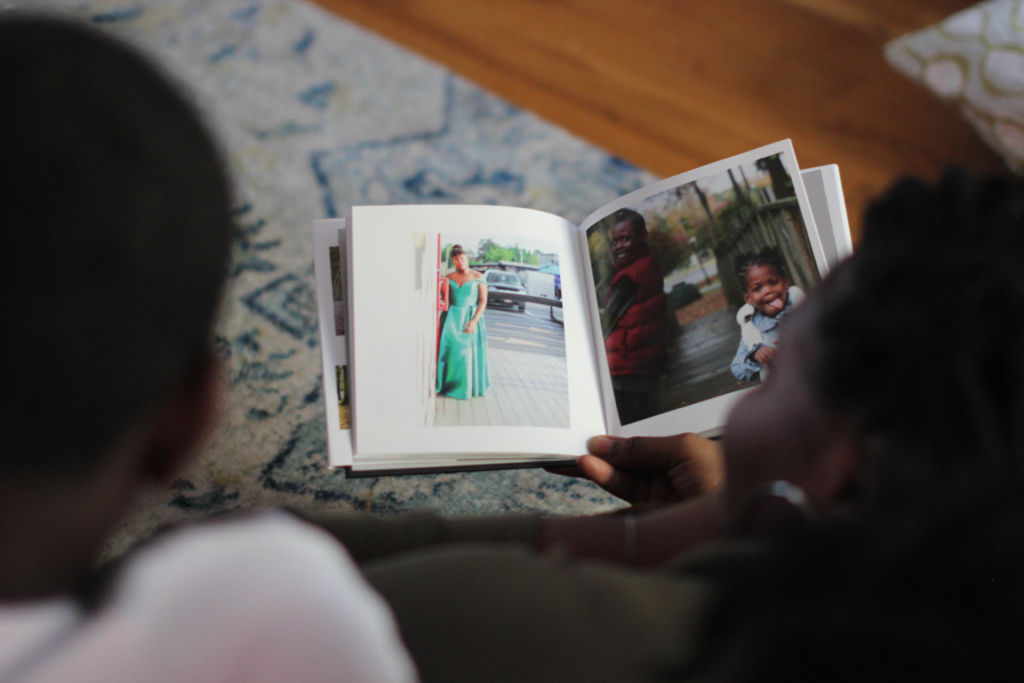
I recently decided to do a through the years look at my children. I dug and found photos of them from years ago until now. Once I pinpointed a few of my faves from over the years, I went to Blurb and created a small square 7X7 photo book of memories to gift the grandparents this holiday season.

Blurb photo book

The process was fairly easy. The most challenging part of the process, hands down was selecting the photos. To create the book layout I utilized BookWright, Blurb’s free desktop software. The software integrated easily with my Dropbox, and social accounts making it easy to transfer photos into the software.

Once the images were in the software, the fun part involved playing around with the plethora of page and cover template options. I found this extremely helpful, especially if you are not creatively inclined. The templates made it easy to create a beautiful photo book out of your photographed memories.

Blurb photo book

There were a variety of paper options. I was extremely torn between going with the matte paper option and the lustre/glossy one. I finally decided to go with the lustre finish on premium paper. You can request a swatch kit to get a literal feel, and look at the available paper options. I highly recommend this if you plan on making multiple books.

I remember my mother having boxes of printed photos. I think we forget the satisfaction that comes with looking at printed photos. Looking at a printed photo will never get old, I was blown away at the quality of the book and the sharpness of my photo images.

Blurb Photo Book

Photo books make great gifts for grandparents, aunts or other family members that don’t get to see you or your family often…and seeing them on social media doesn’t count! Have you ever given a photo book as a gift?

DIY Home Living

One Room Challenge Week 6 | Master Closet Reveal

We did it. In six weeks we transformed our small, non-existent closet from nothing to something. In the event you weren’t keeping up we signed up for the One Room Challenge.

If you have missed the last few weeks, let me catch you up. We participated in the one room challenge. Which is a  six week challenge where designers, and guest participants share the transformation of a room from concept to completion. It’s quite inspiring to see so many people transforming their homes during a six week period. You can follow along by going to the link above or scrolling #OneRoomChallenge on Instagram.

One Room Challenge

My last update post was on week 4. During this week we had to rip out the first cabinet that Adrian built and re-do it. For the details on why, click here.

I was a little apprehensive that he would get it completed, and there are still a few things that need to be done, like crown moulding, adding a mirror and a new door but the major things have been completed.

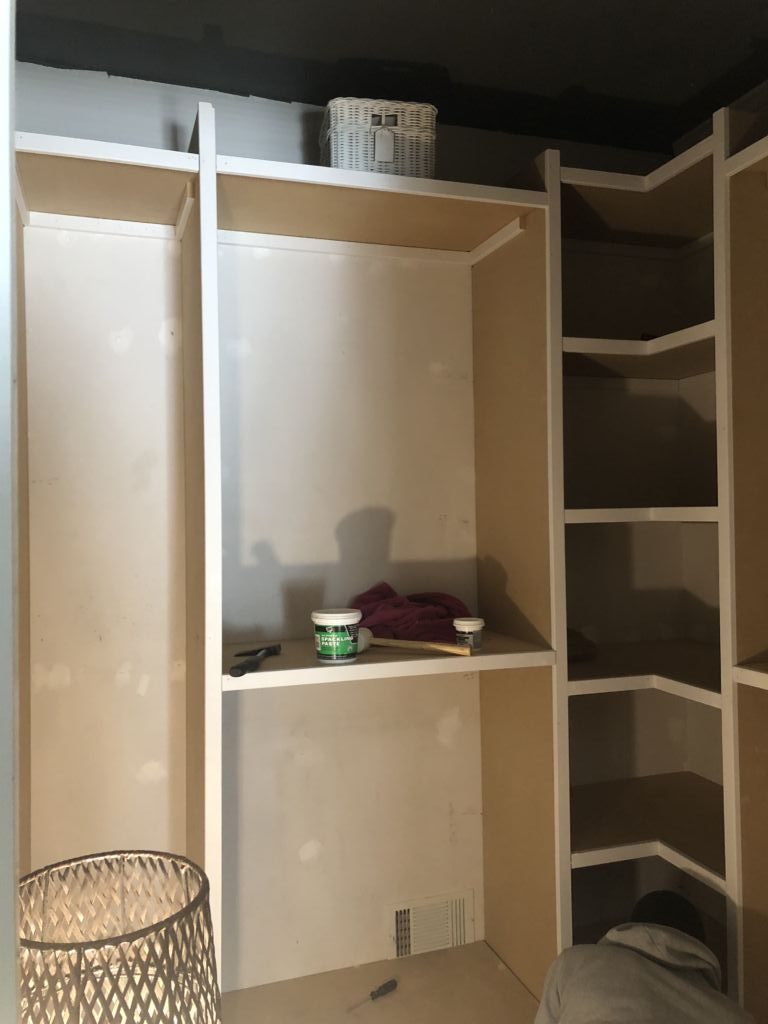
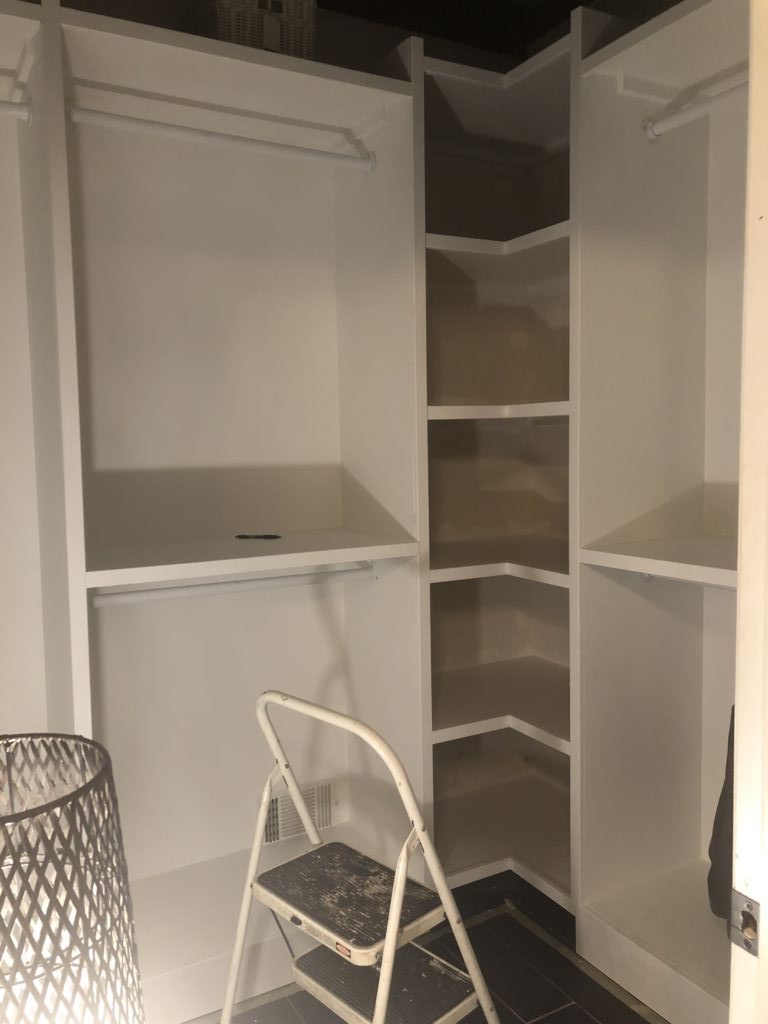
Here are a few photos of the transformation during week 5.

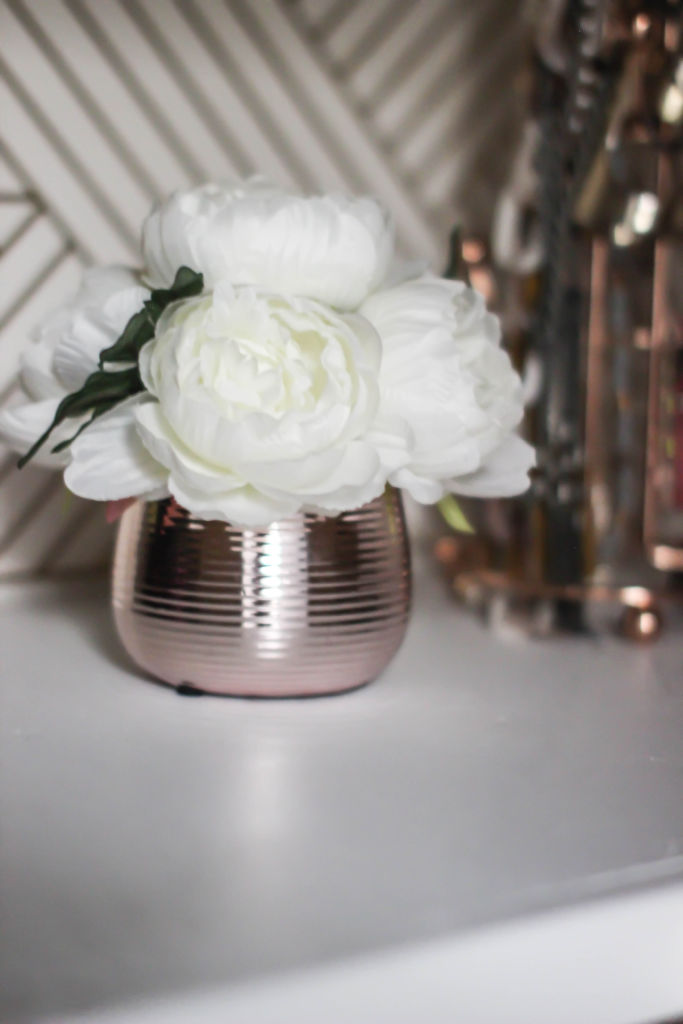
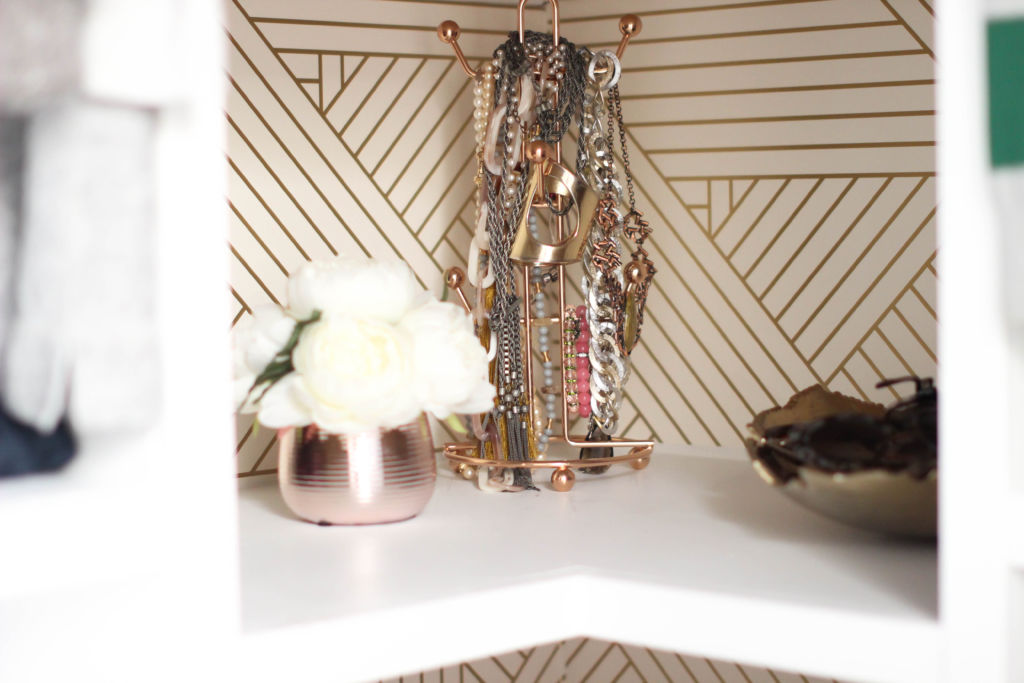
After this photo, the floor was grouted and I ended up adding some removable wall paper from Target into the nooks of the cabinet.

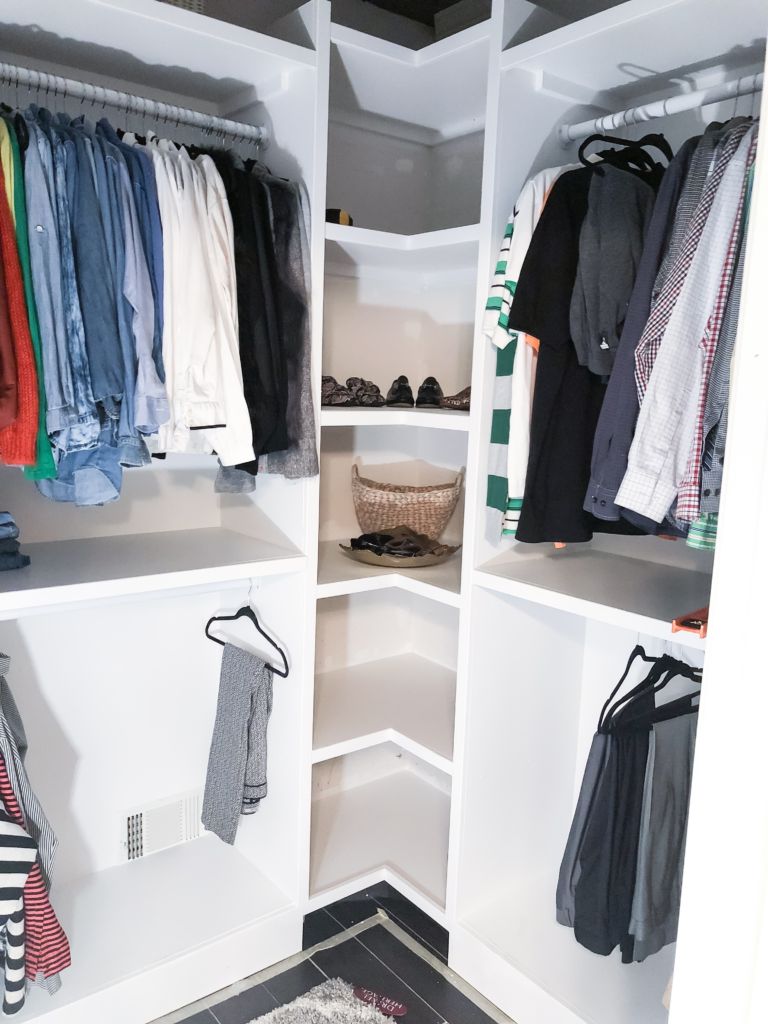
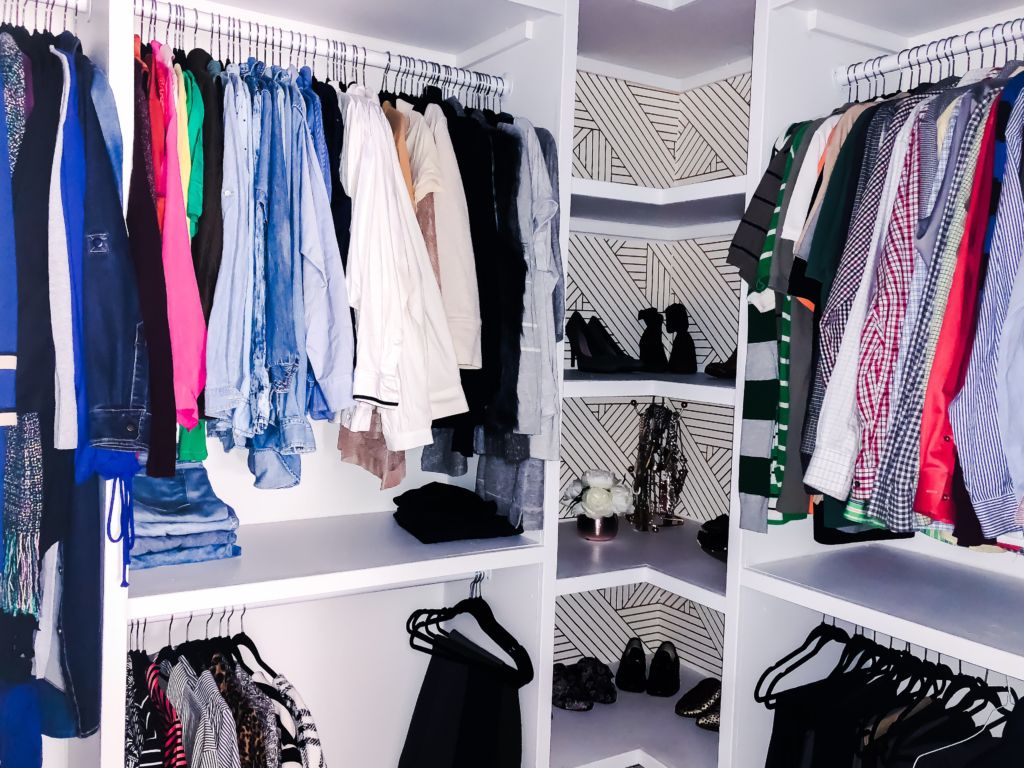
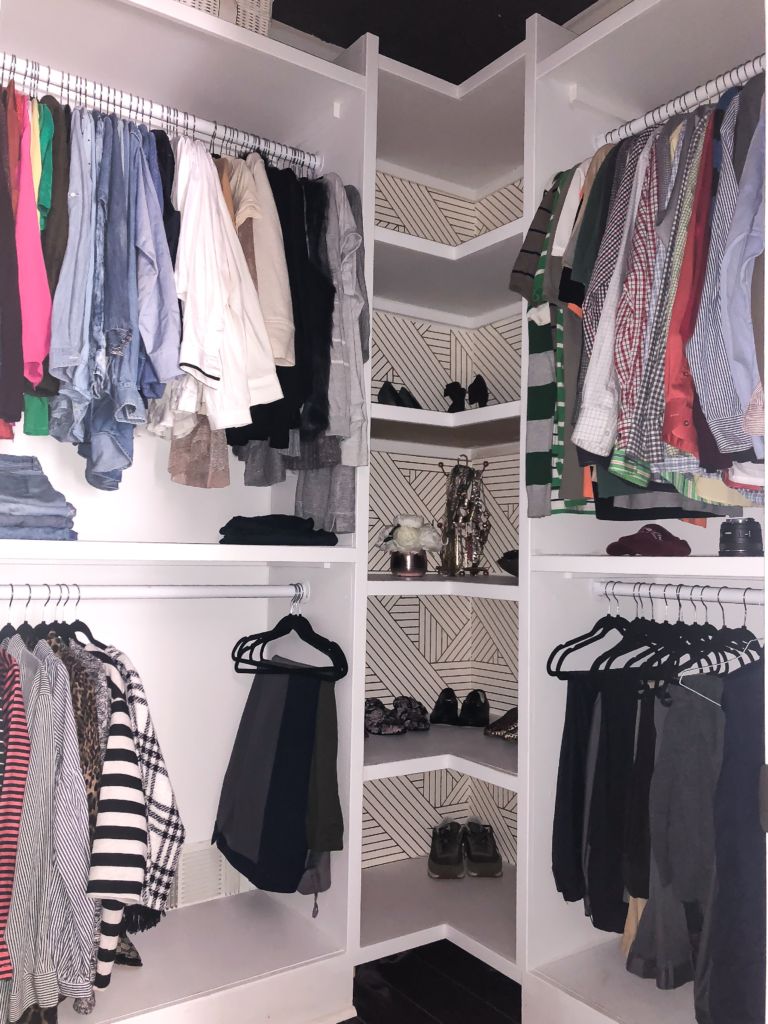
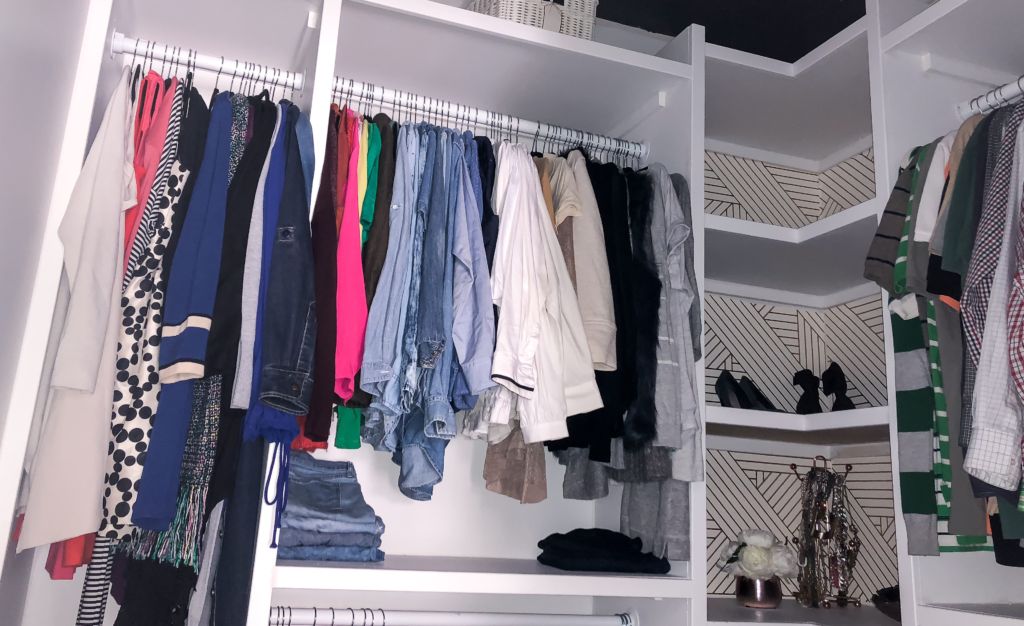
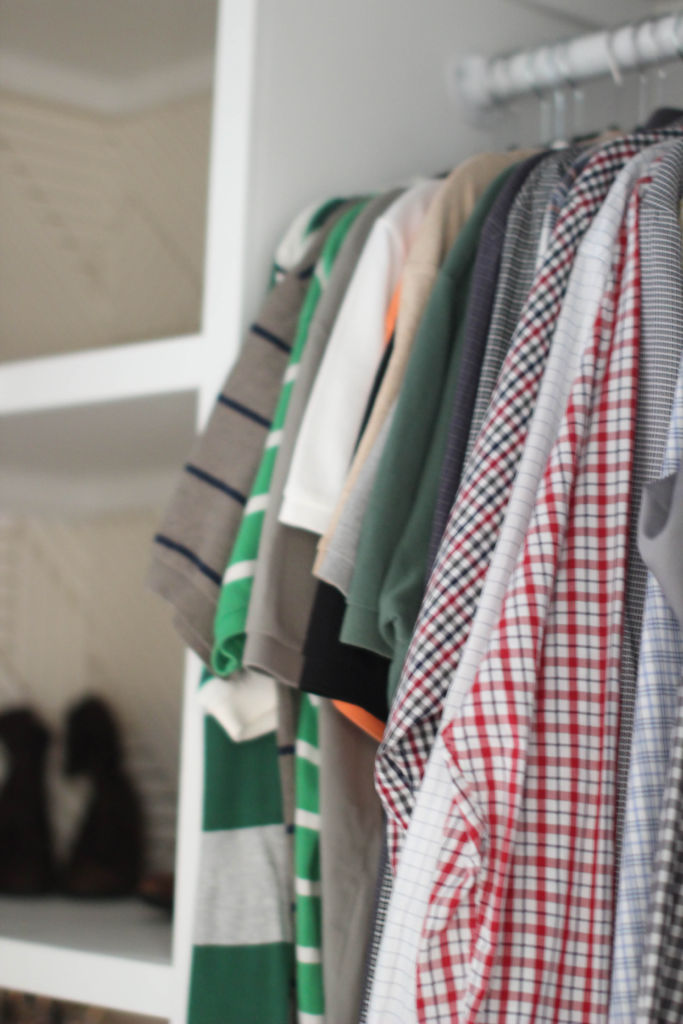
…and here is the final reveal

I can’t tell you how happy I am with the way this turned out. With the mishap and having to re-do the cabinet, this project still came in under $325 total. These photos do it little justice, it is a very tight space to photograph and there is no natural light so I did the best I could. We still have to put in a light, and finish the crown moulding, I’ll do an update in about a week once that is completed.

We’re hype and have now decided to attack the basement next weekend.  I think we’ve finally found our home improvement groove!

To see the before photos along with the progress of the closet during the past six weeks, here is the breakdown

Week 1 (before photos), Week 2, Week 3, Week 4.

I feel a lot of outfit of the day photos in my future! Here’s to hoping it stays clean and organized.


Fashion Living

Layering (in Life and Fashion) + Thrift Haul Video

It’s that time of year again. The time where I start thinking about all of the things I accomplished along with the things I didn’t. It’s funny how the things you didn’t accomplish always seem to overshadow the things you did, except I’m quieting that foolishness.

I did a lot this year, and learned more about myself. The slide to 40 is really showing itself, and my “effs” to give are dwindling down to nothing. That’s a great thing in the event you were wondering.

One of the things I’ve known, but am currently embracing with the fervor of a toddler hanging on to their favorite toy, is I’m all over the place. I have no intention on attempting to fix that “flaw” about myself, it just comes with the many layers of me.

Not to mention I have this thing of being into things one minute and dismissive of them the next.

I’m complex, we’re all complex. The beauty comes in embracing that. I would like to make this online space something spectacular. Truth is I know I have the ability. Consistency is something I need to focus on in the new year. The problem is one minute I’m hot, the next I’m cold, maybe that’s why I love a good layer when it comes to fashion.

For now? I’m loving me as I am, in all of my inconsistency.

With that comes the realization that if I want to meet some of my goals I’ll need to change a few things in the new year. I know this and I’ll do it when I’m ready…or not.

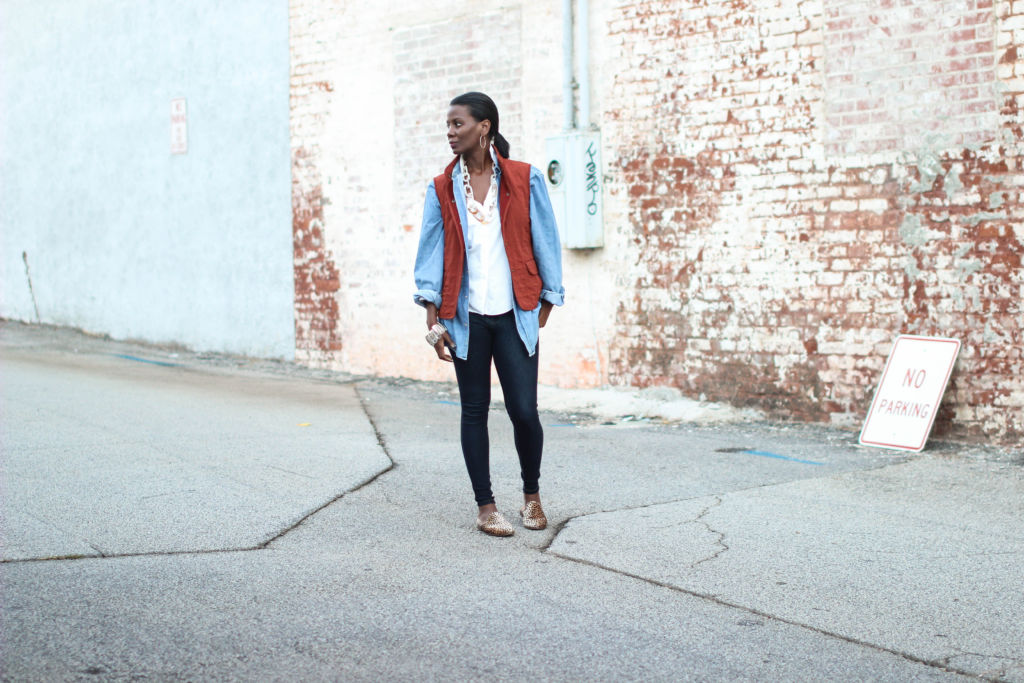
Layers work for me, in clothing and life. I need the freedom to put things on and take them off as needed. I’ll continue to build a life I love that allows for my flaws and inconsistency.

Speaking of inconsistency, I’m back into thrifting again. Years ago I did regular thrift hauls on Youtube. I’d love to build this component back into my content to show that looking and feeling good doesn’t have to cost a lot of money. I’ve shared some of my favorite thrifted jewelry findsmixed prints, and tips on how to accomplish a high/low wardrobe with thrifted pieces.

Honestly, I’m struggling to find the time to devote to the things I love, but I’ll never go out without a fight. There’s a way without sacrificing my sleep and sanity. I’ll let you know how when I figure it out. Until then, I encourage you do to what you can, with what you have, when you feel up to it…at least with the things you have the liberty to do so on.

I promise, it makes life more enjoyable.

Vest: Talbots-thrifted | White Oxford: Brooks Brothers-thrifted | Denim Shirt: Guess-thrifted | Jeans: Gap | Shoes: Gap (similar) | Necklace: TJ Maxx | Bracelet: Thrifted

….and if you want to see what I found on a recent trip to the Goodwill. Here’s my latest thrift haul.

DIY Home

One Room Challenge Week 4 | Master Closet Makeover

Oh friends. Your eyes do not deceive you, this picture is slightly identical to last week’s but a little different. Have a seat, let me tell you what happened.

But first, if you have missed the last few weeks, let me catch you up. We are participating in the one room challenge. Which is a  six week challenge where designers, and guest participants share the transformation of a room from concept to completion. It’s quite inspiring to see so many people transforming their homes during this six week period. You can follow along by going to the link above or scrolling #OneRoomChallenge on Instagram.

One Room Challenge


You can catch up with Week 1, Week 2, and Week 3 at your leisure. Now back to “what had happened was.”

We discovered the width of the cabinet was a few inches short of a normal hanger. This meant that the clothing would hang out in the open and not be flush with the edge of the cabinet. I’m afraid this made no sense, in other words the shirt would hang past the edge of the cabinet.

We tried to come up with a solution to make it work, but the end result was ripping out the old cabinet to build a new one that was 18 inches wide to account for a hanger making everything look neat and flush. If you follow me on Instagram Stories you saw the whole saga go down. I’m too tired to create a video of my IG stories, hang tight, I’ll post it next week.

But anyway it looked a little something like this:


He was removing the trim at this point, I was low key in the corner weeping. Upside was that we were only in about $65 at this point. We are able to reuse the old sides as the top shelves so we really didn’t lose more than $15 that was spent on the MDF boards that he made the shelves out of.

If you look closely you can see the new one, on the left, is larger across allowing for more storage. More storage is always a good thing.


Might I say I’m glad we took this step back to make sure we would love the end product moving forward. He has me convinced that we will have the closet ready to reveal on November 7. I’m keeping hope alive.

Here’s our unchanged list of things that need to be done from last week:

Here’s what we need:

  • More hanging space
  • Better shoe storage
  • Shelving (built-ins, shoe shelving, high shelving for storage)
  • Grout existing flooring
  • New lighting
  • Paint (ceiling, walls, built-ins)
  • Drywall repair (ceiling, walls)
  • New hangers
  • Glass closet door
  • Baskets
  • Floor length mirror
  • Install hanging rods
  • Rug