Living

It’s My Birthday! | Birthday Flashbacks

A lot can happen in a year, some good, some bad some awful. The positive consensus is if you make it through to another birthday you survived another year.

That my friends is blessings on blessings on blessings. One more year to chase your dreams, spend time with family, travel to a new place, try something new, and overcome another obstacle.

I was happy to wake to 38 this morning. My kids were more excited than I was, birthdays are about as important as Christmas in a child’s eyes. I embraced their joy this morning.

Here’s a trip down Birthday Flashback Lane. I’m linking to all of my birthday posts, back to 2011. You can really see the turn up….turn down the older I get!

2016 | Hello March, Hai 37

2015 | Oh Hai 36


2014 | Mimi Turns 35


2013| Weekend Wrap Up Birthday Edition

2012| I’m 33

2011| It’s My Birthday


Living Video

Weekend Vlog | My Bestie Got Married

Ever stumbled onto a new hobby? I have and of all things it is editing video. I love it so much I am contemplating taking a class and really getting into it.

In the meantime those of you that have enjoyed our weekend family vlogs in the past will be seeing more of them simply because editing video is my new creative outlet.

This weekend my best friend got married. It’s been a whirlwind few weeks celebrating her including our epic trip to Cherokee, NC.

The wedding was absolutely beautiful, for obvs reason I don’t have photos of the actual ceremony, but here are a few that we snapped post wedding.


Our entire weekend has been condensed to 10 minutes in this week’s vlog to include pre and post wedding shenanigans! Let me know what you think of my new take on vlogging.

Did ya miss us?!!!

Save

how to hang a gallery wall
DIY Home

How to Hang a Gallery Wall

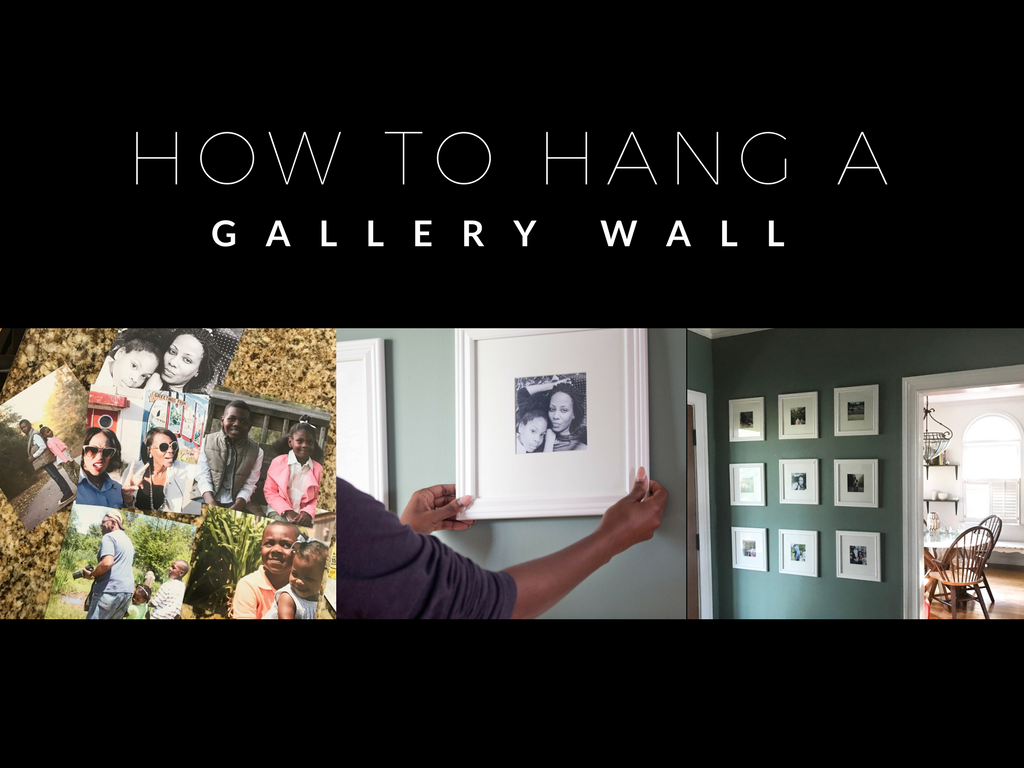
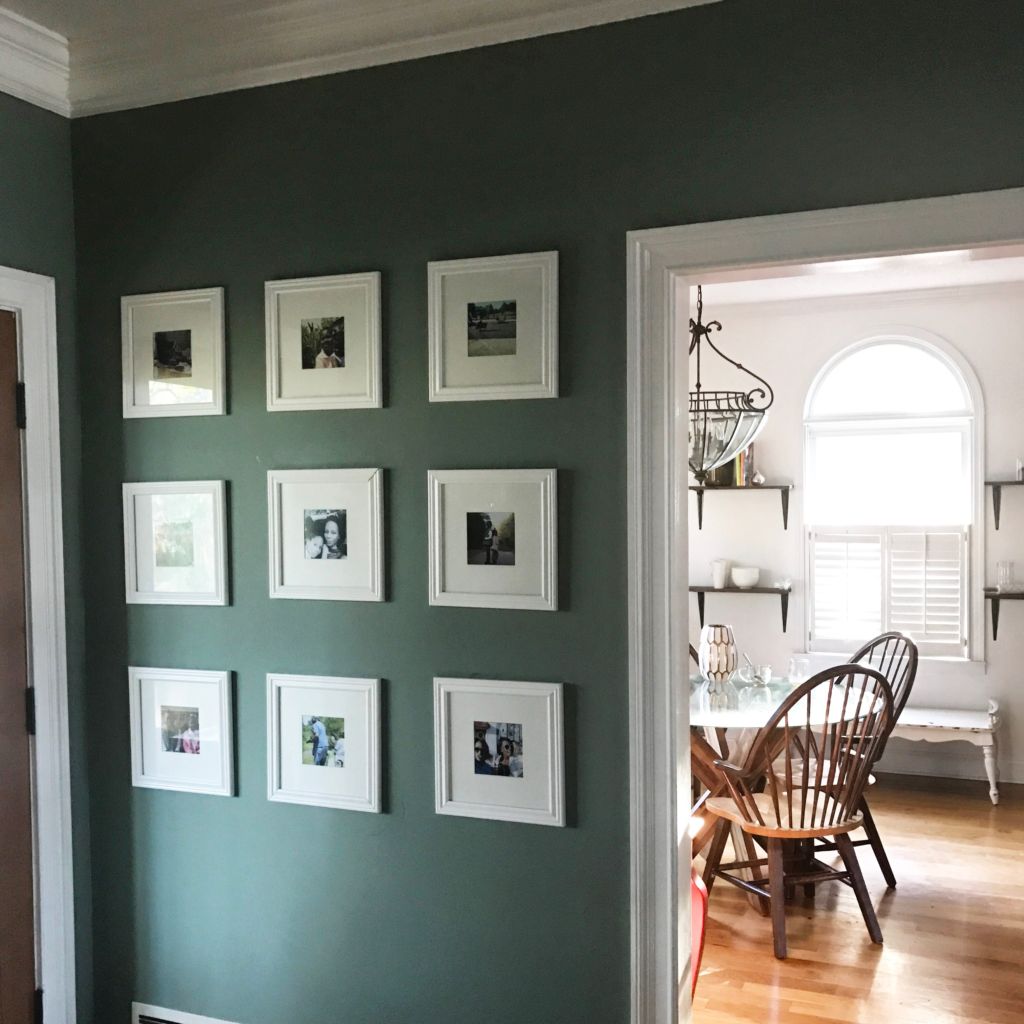
A few months back, I finally got around to arranging the  9 frames that I picked up from Michael’s on my wall into a 3X3 grid for a gallery wall.

Being very conservative let’s just say the frames sat for 3 months with nothing in them. One day while glancing at them I grabbed my computer right then and set about ordering prints to go in them. I finally settled on going with 5 X 5 prints as I thought the matte would be a nice touch.

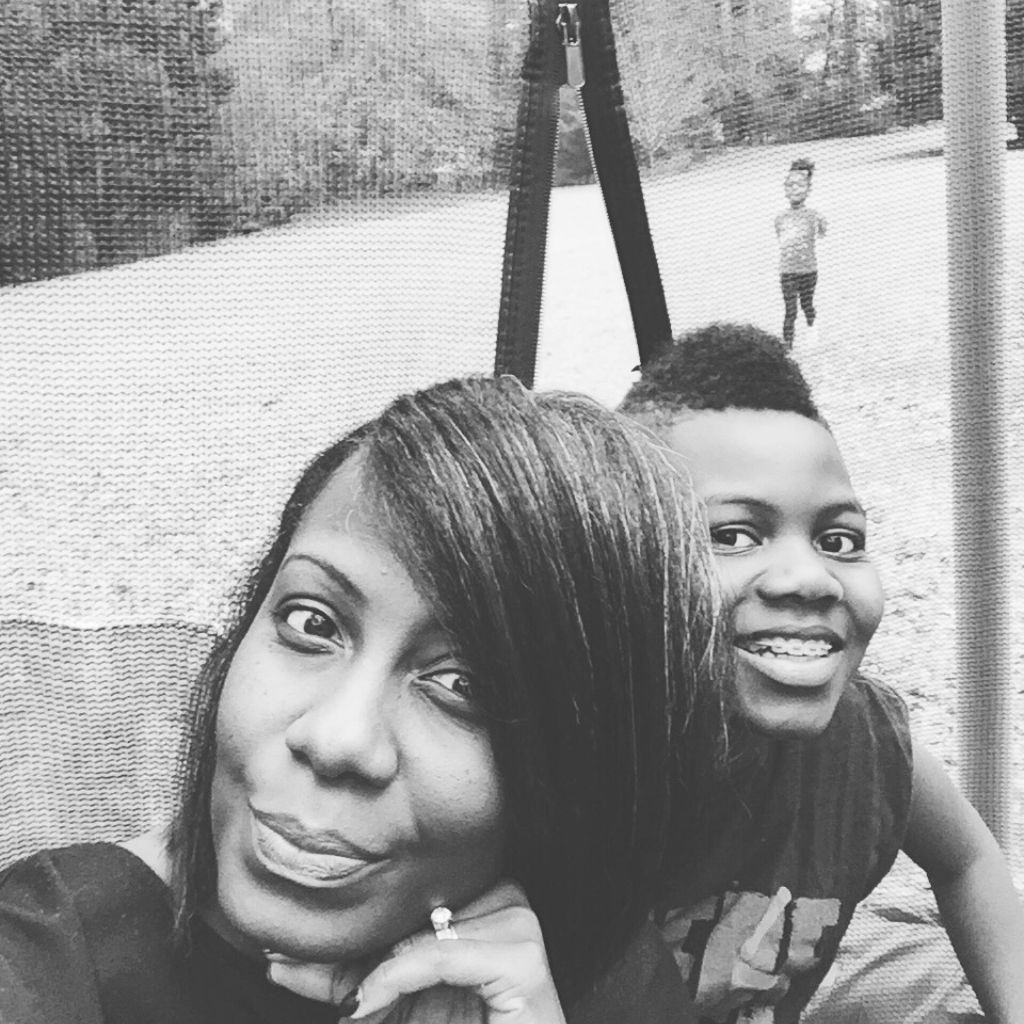
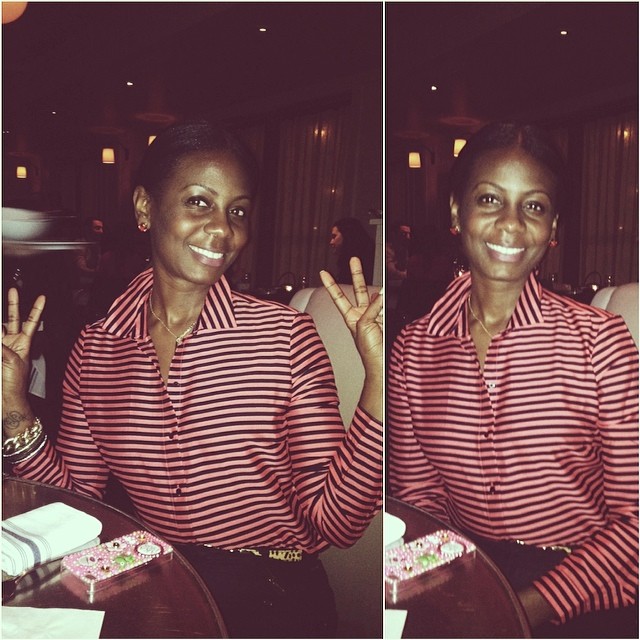
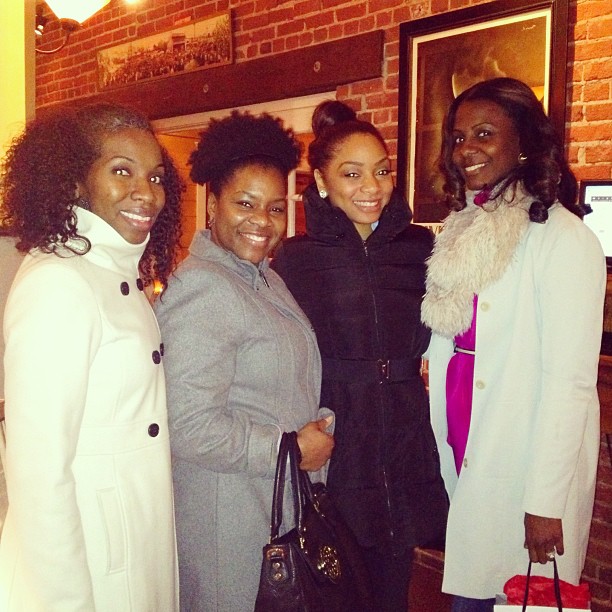
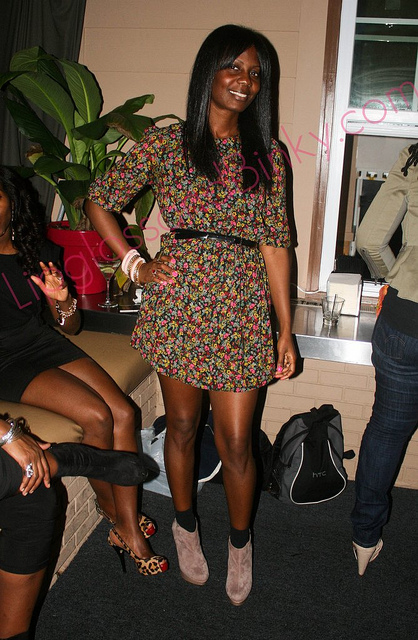
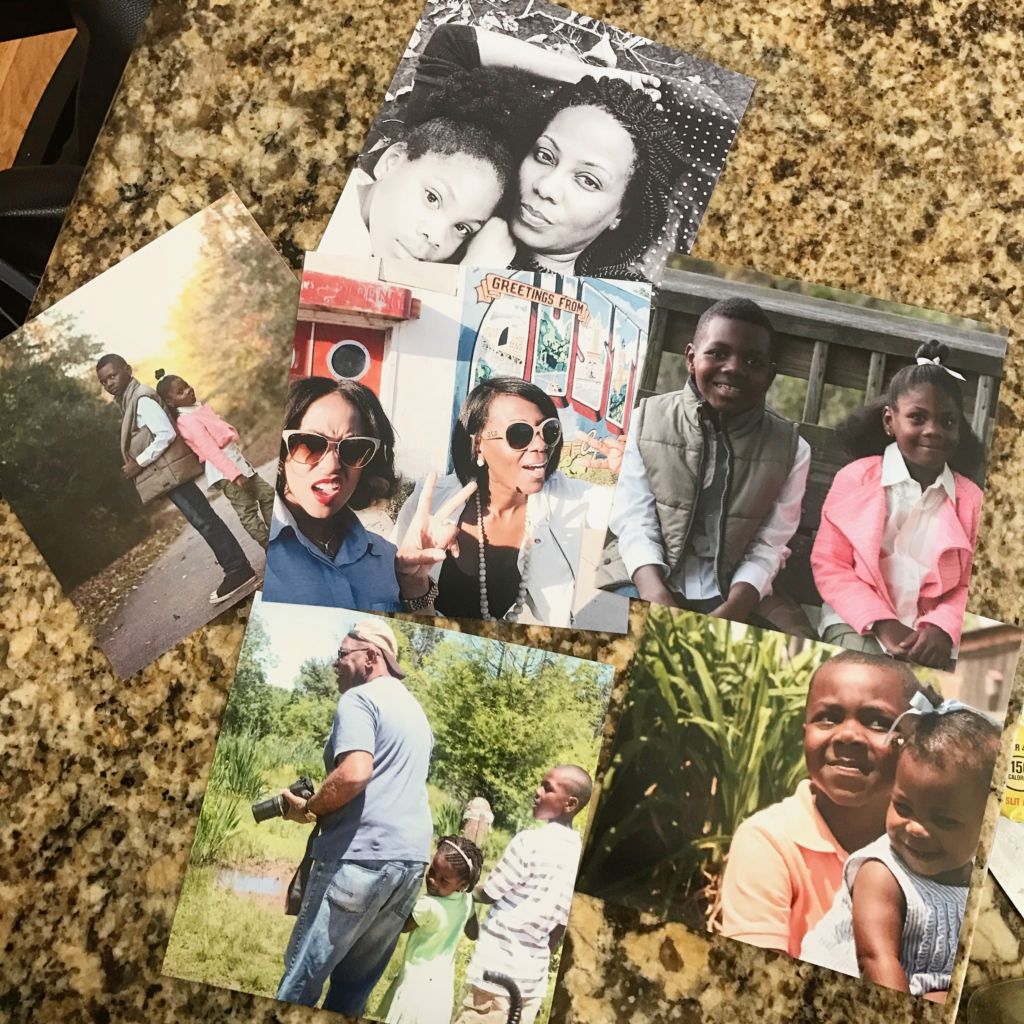
Can we say I have so many pictures, thankfully most are organized so I had a easy time finding them based on my photo storage method. With so many to choose from instead of getting overwhelmed I just grabbed a few that jumped out at me through the Instagram link method on Walmart’s website to just assess the quality of the photos before taking out the time to really dig in and find all of my favorites throughout the years.

Unfortunately due to the size they were not available for immediate pick up. I had to wait a few days for them to go site to store but for a little over $4 for 9 photos I was impressed with the quality.

Once the photos were finally in hand, I set about putting them in the frames. Here are a few tips to make life a little easy when setting up your gallery wall.

Gallery wall


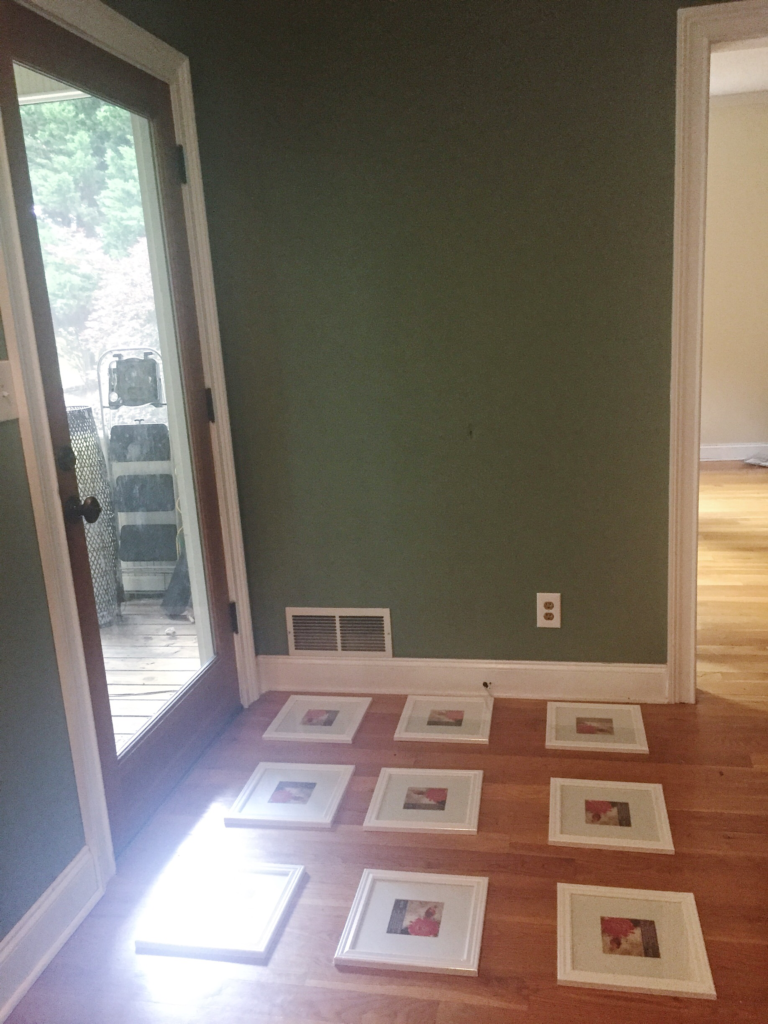
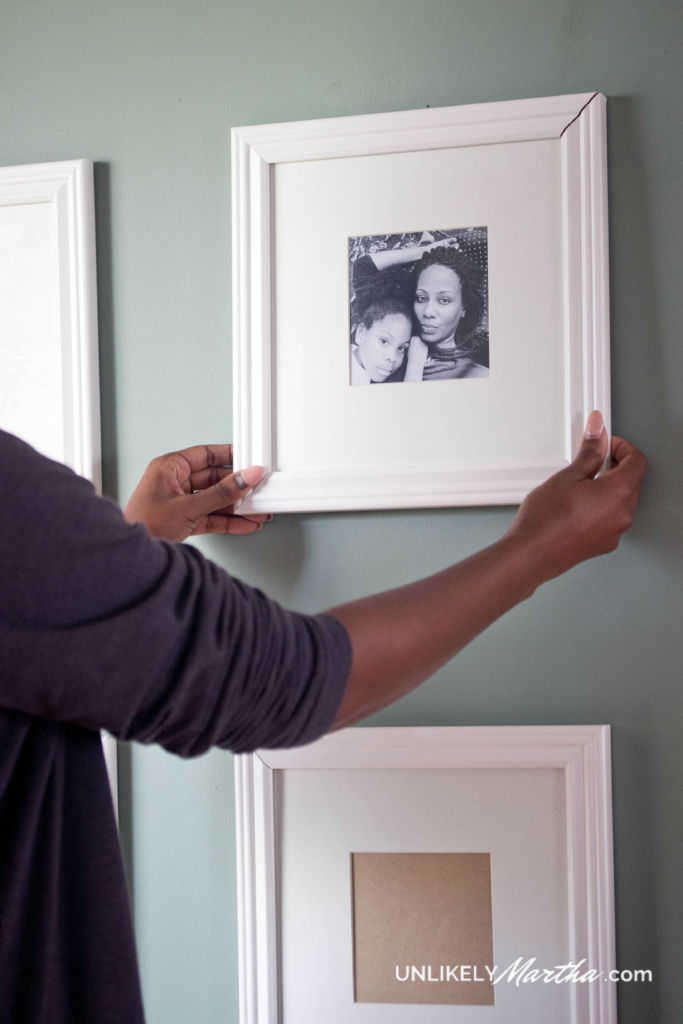
  • Measure the entire area where you will be hanging your photos. You’ll need to do a little math to determine where the center of the wall is. Once I found that number in inches I hung the middle of my middle frame there and worked out.  That being said it SEEMS to be easier to work with an odd number, but whatever works for you.


Gallery Wall


  • Once you determine where you will be hanging put a piece of tape over the hanger on the back of the frame and put a hole in the tape  where the nail should go.
  • Put all of your pieces of tape on the wall. If you are unlike me, now would be the time to make sure things are level. LEVEL AT THIS POINT and make any adjustments
  • Now put a nail where that tiny hole in the tape is.
  • Do not insert a 7 month gap between here and putting pictures in the frame.
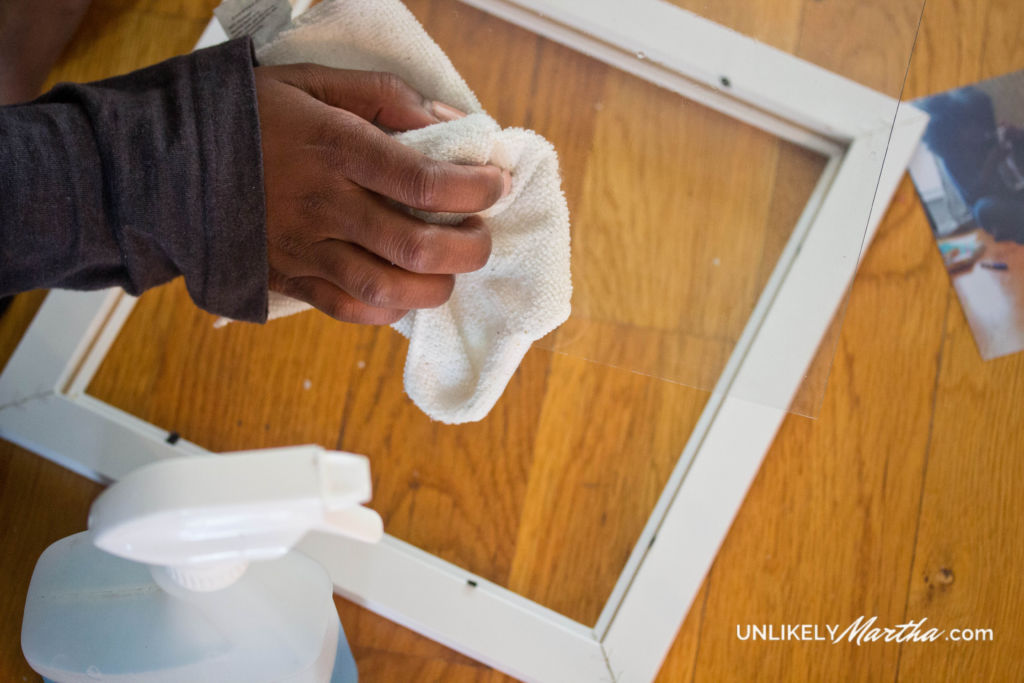
  • Before putting pictures in the frame, be sure to clean the glass well


how to hang a gallery wall


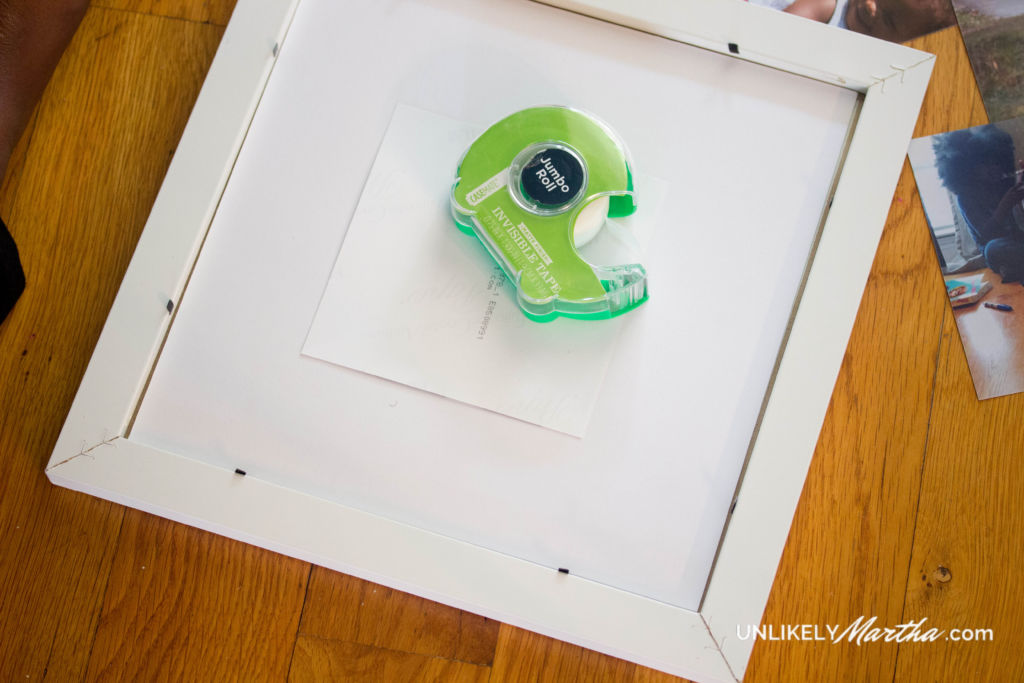
  • Put in your print and determine where you want it. Once that is determined add a small piece of tape to the top to keep the print from shifting.


how to hang a gallery wall


  • H A N G!


how to hang a gallery wall


Now that I am certain of the quality of the prints and I am happy with a mix of color and black and white prints I can go through all of my photos and really pull out my favorites, most of these are just place holders for now. I’ll be back to show you the final photo selections.


how to hang a gallery wall


how to hang a gallery wall

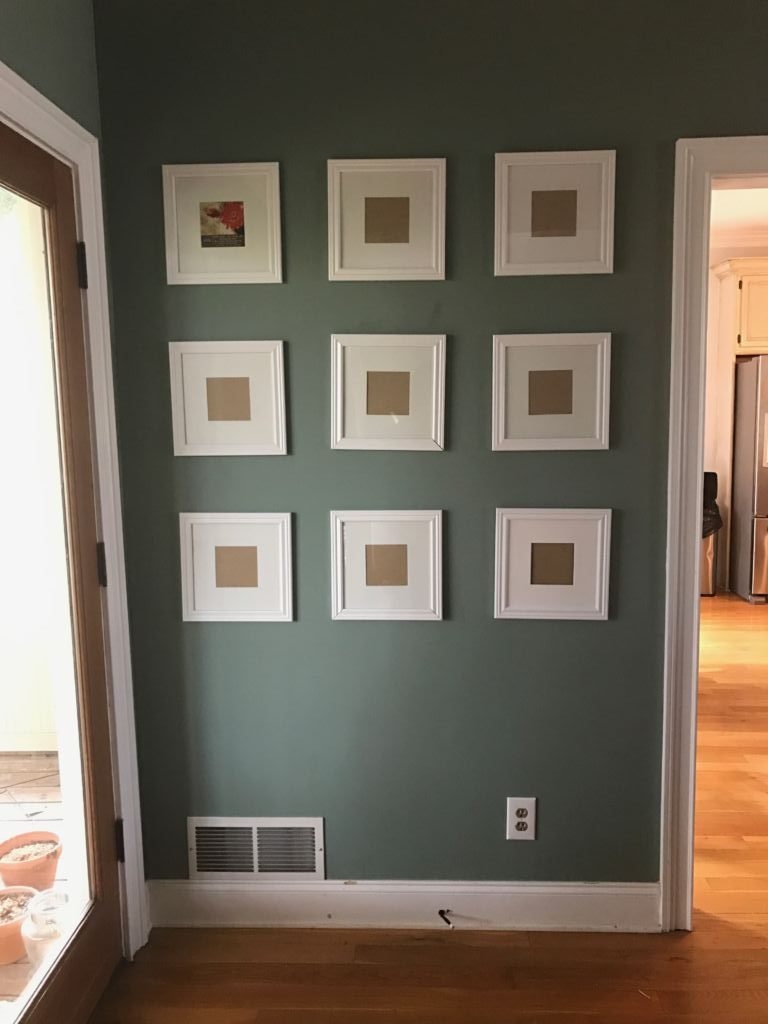
It might be 6 months from now, but I’ll be back with the absolute finished product!

Have you ever hung a gallery wall? Will you attempt one now?


Save

Save

Save

Save

Save

Food Recipes Video

One Pot Meal | Chicken and Sausage Dirty Rice

One pot meals are everything when it comes to getting dinner served quickly during the week. Monday – Thursday is the busiest part of our week so easy dinners are a must. They are a great way for me to prepare dinner ahead of time so I’ve been experimenting a bit with a few and this chicken and sausage dirty rice recipe will be added to the rotation indefinitely. It’s a great alternative to the famous beef and broccoli recipe we all love.

One Pot Chicken and Sausage Dirty Rice

I adapted this recipe from The Chunky Chef and made it a little milder for the kids.

This chicken and sausage dirty rice recipe is the perfect one pot meal.

One Pot Meal | Chicken and Turkey Sausage Dirty Rice
Recipe Type: Chicken Recipe
Prep time:
Cook time:
Total time:
Serves: 4 servings
Ingredients
  • C H I C K E N M A R I N A D E
  • 1 tsp Salt
  • 1 tsp Garlic Powder
  • 1 1/2 tsp Paprika
  • 1/2 tsp Pepper
  • 1/2 tsp Dried Onion
  • 1/2 tsp Oregano
  • 1 TBSP Olive oil
  • R E M A I N I N G I N G R E D I E N T S
  • 2 Tbsp Olive oil
  • 1 Green Bell Pepper
  • 1 Package Turkey Sausage Links
  • 4 Chicken Thighs
  • 1 Diced Onion
  • 1 cup DRY long-grain rice
  • 2 1/4 cup chicken stock or broth
  • Salt and Pepper to your personal taste
Instructions
  1. C H I C K E N M A R I N A D E D I R E C T I O N S
  2. Mix all of the ingredients together to make a paste. Rub your chicken thighs with the paste
  3. C O O K I N G D I R E C T I O N S
  4. Brown cut up sausage in a bit of olive oil. Once cooked remove from pot
  5. Add more olive oil to pan if necessary, sear chicken thighs on each side. Remove when browned
  6. Saute onions and bell pepper, stirring up brown bits from chicken and sausage
  7. Once vegetables have browned add in rice and give a good stir
  8. Add in chicken broth and bring to a slow simmer
  9. Put chicken thighs back into pan tucking them into the rice and top with sausage
  10. Place lid on pot and place in oven at 350 degrees for 40 minutes or until all liquid has cooked into the rice

Cook With Me: Chicken and Sausage Dirty Rice Video

The steps to this chicken and sausage dirty rice may seem like a lot. My cook with me video on Youtube shows you just how easy the steps are. Take a look!

Enjoy! Be sure to connect with me on social to let me know how it turned out if you try it!


Save

Save

Save